Tip #11: Team Players: Using Groups
advertisement

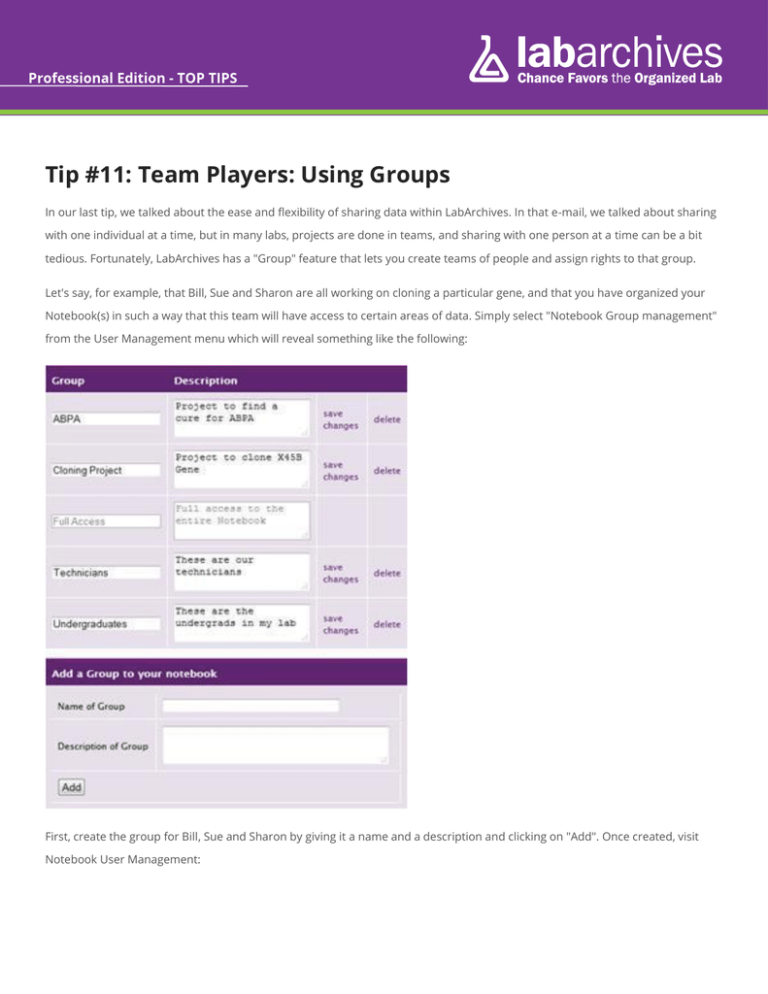
Tip #11: Team Players: Using Groups In our last tip, we talked about the ease and flexibility of sharing data within LabArchives. In that e-mail, we talked about sharing with one individual at a time, but in many labs, projects are done in teams, and sharing with one person at a time can be a bit tedious. Fortunately, LabArchives has a "Group" feature that lets you create teams of people and assign rights to that group. Let's say, for example, that Bill, Sue and Sharon are all working on cloning a particular gene, and that you have organized your Notebook(s) in such a way that this team will have access to certain areas of data. Simply select "Notebook Group management" from the User Management menu which will reveal something like the following: First, create the group for Bill, Sue and Sharon by giving it a name and a description and clicking on "Add". Once created, visit Notebook User Management: Click in the Group Membership field for any User, Owner, or Administrator (Groups aren't available for "Guests"), then select the group(s) to which you want this individual to belong: Once you have assigned lab members to groups, you can set their permissions in the Groups or People with Access tab in the "Sharing" section for Entries, Pages, Folders, or the entire Notebook: Using Groups makes it much easier to share data, especially in larger labs. Remember that the Groups function applies only to Users and Administrators (not to "Guests").

