Volcanoes and Viscosity Grade Level: 7
advertisement
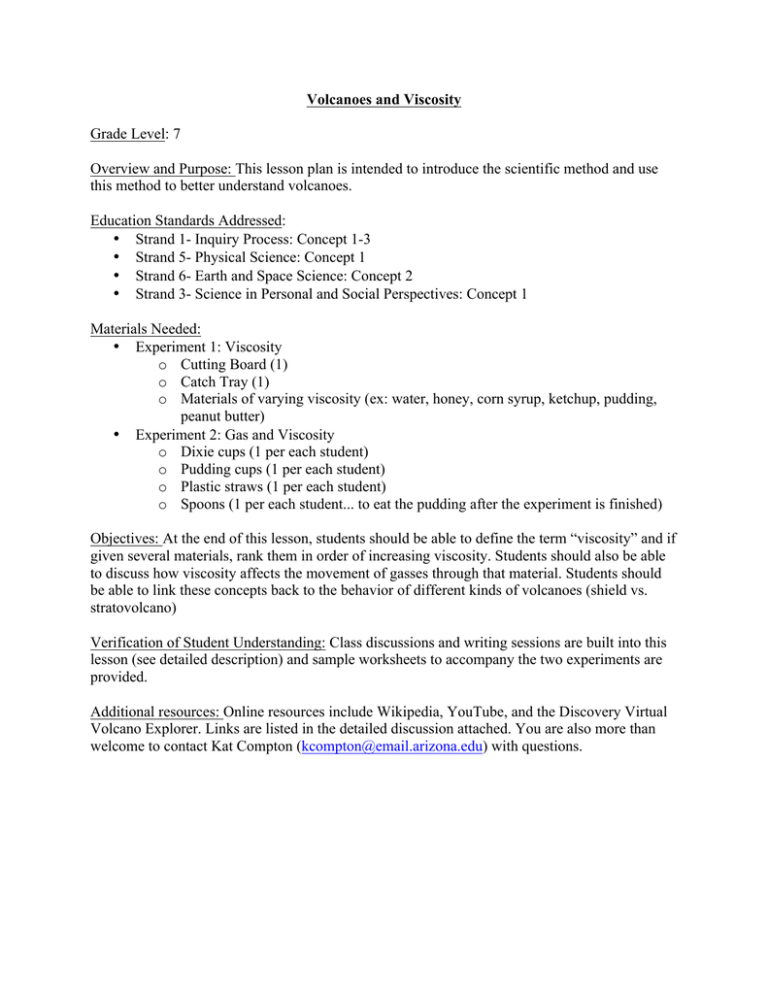
Volcanoes and Viscosity Grade Level: 7 Overview and Purpose: This lesson plan is intended to introduce the scientific method and use this method to better understand volcanoes. Education Standards Addressed: • Strand 1- Inquiry Process: Concept 1-3 • Strand 5- Physical Science: Concept 1 • Strand 6- Earth and Space Science: Concept 2 • Strand 3- Science in Personal and Social Perspectives: Concept 1 Materials Needed: • Experiment 1: Viscosity o Cutting Board (1) o Catch Tray (1) o Materials of varying viscosity (ex: water, honey, corn syrup, ketchup, pudding, peanut butter) • Experiment 2: Gas and Viscosity o Dixie cups (1 per each student) o Pudding cups (1 per each student) o Plastic straws (1 per each student) o Spoons (1 per each student... to eat the pudding after the experiment is finished) Objectives: At the end of this lesson, students should be able to define the term “viscosity” and if given several materials, rank them in order of increasing viscosity. Students should also be able to discuss how viscosity affects the movement of gasses through that material. Students should be able to link these concepts back to the behavior of different kinds of volcanoes (shield vs. stratovolcano) Verification of Student Understanding: Class discussions and writing sessions are built into this lesson (see detailed description) and sample worksheets to accompany the two experiments are provided. Additional resources: Online resources include Wikipedia, YouTube, and the Discovery Virtual Volcano Explorer. Links are listed in the detailed discussion attached. You are also more than welcome to contact Kat Compton (kcompton@email.arizona.edu) with questions. Volcanoes and Viscosity In this lesson, we will use the scientific method to learn about what causes different volcanic eruption types. We will assess our current knowledge, make observations and hypotheses, run experiments and test our predictions. This lesson plan attempts to cover requirements for strands 1, 5, 6, and 3(optional) from the Arizona Academic Content Standards for 7th Grade students Strand 1- Inquiry Process o Concept 1: Formulate predictions, questions, or hypotheses based on observations o Concept 2: Design and conduct controlled investigations o Concept 3: Analyze and interpret data to explain correlations and results; formulate new questions Strand 5- Physical Science: o Concept 1: Understand physical properties of matter Strand 6- Earth and Space Science: o Concept 2: Understand processes acting on Earth Strand 3- Science in Personal and Social Perspectives: o Concept 1: Describe the interactions between human populations, natural hazards, and the environment Part 1: Introduce the Scientific Method. In this section, introduce the different steps to the scientific method, and provide an outline for the rest of the lesson. This can be written on the board and referred to throughout the rest of the lesson. • What is the scientific method? The scientific method is the process that scientists use to solve problems and answer questions. The question that we are going to try to answer is “What makes volcanoes have different kinds of eruptions?” • Scientific Method Step 1- Assess your knowledge: We will spend time at the beginning of class to collect our thoughts and create a starting point for our investigation. • Scientific Method Step 2- Make observations: We will learn about two different kinds of volcanoes and make observations about the different types of eruptions. • Scientific Method Step 3- Make a hypothesis: We will create some hypotheses about what controls the types of eruptions. • Scientific Method Step 4- Test your predictions: We will conduct two experiments to better understand the controls on volcanic eruptions. • Scientific Method Step 5- Use your experiments to make predictions: With our new knowledge, we will predict volcanic eruptions. Part 2: Knowledge Assessment Before providing any new information, have your class spend a minute or two writing down everything they can think of about what they know about volcanoes. (Depending on the class, this can be done as an individual free-write and then class discussion, a small group exercise, etc.). You may want to put answers up on the board as a starting point. Part 3: Introduction of Shield and Strato-Volcanoes To set up the experiments briefly introduce two different kinds of volcanoes. You can draw them, look at pictures, and watch videos of their different eruptions, etc. • Shield Volcanoes: Shield volcanoes get their name because they are shaped like shields. They have very gentle slopes. The Hawaiian Islands are examples of shield volcanoes. Theses types of volcanoes have eruptions that are characterized by lots of lava flows. If we cut a shield volcano in half, we would see layer after layer of lava flows. o Hawaiian Volcano Observatory: http://hvo.wr.usgs.gov/ o Shield Volcano Wikipedia Page: http://en.wikipedia.org/wiki/Shield_volcano o Shield Volcano Eruptions (Hawaii): § http://www.youtube.com/watch?v=KK5JdI4S1yE § http://www.youtube.com/watch?v=5hE2DZdl0IA § http://www.youtube.com/watch?v=cqwDaHFS5Pw • • Stratovolcanoes: Stratovolcanoes are much steeper, like the volcanoes in the Cascade Mountains in the Washington and Oregon states. If we cut a stratovolcano in half we would see some lava flows, but we would also see thick layers of volcanic ash. o Cascade Volcano Observatory: http://volcanoes.usgs.gov/observatories/cvo/ o Stratovolcano Wikipedia Page: http://en.wikipedia.org/wiki/Stratovolcano o Pictures of Mt. Rainier (Stratovolcano south of Seattle, WA): http://en.wikipedia.org/wiki/Mount_Rainier o Stratovolcano Eruptions: § http://www.youtube.com/watch?v=bgRnVhbfIKQ § http://www.youtube.com/watch?v=xP2dreOI8gI § http://www.youtube.com/watch?v=vFz5VxBys90 Make observations: In small groups or as a class, list all the things you can about the differences between the two types of volcanoes. Part 4: Make a Hypothesis Create a list of possible reasons why these two volcanoes erupt so differently. Try to guide discussion so that viscosity and gas content end up on the list. • Viscosity refers to a substances resistance to flow. Prompting questions should get students thinking about how different lava thicknesses would change an eruption. • Gas content affects the explosively of the volcanic eruption. The analogy of a bottle of soda is a good one. A new bottle with lots of carbon dioxide will explode if you shake it, but if that soda is flat (no gas) then it won’t explode, even if you shake it up. Part 5: Conduct Experiments Introduce viscosity by observing how fast different materials flow downhill, then examine how gas moves through materials of differing viscosity. • Experiment 1: Viscosity o Introduce the concept of viscosity and define as “resistance to flow” or “thickness”. Materials that flow easily have a low viscosity. o Materials: Cutting board (or any flat surface), catch pan, materials of varying viscosity (ex: water, honey, pudding, peanut butter) • o Start with water. Make a hypothesis about how the water will flow down the board. Will it move fast or slow? Continue this process with the rest of your materials. Have student make predictions about which ones will have low and which ones will have high viscosities. o End with a discussion reiterating that materials with high viscosities will flow slower down the board. Experiment 2: How does gas move through materials with different viscosities. o Introduce the concept of how gases in volcanoes can make the eruption very violent. In this experiment, the goal is to have students discover that both viscous magma AND gas make a volcano explosive o Materials: Water, Dixie cups, pudding cups, straws o Again, start with water. Hypothesize what will happen when you blow bubbles into the water. Will the bubbles get stuck? Or will they escape from the water quickly? Blow bubbles in the water and observe what happens. o Now hypothesize what will happen when you blow bubbles into the pudding cup. Will the bubbles come out easily? Try to blow a little (this works best when the straw is at an angle instead of straight up and down). Students should observe that pressure builds up and then one big bubble pops out. o Make sure that the connection between viscosities and how gas moves through the two materials is clear. Part 6: Making predictions Make a list with your class about their observations of viscosity and gas. What kinds of volcanoes will explode (high viscosity with lots of gas). You can use the following website to explore how viscosity and gas affects the eruption style of volcanoes: http://dsc.discovery.com/convergence/pompeii/interactive/interactive.html Part 7: Hazards Thought Experiment (optional) If there is time, class observations about viscosity and gas can be expanded to a discussion about explosively of volcanoes and the risks of living near a volcano. Questions include: “Which type of volcano seems more dangerous?” Which volcano would you rather live near and why?” “Why do you think people live close to dangerous volcanoes?” (soils next to volcanoes are very good for farming) Worksheet 1:Viscosity Experiment In this experiment, we will use the scientific method to better understand viscosity. 1. Knowledge Assessment: Based on our class discussion, write a definition of viscosity. Viscosity is: 2. Observations: Rank the materials we tested today in order of increasing viscosity: Low Viscosity: High Viscosity: 3. Based on our class discussions and your observations, do low viscosity or high viscosity materials flow downhill faster? 4. Think back to the videos of Shield Volcanoes in Hawaii. Based on our observations, do you think the lava flows in Hawaii were low viscosity or high viscosity? Why? Worksheet 2: Viscosity and Gas This experiment will help us understand why some volcanoes explode while others do not. Blow bubbles into your cup of water and answer the following questions: 1. Is water a high viscosity or low viscosity material? 2. What do the bubbles in the water look like? 3. Do the bubble escape from the water quickly or slowly? Now use what you know about pudding to answer the following questions: 1. Does pudding have a higher or lower viscosity than water? 2. Make predictions: What do you think will happen when you try to blow bubbles into your pudding? Worksheet 2: Page 2 Now, use your straw to blow bubbles into your pudding and answer the following questions: 1. Make observations: What happens when you try to blow bubbles into your pudding? 2. What differences do you notice about how water behaves and how your pudding behaves? Think back to the videos we saw of Stratovolcanoes. Do you think there is gas in those eruptions? Do you think those eruptions have high viscosity or low viscosity?
