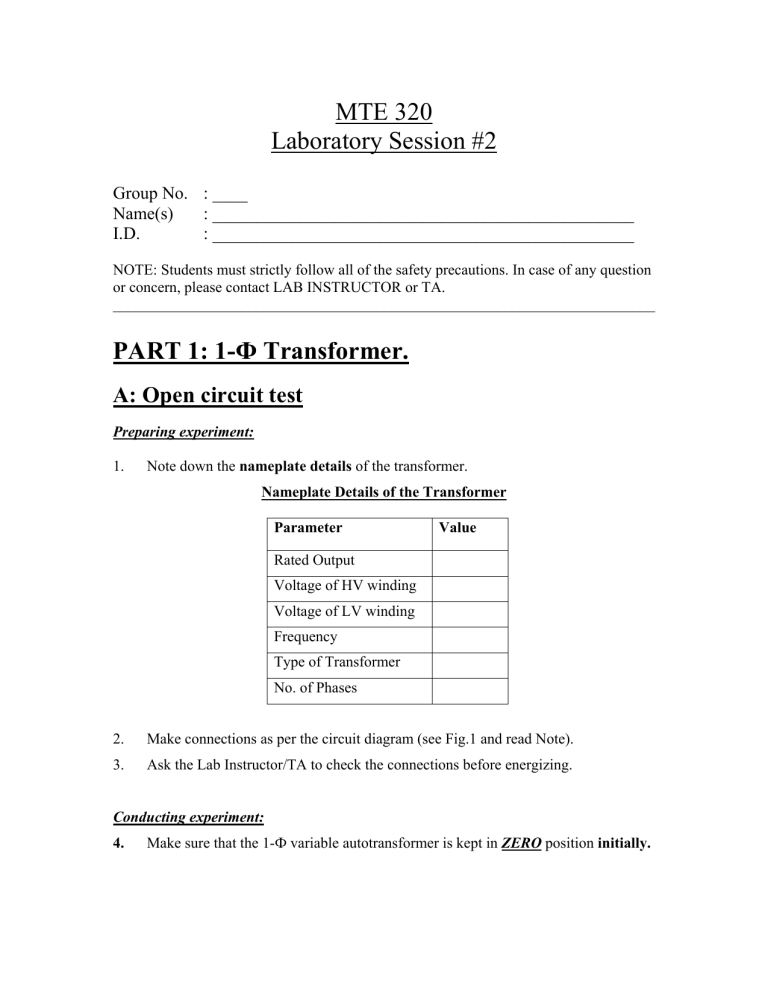
MTE 320 Laboratory Session #2

Group No. : ____
MTE 320
Laboratory Session #2
I.D. :
NOTE: Students must strictly follow all of the safety precautions. In case of any question or concern, please contact LAB INSTRUCTOR or TA.
________________________________________________________________________
PART 1: 1-
Ф
Transformer.
A: Open circuit test
Preparing experiment:
1.
Note down the nameplate details of the transformer.
Nameplate Details of the Transformer
Parameter Value
Rated Output
Voltage of HV winding
Voltage of LV winding
Frequency
Type of Transformer
No. of Phases
2.
Make connections as per the circuit diagram (see Fig.1 and read Note).
3.
Ask the Lab Instructor/TA to check the connections before energizing.
Conducting experiment:
4.
Make sure that the 1Ф variable autotransformer is kept in
ZERO
position initially.
5.
Energize the circuit; adjust the autotransformer to the values specified in the table#1 and record I o
, V
2
and P c in each step.
6.
De-energize the circuit and remove the connections.
(Note: H1 and H2 terminals for High Voltage winding and
X1 and X2 terminals for Low Voltage winding)
Electronic
Wattmeter Transformer
X1 H1
1f
120 V
60 Hz
V
1f
Varible
Autotransformer
A A
V
X2
H2
V2
Figure#1: Open Circuit Test
Table#1
V
1
Io (A)
V
2
(V)
Pc (W)
Note: * rated value.
Test Results:
1.
Plot the input voltage, V
1 report)
, versus no load input current, Io . (attach the plot to this
2.
Plot the core loss, Pc, versus input voltage, V
1
.
(attach the plot to this report)
3.
Calculate the equivalent circuit parameters from this test.
4.
What are the power losses that occur in the open circuit test and how to reduce the losses?
5.
Which losses are negligible in this test and why?
6.
What will happen to the transformer if double the rated voltage is applied to the winding?
B: Short circuit test
Preparing experiment:
1.
Make connections as per the circuit diagram (see Fig. 2).
2.
Calculate the rated value of current (I
1
) in the HV side and its percentage values specified in the Table#2.
3.
Ask the Lab Instructor/TA to check the connections and verify the calculated values.
Conducting experiment:
4.
Make sure that the 1Ф variable autotransformer is kept in
ZERO
position initially.
5.
Energize the circuit; vary the autotransformer
SLOWLY
; adjust the current close enough to the calculated values in the Table 2 and record V
1
, I
1
and P sc in each step.
6.
De-energize the circuit and remove the connections.
(Note: observe the current while varying the autotransformer output)
Electronic
Wattmeter Transformer
H1
X1
1f
120 V
60 Hz
V V
1f
Varible
Autotransformer
A A
H2
Figure#2: Short Circuit Test
Table#2
% of rated I
1
I
1
(A)
(Calculated) *
I
1
(A)
(Measured)
V
1
(V)
Psc (W)
0 25 50 75 100
Note: * I
1
(Calculated) can be calculated from the nameplate details.
Test Results:
1.
Calculate the equivalent circuit parameters from this test.
X2
2.
Draw the approximate equivalent circuit of a 1Ф transformer referred to LV side and indicate their values (values obtained from OC test and SC test)?
3.
What are the power losses that occur in the short circuit test?
4.
Which losses are negligible in this test and why?
5.
What will happen to the transformer if rated voltage is applied to the winding during short circuit test?
6.
What will happen to the transformer, if DC voltage is applied to the primary winding?
C: Load test
Preparing experiment:
1.
Make connections as per the circuit diagram (see Fig. 3).
2.
Calculate the rated value of current (I
2
) in the LV side and its percentage values specified in the Table#3.
3.
Ask the Lab Instructor/TA to check the connections and verify the calculated values.
Conducting experiment:
4.
Make sure that the 3Ф variable autotransformer is kept in ZERO position initially.
5.
To energize the circuit; vary the autotransformer SLOWLY until V
2
reads 120V at no load. Make no further voltage adjustments. Apply load in 5 steps to cause I
2
to vary from zero to 110% of the rated value of current (I
2
). Use ‘clamp on’ meter to measure I
2
. Record V
2
, I
1
, V
1
and P in in each step.
6.
De-energize the circuit and remove the connections.
A
3f
208 V
60 Hz
B
C
3f
Variable
Autotransformer
V
A
Electronic
Wattmeter Transformer
H1
X1
V V2
A
H2 X2
Load
Table#3
% of rated I
2
I
2
(A)
(Calculated) *
I
2
(A)
(Measured)
I
1
(A)
V
1
(V)
0 25 50 75 100 110
V
2
(V)
P in
(W)
Note: * I
2
(Calculated) can be calculated from the nameplate details.
Test Results:
1.
Calculate and complete Table#4. Show sample calculations for P out
, Efficiency and
% regulation.
Table#4:
Calculate
% of rated
I
2
0
25
I
2
(A) Copper loss
(W)
P out
(W)
Efficiency % reg.
50
75
100
110
% reg. = [V
2
(no load) - V
2
(load)] / V
2
(load)
2.
Using load current I
2 as the horizontal coordinate plot the following curves on one sheet. (a) % reg. (b) Efficiency (c) Copper loss (attach the plot to this report)
3.
What are the performance parameters to judge a transformer whether it’s a good or bad?
4.
Explain why the secondary terminal voltage is decreased with an increase in load current?
5.
What is the purpose of transformer in long distance power transmission?
6.
What do you understand by the term ‘Electrical Isolation’? and what is the advantage of it?


