Lab 6 worksheet Working with Disks
advertisement
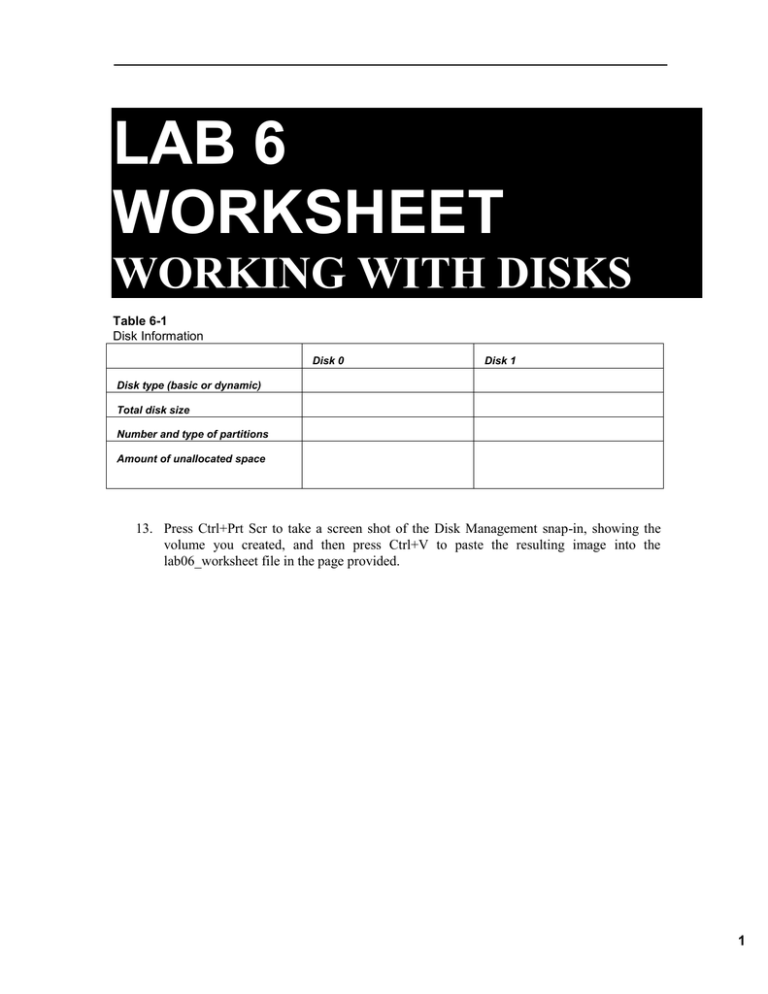
LAB 6 WORKSHEET WORKING WITH DISKS Table 6-1 Disk Information Disk 0 Disk 1 Disk type (basic or dynamic) Total disk size Number and type of partitions Amount of unallocated space 13. Press Ctrl+Prt Scr to take a screen shot of the Disk Management snap-in, showing the volume you created, and then press Ctrl+V to paste the resulting image into the lab06_worksheet file in the page provided. 1 Lab 6: Working with Disks Question 1 Question 2 Question 3 What is the result? What is the number of the 1-GB partition you created earlier in this exercise? What is the result? 14. Press Ctrl+Prt Scr to take a screen shot of the Disk Management snap-in, showing the extended volume, and then press Ctrl+V to paste the resulting image into the lab06_worksheet file in the page provided. 2 Lab 6: Working with Disks Question 4 Question 5 Question 6 Question 7 7. What is the result? How much available shrink space is contained in the volume? How is the last volume you created different from the previous ones? Explain why. What do you suppose would happen if you created another simple volume out of the free space left on the disk? Press Ctrl+Prt Scr to take a screen shot of the Disk Management snap-in, showing the volumes you created, and then press Ctrl+V to paste the resulting image into the lab06_worksheet file in the page provided. 3 Lab 6: Working with Disks Question 8 Question 9 Were you successful? What is the result? 13. Press Ctrl+Prt Scr to take a screen shot of the Disk Management snap-in, showing the volumes you created, and then press Ctrl+V to paste the resulting image into the lab06_worksheet file in the page provided. 4 Lab 6: Working with Disks Table 6-3 Karen1 (S:) Properties Megabytes Gigabytes Used space Free space Capacity Question 10 Question 11 Question 12 Does the capacity of the S: drive reflect the addition of the mounted Karen4 volume? According to the status bar, how much free space is on the Karen4 volume? Does the free space on Karen4 reflect the space available on the Karen1 volume as well? 5 Lab 6: Working with Disks Question 13 Question 14 Question 15 Question 16 Question 17 Why doesn’t the disk space used by the Karen3 and Karen4 volumes appear in the Disk Management snap-in as unallocated? What is the maximum amount of space that you can use to extend the Karen1 volume? Why can’t you extend the Karen1 volume by using all of the remaining space on the disk? What is the maximum amount of space that you can use to extend the Karen1 volume? Why can’t you extend the Karen1 volume to the second hard disk (Disk 1)? 6 Lab 6: Working with Disks 3. Press Ctrl+Prt Scr to take a screen shot of the Select Disks page, and then press Ctrl+V to paste the resulting image into the lab06_worksheet file in the page provided. Question 18 Question 19 How is the Select Disks page different now that you have converted the basic disks to dynamic disks? What is the total volume size displayed on the Select Disks page? 7 Lab 6: Working with Disks 14. Press Ctrl+Prt Scr to take a screen shot of the Disk Management snap-in, showing the spanned volume you created, and then press Ctrl+V to paste the resulting image into the lab06_worksheet file in the page provided. 8 Lab 6: Working with Disks LAB REVIEW QUESTIONS 1. In Exercise 6.5, why doesn’t the extended partition you created appear in the Disk Management snap-in’s volume list in the top view pane? 2. In Exercise 6.4, why is it that you were unable to extend the Karen1 volume and were forced to mount a volume to a folder instead, but you were able to extend Karen3? 3. In Exercise 6.6 after you converted Disk 0 from a basic disk to a dynamic disk, how many partitions were there on the disk? How do you know? 4. If one of the hard disk drives should fail after creating the spanned volume on the Accounting server by using space from both hard disks, what would happen to the data stored on the volume? 9

