iMovie Guide
advertisement

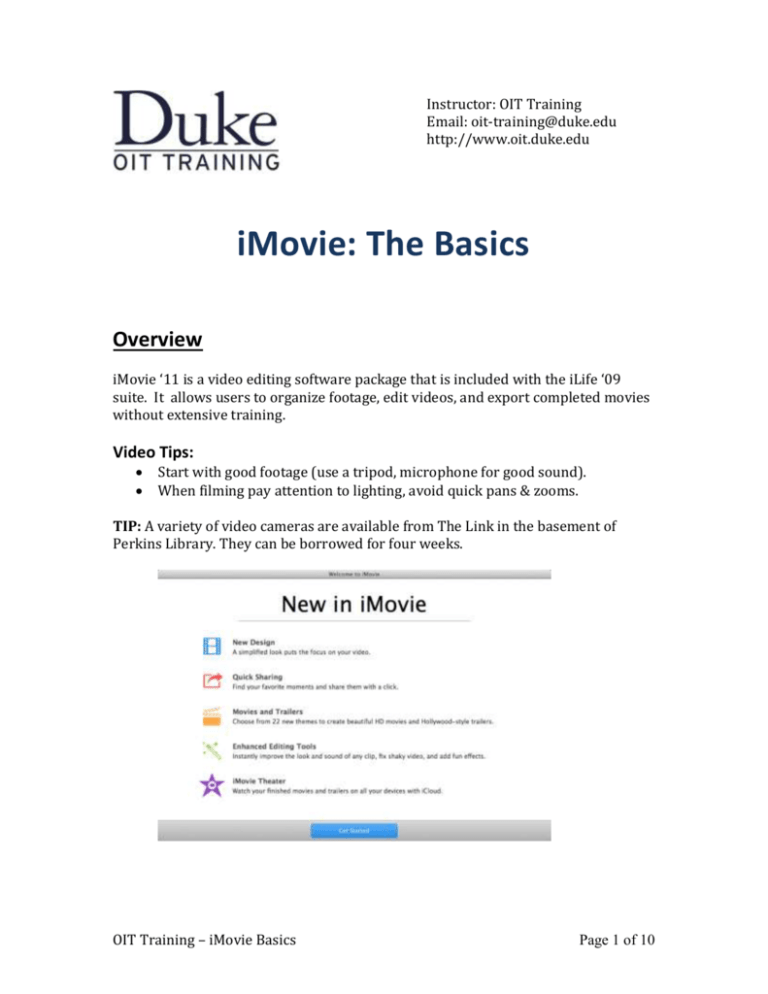
Instructor: OIT Training Email: oit-training@duke.edu http://www.oit.duke.edu iMovie: The Basics Overview iMovie ‘11 is a video editing software package that is included with the iLife ‘09 suite. It allows users to organize footage, edit videos, and export completed movies without extensive training. Video Tips: Start with good footage (use a tripod, microphone for good sound). When filming pay attention to lighting, avoid quick pans & zooms. TIP: A variety of video cameras are available from The Link in the basement of Perkins Library. They can be borrowed for four weeks. OIT Training – iMovie Basics Page 1 of 10 The iMovie ‘11 Interface 1. Event/Project Libraries – Lists all Event you’ve created to organize video clips. 2. Source Area – Shows the clips in your Events, which you can add to a project. 3. Toolbar – Includes buttons for the most common tasks (Import, Create, Share). 4. Viewer – Allows you to preview your video. This is also where you crop video or still images. 5. Project Area – Your film! Shows you how your clips and other media are arranged. 6. Content Library – Previously known as “Browsers” this section allows you to incorporate music, still images, titles, and transitions into your film by clicking on the appropriate button. Beginning a New Project 1. Launch iMovie. 2. Select File > New Project Enter a Project Name and select an Aspect ratio, Standard (4:3), Widescreen (16:9) or iPhone (3:2). Standard is best for viewing on regular TV or on the web but when video is shown on an HDTV, black bars will appear alongside the image (aka Pillar box effect) Choose a Theme. Check box next to “Automatically Add” if you want iMovie to OIT Training – iMovie Basics Page 2 of 10 automatically add a transition between each clip, then select the transition you want to apply. Importing Video Adding Media There are several ways to import video into iMovie ’11. Click the IMPORT Button in the TOOLBAR (pictured above). Drag and drop media files into the SOURCE AREA Click FILE > IMPORT MEDIA… or: COMMAND (⌘) + I After doing this, you should see the following pop-up screen: If you have a camera connected, it will appear here. Alternatively, you can use the built-in FaceTime or iSight Camera to quickly record videos (see #4 below). The following devices are supported: 1. Firewire-equipped or USB connected video cameras 2. DVD, hard disk or flash memory cameras 3. Digital still cameras (clips are imported through iPhoto) 4. iSight built-in camera (located at the top of your Mac device) OIT Training – iMovie Basics Page 3 of 10 From here you will also be able to import other media files located on your computer, e.g. on your DESKTOP or in your USER folder. You’re also able to import media into different projects or events via the IMPORT TO: drop down at the top of the window. NOTE: Files will automatically save in this version! You can find them by right clicking iMOVIE LIBRARY > REVEAL IN FINDER or: by pressing SHIFT () + COMMAND (⌘) + R Once in the Finder window, right click iMOVIE LIBRARY > SHOW PACKAGE CONTENTS You will then see your events listed by date. OIT Training – iMovie Basics Page 4 of 10 Editing Your Movie Making Selections: You do not have to use an entire video clip. To select just a portion of any clip: In the SOURCE AREA, click and hold where you would like the section to begin. This will place a white line where your cursor is. To expand your selection merely drag your cursor left or right. To add this to your project, either press the PLUS (+) or: ADD THE SELECTION TO MOVIE button at the bottom right corner of the highlighted selection, or using your mouse, simply drag and drop the selection into the PROJECT AREA. Trimming: Trimming allows you to change the duration of a clip by removing unwanted frames. To trim a clip from the beginning just click and drag your cursor toward the right. You will see a small callout popup appear which will read the amount of time being trimmed/where you are in your movie. Positive numbers such as +2.7 or +10.0s tell you that while your movie’s start point is 0.0, it is actually beginning at 2.7 or 10.0s respectively. TIP: Trimming in iMovie is also non destructive. This means that it stores your original data in the file. Need to go back a few seconds? Just drag your cursor left! You’ll see negative numbers (e.g. -2.7) instead. This is to tell you that you are adding 2.7 seconds to the start point of your film. OIT Training – iMovie Basics Page 5 of 10 Precision Editor: The Precision Editor is a visual editing tool that allows you to edit the end of a clip and the beginning of the next clip in the same window. 1. To open the Precision Editor, click on the Action control of any clip in the Project Area and choose Precision Editor. A Precision Editor will open in the in the project area. 2. Click and drag the transition point to change the end of the first clip and the start of the second clip. 3. When you’re finished click CLOSE CLIP TRIMMER at the top right of the project window. OIT Training – iMovie Basics Page 6 of 10 Enhancing Your Movie iMovie offers several tools to allow you to enhance your video: Photos: You can add a still image to your film using any of the following methods: 1. Drag and Drop To add an image this way, simply drag and drop an image into the SOURCE AREA Then, you can either click and drag this Drag and drop an image (.JPG, .PNG, etc.) into the SOURCE AREA. Then, click the ‘+’ Button atop the image in the SOURCE AREA to add it to your video. (It will say ‘ADD THE SELECTION TO MOVIE). 2. Using IMPORT Remember you can always use the IMPORT feature or button located at the top of your window. 3. Adding Effects Click the ENHANCE button to automatically improve the image quality. iMovie will do this either by altering the brightness/contrast, the color, etc. to better your image. Alternatively, you can also use the COLOR CORRECTION and CROP functions to enhance your photos. i. COLOR CORRECTION will allow you to change the brightness/contrast, saturation, and temperature of the photos. ii. CROPPING will allow you to change the size of the image, TIP: To apply a “Ken Burns” effect to a still image, select the still image in the Project area and click on the Crop button on the toolbar. Select the Ken Burns tab in the Viewer. The Ken Burns controls will be visible in the Viewer. Titles: You can add text titles to your video by doing the following: 1. Click on the Titles button in the CONTENT LIBRARY. 2. Choose a title style and drag it over a video clip in the Project area. The title will show up as a blue icon above the video clip. 3. To edit the Title, double click on the text in the Viewer. The text should appear with a blue highlight around it. 4. Click the ADJUST button to reveal the drop down menu. OIT Training – iMovie Basics Page 7 of 10 5. From here, you can change the FONT, FONT SIZE, ALIGNMENT (Left, Right, Center, Justify), COLOR, and add effect such as BOLD (B), ITALIC (I), OR OUTLINE (O). 6. When you’re done, just hit the CHECK () button. Transitions: You can also add transitions that will improve the flow of your video by doing the following: 1. Click the Transitions button in the content library to bring up the Transitions browser. 2. As you hover over a transition in the browser the thumbnail will display a preview of what it does. 3. When you find a transition you like, drag it into the Project area and drop it between two clips. The transition will display as a gray box between the two clips. 4. To preview the transition, skim through the video beginning with the clip right before the transition. To delete a transition, click on the gray transition marker to select it and press the Delete key on your keyboard. Video Effects: Video Effects allow you to make your video appear aged, change to b/w, add a vignette, and more. To add a video effect to a clip: 1. Double-click on the clip in the Project area to open the inspector. 2. Click on the Video Effects button in the Clip tab. 3. Hover over each thumbnail to see a preview of the effect in the Viewer. When you find an effect you like, click on its thumbnail. 4. Click DONE to close the inspector and add the effect to your clip. Audio: 1. To add background music to a project: Click on the Music and Sound Effects button on the toolbar. Click on the disclosure triangle next to iTunes or GarageBand in the Music and Sound Effects browser to see the songs available in each of these programs. Choose and iTunes or GarageBand song and click on the Play button at the bottom of the browser to preview it. Drag the song file from the browser to an empty area of the Project. The song is displayed as a green or purple box surrounding the video clips in the Project area. A music note will appear after the last clip in the project area. A music note will appear after the last clip if the music is longer than the video. o NOTE: You can add more than one song. 2. To trim/place background music in a specific project location: OIT Training – iMovie Basics Page 8 of 10 If you want a song to start playing at a specific point in the movie, drag that song’s green or purple box in the Project area so that the top left edge of the box is over the frame of the video where you want the music to start playing. (This is called pinning the music track to the video.) To remove a song from your project, select it in the Project area and press the Delete key on your keyboard. 3. Adding VoiceOver o If you want to record audio in iMovie, just hover over your clip and press "V". Alternatively, you can click "Window" in the menu bar and then click RECORD VOICEOVER TIP: You can also add sound effects using iTunes built-in sound effects library. Publishing your Movie To share your movies you need to export them out of iMovie ‘09 using one of the options in the Share menu. 1. SHARE > 2. A small popup window will appear (see right), where you’ll be able to choose from a variety of options (THEATER, EMAIL, ITUNES, YOUTUBE, FACEBOOK, VIMEO, CNN REPORT, AND FILE) 3. When you are ready to export, click on Publish. The time varies (depending on your computer and the file size.) OIT Training – iMovie Basics Page 9 of 10 Additional Resources LyndaCampus Lynda.com is an online software training library. All Duke students, faculty, and staff can access this resource with their Duke NetID. http://training.oit.duke.edu/lynda OIT Multimedia Project Studio (MPS) Need a specialized computer lab with hardware and software to edit graphics, develop a website, edit a video or integrate audio/video into a project? The MPS Labs on East and West campus have all that plus knowledgeable staff to help you get started and keep you going on your project. For location & staffing information for the MPS, visit http://www.oit.duke.edu/mps or email mpslab@duke.edu Apple Resources iMovie Training – Free Online Tutorial http://www.apple.com/ilife/tutorials/#imovie Apple iMovie Support http://www.apple.com/support/imovie/ OIT Training – iMovie Basics Page 10 of 10


