Absolute Zero - Sierra College
advertisement
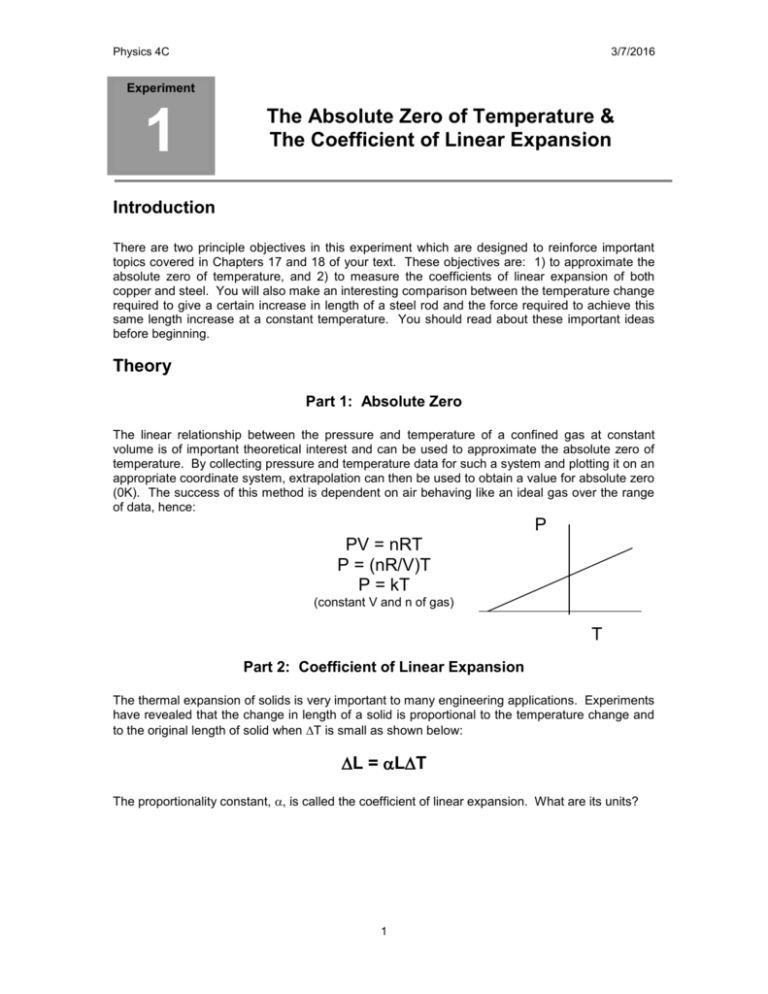
Physics 4C 3/7/2016 Experiment 1 The Absolute Zero of Temperature & The Coefficient of Linear Expansion Introduction There are two principle objectives in this experiment which are designed to reinforce important topics covered in Chapters 17 and 18 of your text. These objectives are: 1) to approximate the absolute zero of temperature, and 2) to measure the coefficients of linear expansion of both copper and steel. You will also make an interesting comparison between the temperature change required to give a certain increase in length of a steel rod and the force required to achieve this same length increase at a constant temperature. You should read about these important ideas before beginning. Theory Part 1: Absolute Zero The linear relationship between the pressure and temperature of a confined gas at constant volume is of important theoretical interest and can be used to approximate the absolute zero of temperature. By collecting pressure and temperature data for such a system and plotting it on an appropriate coordinate system, extrapolation can then be used to obtain a value for absolute zero (0K). The success of this method is dependent on air behaving like an ideal gas over the range of data, hence: P PV = nRT P = (nR/V)T P = kT (constant V and n of gas) T Part 2: Coefficient of Linear Expansion The thermal expansion of solids is very important to many engineering applications. Experiments have revealed that the change in length of a solid is proportional to the temperature change and to the original length of solid when T is small as shown below: L = LT The proportionality constant, , is called the coefficient of linear expansion. What are its units? 1 Physics 4C 3/7/2016 2 Physics 4C 3/7/2016 Procedure Part 1 1. Turn on the hot plate (highest setting), fill a one liter beaker with enough water to cover the glass bulb containing the gas, and heat the water close to boiling. 2. While the water is heating, measure atmospheric pressure using the barometer located on the wall at the front of the room. If you do not know how to correctly use this important instrument, ask for help. 3. When the water is sufficiently hot, fill the copper kettle full enough to cover the glass bulb. CAREFUL: use hot pads to avoid injury. 4. Using the Hg reservoir control knob, adjust the height of the Hg on the left side by either raising or lowering the Hg level to the top of the clear plastic marker (this will establish the constant volume of the gas). The top of the H g is an inverted meniscus and should be referenced at the very top. 5. Quickly read the water temperature and record, and read both the height of the Hg on the left and right sides. Be sure to read and record the correct number of significant figures. 6. Now drain some water from the kettle and refill with cold water. Drain enough to lower the temperature approximately 5 Celsius. This will take some careful trial and error. 7. Repeat steps 4 and 5. You do not have to reread the height of H g on the left side since this is fixed for the entire experiment. 8. Repeat steps 6 and 7 until the water temperature reaches that of the cold tap water. This should result in between 15 and 20 data points. 9. If you would like to collect more temperature/pressure data, obtain some ice from the Chemistry stockroom and continue down to 0 Celsius. Part 2 1. Measure the length of the copper rod using a meter stick equipped with caliper jaws and record. You will have to back the contact screws off to do this. Then measure the diameter of the rod with the micrometer and record its value. 2. Assemble the apparatus as shown on the setup page, and read and record the temperature. 3. Carefully bring the contact screw tips into contact with the ends of the copper rod, and check to see that the light comes on. Now read and record the micrometer. 4. Using the micrometer screw, back the contact off the end of the copper rod (the side with the micrometer only) at least one full centimeter. 5. Fill the copper kettle approximately three quarters full with water, add some boiling beads, and heat to boiling using a Bunsen burner. If you do not know how to use the burner, ask for help. What is the function of the boiling beads? 6. After the water boils, allow steam to flow through the chamber until the thermometer reads a constant temperature close to 100 Celsius. Read and record this temperature. 7. Now carefully adjust the micrometer screw until contact is made and the light just comes on. Read and record the micrometer. 8. Repeat steps 1 through 7 for steel. 3 Physics 4C 3/7/2016 Data Part 1 Trial Table 1: Temperature vs. Pressure T (C) Hr (cm Hg) 1 2 3 4 5 6 7 8 9 10 11 12 13 14 15 16 17 18 19 20 21 HL: Patm: __ll 4 P (cm Hg) Physics 4C 3/7/2016 Data: Part 2 Table 2: for Copper Table 3: for Steel Length L (m) Length L (m) Initial T (C) Initial T (C) Initial Mic (mm) Initial Mic (mm) Final T (C) Final T (C) Final Mic (mm) Final Mic (mm) T (C) T (C) L (mm) L (mm) Table 4: Miscellaneous Information for Copper and Steel Metal Young’s Modulus Rod Diameter Copper Steel Analysis & Results 1. Show a sample calculation of the gas pressure in the rightmost column of Table 1. 5 Physics 4C 2. 3/7/2016 Plot a graph of P vs. T for the Part 1 data, evaluate the slope, y-intercept and write an equation for P as a function of T (C). Remember the number of decimal places in the slope and y-intercept depends on the standard deviation of each curve fitting parameters. Now use this equation to calculate a value for the temperature when the gas pressure goes to zero. How does this value compare to absolute zero? Calculate a % error. Show all your work below and attach your graph to this report. Remember the number of significant figures in your final result is related to the proper number of decimal places in the curve fitting parameters. Equation: Slope, m= y-intercept, b= Absolute Zero Measured: Accepted Value: % Error: 3. Calculate the coefficient of linear expansion for copper. Show your work below. , Copper: % Error: 4. Calculate the coefficient of linear expansion for steel. Show your work below. , Steel: % Error: 6 Physics 4C 3/7/2016 5. Calculate the tension force necessary to cause the same L in both copper and steel that was reported in Table’s 2 and 3. Show your work below. Tension Forces: Copper: Steel: Conclusion (Experiment summary, statement and discussion of results, & sources of error) 7
