Connect the pH Sensor to the Lab Quest
advertisement
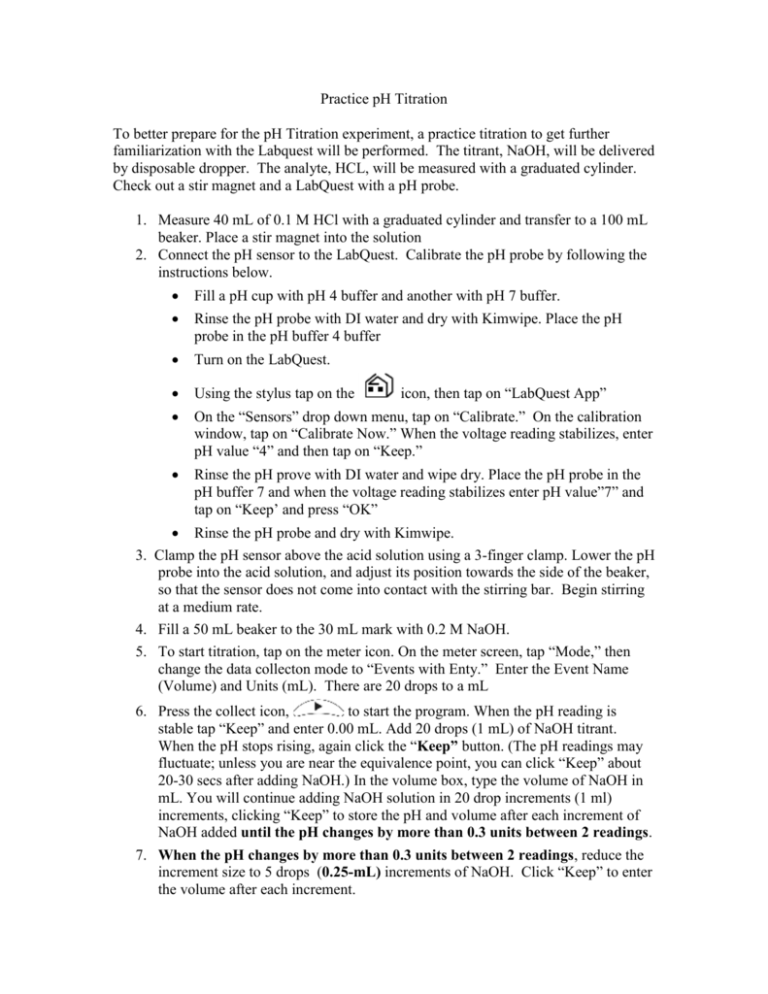
Practice pH Titration To better prepare for the pH Titration experiment, a practice titration to get further familiarization with the Labquest will be performed. The titrant, NaOH, will be delivered by disposable dropper. The analyte, HCL, will be measured with a graduated cylinder. Check out a stir magnet and a LabQuest with a pH probe. 1. Measure 40 mL of 0.1 M HCl with a graduated cylinder and transfer to a 100 mL beaker. Place a stir magnet into the solution 2. Connect the pH sensor to the LabQuest. Calibrate the pH probe by following the instructions below. Fill a pH cup with pH 4 buffer and another with pH 7 buffer. Rinse the pH probe with DI water and dry with Kimwipe. Place the pH probe in the pH buffer 4 buffer Turn on the LabQuest. Using the stylus tap on the On the “Sensors” drop down menu, tap on “Calibrate.” On the calibration window, tap on “Calibrate Now.” When the voltage reading stabilizes, enter pH value “4” and then tap on “Keep.” Rinse the pH prove with DI water and wipe dry. Place the pH probe in the pH buffer 7 and when the voltage reading stabilizes enter pH value”7” and tap on “Keep’ and press “OK” icon, then tap on “LabQuest App” Rinse the pH probe and dry with Kimwipe. 3. Clamp the pH sensor above the acid solution using a 3-finger clamp. Lower the pH probe into the acid solution, and adjust its position towards the side of the beaker, so that the sensor does not come into contact with the stirring bar. Begin stirring at a medium rate. 4. Fill a 50 mL beaker to the 30 mL mark with 0.2 M NaOH. 5. To start titration, tap on the meter icon. On the meter screen, tap “Mode,” then change the data collecton mode to “Events with Enty.” Enter the Event Name (Volume) and Units (mL). There are 20 drops to a mL 6. Press the collect icon, to start the program. When the pH reading is stable tap “Keep” and enter 0.00 mL. Add 20 drops (1 mL) of NaOH titrant. When the pH stops rising, again click the “Keep” button. (The pH readings may fluctuate; unless you are near the equivalence point, you can click “Keep” about 20-30 secs after adding NaOH.) In the volume box, type the volume of NaOH in mL. You will continue adding NaOH solution in 20 drop increments (1 ml) increments, clicking “Keep” to store the pH and volume after each increment of NaOH added until the pH changes by more than 0.3 units between 2 readings. 7. When the pH changes by more than 0.3 units between 2 readings, reduce the increment size to 5 drops (0.25-mL) increments of NaOH. Click “Keep” to enter the volume after each increment. 8. When pH changes by less than 0.3 units between 2 readings, increase the drops to 20 drops (1mL) again until pH 12 is reached. 9. When you have finished collecting data, click the “ ” button. On the “File” drop down menu, tap on “Save” and enter the file name on the top of the screen and tap on “Save.” 10. For the formal pH titration experiment next week, remember to bring a thumb drive to save your data.
