1_geodatabases
advertisement
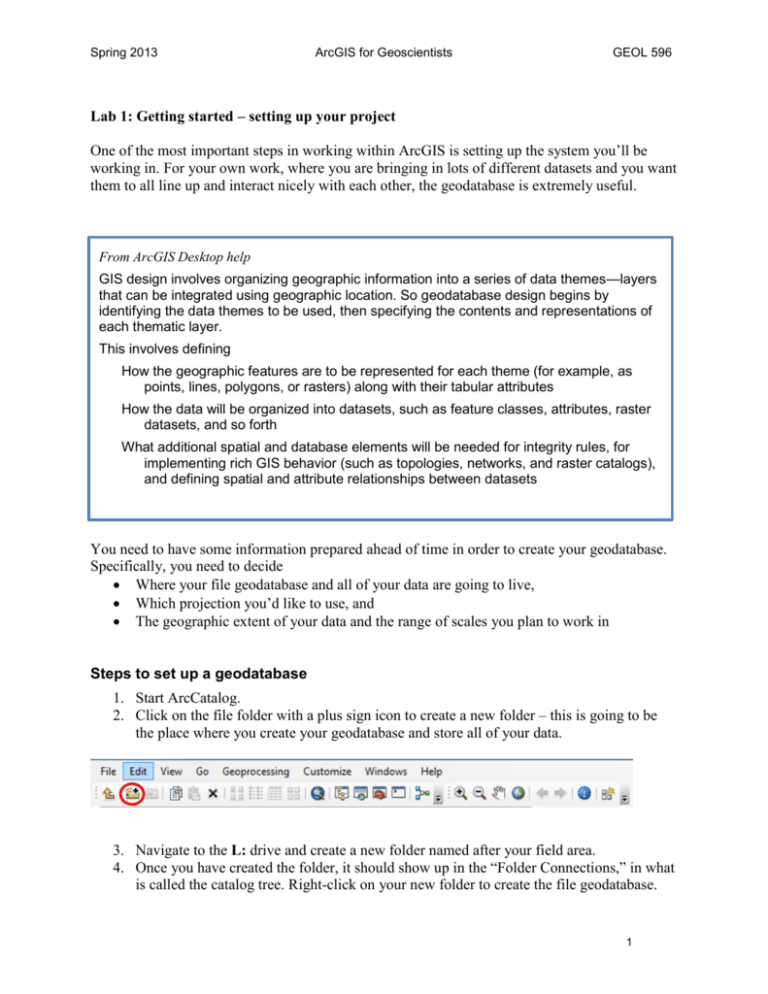
Spring 2013 ArcGIS for Geoscientists GEOL 596 Lab 1: Getting started – setting up your project One of the most important steps in working within ArcGIS is setting up the system you’ll be working in. For your own work, where you are bringing in lots of different datasets and you want them to all line up and interact nicely with each other, the geodatabase is extremely useful. From ArcGIS Desktop help GIS design involves organizing geographic information into a series of data themes—layers that can be integrated using geographic location. So geodatabase design begins by identifying the data themes to be used, then specifying the contents and representations of each thematic layer. This involves defining How the geographic features are to be represented for each theme (for example, as points, lines, polygons, or rasters) along with their tabular attributes How the data will be organized into datasets, such as feature classes, attributes, raster datasets, and so forth What additional spatial and database elements will be needed for integrity rules, for implementing rich GIS behavior (such as topologies, networks, and raster catalogs), and defining spatial and attribute relationships between datasets You need to have some information prepared ahead of time in order to create your geodatabase. Specifically, you need to decide Where your file geodatabase and all of your data are going to live, Which projection you’d like to use, and The geographic extent of your data and the range of scales you plan to work in Steps to set up a geodatabase 1. Start ArcCatalog. 2. Click on the file folder with a plus sign icon to create a new folder – this is going to be the place where you create your geodatabase and store all of your data. 3. Navigate to the L: drive and create a new folder named after your field area. 4. Once you have created the folder, it should show up in the “Folder Connections,” in what is called the catalog tree. Right-click on your new folder to create the file geodatabase. 1 Spring 2013 ArcGIS for Geoscientists GEOL 596 5. Select New > File Geodatabase, and a new file geodatabase is created in the location you selected. 6. Rename the file geodatabase to your field area. It may already be highlighted and ready to rename, but if not, right-click the file geodatabase name, choose Rename, then type a new name. That was easy, right? Now it gets a little bit more complicated. To make a geologic map, you will have several layers of data: a raster dataset, point data like strikes and dips, line data like faults and contacts, and polygon data, like rock units. But the polygons are built based on the lines – you don’t want to have to recreate all of that. Because all of the layers are related, and because you will be using one layer to create others, you want to group all of those layers together into a single feature dataset. Now you need to know about the projection you plan to use. NOTE that a single geodatabase can have multiple feature datasets. We’ll start with just one. Steps to create a feature dataset 1. In the Catalog tree, right-click the geodatabase in which you want to create a new feature dataset. 2. Select New > Feature Dataset. 3. Type a name for the feature dataset. Since a feature dataset all shares the same projection information, it is good practice to include the projection somewhere in the title, at least an abbreviated version. Click Next. 4. Navigate to the projection (spatial reference) you want to use. Alternatively, click Import and navigate to the feature class or feature dataset that uses the spatial reference you want to use as a template (you probably don’t already have this, but you might in the future). Click Next. 5. If your data requires a vertical coordinate system for z-units, you can set one, or you can also import one from another feature class or feature dataset; otherwise, select None. Click Next. 6. Enter values for the xy-tolerance, z-tolerance, and m-tolerance, or accept the default value, which is the equivalent of 1 mm in real-world units. Generally, there is no need whatsoever to mess with these values – make your life easy and choose the default. Click Next. 7. Click Finish. OK. Now you have a feature dataset, and this is where you’ve defined the projection. A feature dataset then consists of feature classes, which is where you start to actually put information. There are a few ways to get information into feature classes: you can (1) create a new feature class and edit it, or (2) you can import data from elsewhere. We’ll go through both methods. Steps to set create a feature dataset 1. In the Catalog tree, right-click the feature datset in which you want to create a new feature feature class. 2. Select New > Feature Class. 2 Spring 2013 ArcGIS for Geoscientists GEOL 596 3. Type a name for the feature class (see naming rules, below). You can also provide an alias, which is the name that you will see when you add the feature class to a project in ArcMap. Naming rules do not apply here, so it can be a way to provide a bit more readable description. A note about naming The feature class name is a unique handle that identifies the feature class. The most popular way to name a feature class is with mixed case or using an underscore, such as MajorRoads or Major_Roads. When you create a feature class, you should give it a name that indicates what data the feature class stores. Feature class names must be unique in a database or geodatabase—you can't have more than one feature class with the same name. Having two feature classes with the same name in the same geodatabase, even if included in different feature datasets, is not allowed. Additional rules Names must begin with a letter, not a number or special character such as an asterisk (*) or percent sign (%). Names cannot contain spaces. If you have a two-part name for your table or feature class, connect the words with an underscore (_), for example, garbage_routes. Names should not contain reserved words, such as select or add. Consult your DBMS documentation for additional reserved words. The length of feature class and table names depends on the underlying database. The maximum name length for file geodatabase feature classes is 160 characters. 4. Choose from the drop-down list the type of features that will be stored in this feature class: points, lines, or polygons. (At this point in your ArcGIS life, the other options are unlikely to be useful to you.) 5. If your data will require m- or z-values, check the appropriate check boxes. (M-values are related to line features, and measure distance along a line. Z-values are heights, or elevations, and are used to view data in three dimensions. Note that your data can have elevation values, but you don’t necessarily need to define them as z-values in the dataset – that only matters if you want to visualize in 3D.) 6. Click Next. 7. Leave the default selection of the keyword configuration and click next. 8. Now you are at a table where you can define the fields that are part of this feature class. ArcGIS includes some field automatically, including the ObjectID (a unique numeric identifier for each feature) and Shape. If you are creating a line layer that consists of faults, for example, you might have Fields like “Fault_type” with a data type of “text” where you can enter words like “normal”, “thrust”, etc., for each feature you create. Note that the naming conventions are the same. Also note that you do NOT need to add fields like latitude and longitude – you will be able to derive these later, if needed. (Note that you can also add field later, if you don’t have everything ready to go when you start.) If you have an existing feature class that you want to import the field from, you can do that here, too, using the import data. This does NOT import the data from that other feature 3 Spring 2013 ArcGIS for Geoscientists GEOL 596 class – just the fields. (So, for example, if you made a fault layer for a different map and you liked all of the fields in that feature class, you can just import it.) 9. Click Finish – and you see your new feature class. There is no data in it yet, of course, but we’ll get there. Now let’s import a file into our geodatabase. We’ll download some data that most of you will use eventually. Searching for GIS data from Arc 1. In ArcCatalog, click on the “Search” icon in the toolbar (see below), which will open up a sidebar on the right. 2. In the drop-down menu in the Search toolbar, select “ArcGIS Online”, and be sure that “All” is selected above the search box. 3. Type “continents” into the search field, depending on whether you are working primarily in the US or elsewhere. What we want is a simple shapefile containing those features that we can utilize in our database. 4. The yellow diamond icons contain data sets that can be added to ArcMap; the square icons are web maps (which you don’t want). Choose a file that looks like what you want, and click on the link. 5. What happens? It opens up ArcMap and shows the data there. The data have been downloaded… somewhere… probably not where you wanted them to go. But that’s OK, because we also want to bring them into our feature dataset, so we’re going to move the file anyway. NOTE how the data display: are they projected? 6. You actually want to have the file stored in a folder along with the other parts of this project. You could track it down in the Documents folder on the C:\ drive and move it, but it’s simpler to just Export the data to a new layer in ArcMap and delete the old one (eventually). To do this, right click on the layer, Data > Export Data. Export all features and retain the layer’s source data. Browse to where you want to store the file 4 Spring 2013 ArcGIS for Geoscientists GEOL 596 (in the same folder as your .gdb file, which is your geodatabase), and select Shapefile from the Save as type pulldown. Rename it: the default for everything you ever export is Export_Output.shp, and it is useless. We still don’t have the continents file in our feature dataset – that’s the next step. To do that, let’s go back to ArcCatalog. Importing a feature dataset from a shapefile 1. Right click on the folder that contains your geodatabase and select Refresh. Your exported shapefile should appear now. 2. Right click on the shapefile and select Export > To Geodatabase (single). 3. Choose the output location, which is your feature dataset (note that you actually select the dataset and click Add – don’t try to type a new name for the file in this box). 4. Type a filename in the feature class box, not worrying about an extension (but following the naming rules!). The field map shows you what fields it will bring in from the shapefile. 5. Click OK. 6. Refresh your geodatabase folder again, and you should see the new feature class. In ArcCatalog, toggle back and forth between the previews of the original shapefile and the feature class. How and why do they look different? If you have multiple files in someone else’s geodatabase that you want to bring into yours, you can use the Export > To Geodatabase (multiple) feature and do it all at once. If you have existing point data in an Excel or CSV file, there are a few more steps to go through, and we’ll cover that later. At this point, however, you can start bringing files into your geodatabase. We’ll start talking about editing and creating your own data in a few weeks. A note about metadata It is good practice to keep track of your data sources and keep all of the information about your data (the metadata) together with the data itself. It’s pretty easy to do this in ArcCatalog. For any of the files you just created, you can click on the Description tab in the right-hand window. For anything you created, basically all of the fields will be blank. But you can hit the edit button at the top and add information as you go, or you might be able to import metadata if you get it from a source like the USGS. 5


