Build your own mountain and make a topographic map of it!
advertisement
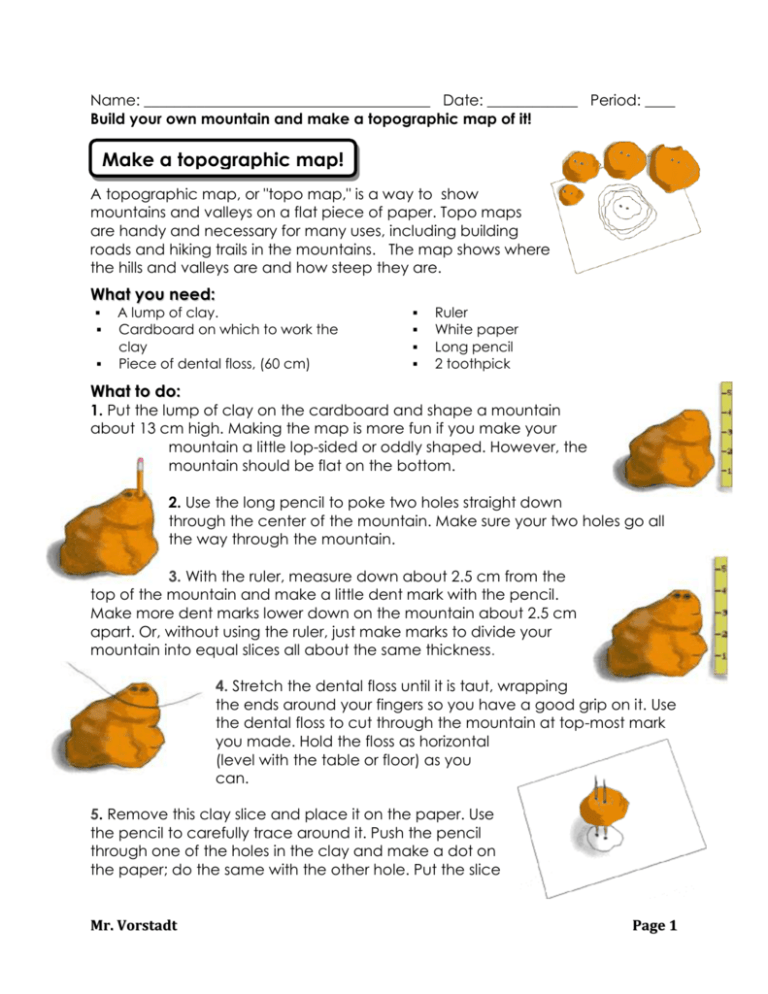
Name: ______________________________________ Date: ____________ Period: ____ Build your own mountain and make a topographic map of it! Make a topographic map! A topographic map, or "topo map," is a way to show mountains and valleys on a flat piece of paper. Topo maps are handy and necessary for many uses, including building roads and hiking trails in the mountains. The map shows where the hills and valleys are and how steep they are. What you need: A lump of clay. Cardboard on which to work the clay Piece of dental floss, (60 cm) Ruler White paper Long pencil 2 toothpick What to do: 1. Put the lump of clay on the cardboard and shape a mountain about 13 cm high. Making the map is more fun if you make your mountain a little lop-sided or oddly shaped. However, the mountain should be flat on the bottom. 2. Use the long pencil to poke two holes straight down through the center of the mountain. Make sure your two holes go all the way through the mountain. 3. With the ruler, measure down about 2.5 cm from the top of the mountain and make a little dent mark with the pencil. Make more dent marks lower down on the mountain about 2.5 cm apart. Or, without using the ruler, just make marks to divide your mountain into equal slices all about the same thickness. 4. Stretch the dental floss until it is taut, wrapping the ends around your fingers so you have a good grip on it. Use the dental floss to cut through the mountain at top-most mark you made. Hold the floss as horizontal (level with the table or floor) as you can. 5. Remove this clay slice and place it on the paper. Use the pencil to carefully trace around it. Push the pencil through one of the holes in the clay and make a dot on the paper; do the same with the other hole. Put the slice Mr. Vorstadt Page 1 aside, but don't squash it. You'll need it again later. 6. Cut a second slice at your next mark down from the top. Lay the second slice over the tracing of the first one, being careful to place the holes in the second sick over the dots on the paper. To line up the holes, poke the two toothpicks through the holes in the slice and line them up with the two dots on the paper. Carefully trace around the second slice. Your tracing will form a circle outside the tracing of the first slice. (If you have "outcroppings" on your mountain, the second circle could cross into the area of the first circle). 7. Cut another slice at the next mark down. Line up the holes with the dots and trace it as you did before. Finally, place the bottom slice on the paper, line up the holes, and trace it. 8. Stack the slices back up in order on the cardboard. Be sure the holes line up. 9. Admire your topo map! QUESTIONS? 1- Compare the topographic map you have just made to the model mountain. Why are some of the traced lines closer together than others? _________________ ______________________________________________________________________________ ______________________________________________________________________________ 2- What kind of slope gives you lines that are close together? __________________ ______________________________________________________________________________ 3- What kind of slope gives lines that are far apart? ____________________________ ______________________________________________________________________________ 4- On your topographic map, where are the steepest slopes? __________________ ______________________________________________________________________________ ______________________________________________________________________________ 5- Looking at your map, where would be the best place to build a trail to climb to the top of the mountain?___________________________________________________ ______________________________________________________________________________ Mr. Vorstadt Page 2 ______________________________________________________________________________ How to Make Your Own Modeling Dough It's a good idea to do this activity with a grown up. What you need: 1 cup flour 1/2 cup salt 2 teaspoon cream of tartar 1 cup water 1 tablespoon vegetable oil Food coloring to your liking What to do: 1. 2. 3. 4. Combine the dry ingredients, then the liquids in a pan. Heat slowly, stirring constantly, until thickened. Remove from heat, take out of the pan and knead until smooth. Store in an air tight container. Mr. Vorstadt Page 3
