Graph and Equation Plotting Tutorial
advertisement

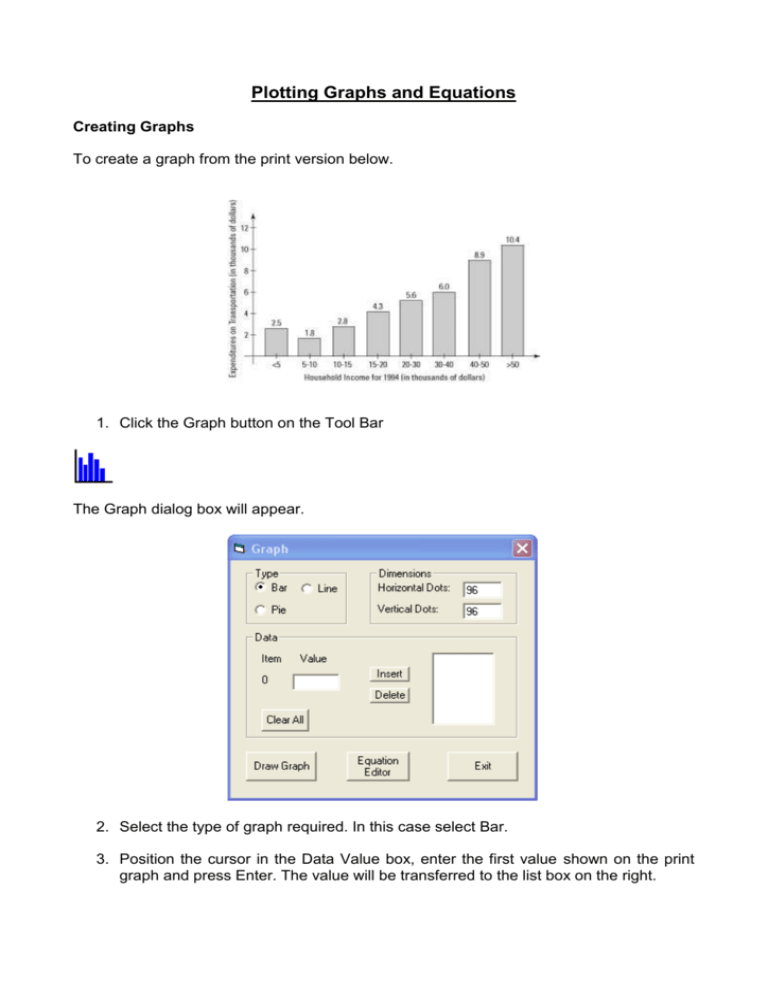
Plotting Graphs and Equations Creating Graphs To create a graph from the print version below. 1. Click the Graph button on the Tool Bar The Graph dialog box will appear. 2. Select the type of graph required. In this case select Bar. 3. Position the cursor in the Data Value box, enter the first value shown on the print graph and press Enter. The value will be transferred to the list box on the right. 4. Continue entering all the data. Note that data is automatically entered at the end of the list. An item in the list box can be deleted by selecting it and clicking the delete button. An item can be inserted into the list by selecting an exiting item, entering the new value in the Data box and clicking the Insert button. The new data will be inserted immediately above the selected item. 5. When all the data has been entered, click the Draw Graph button. Resizing the Graph By default the graph will be drawn in 80% of the available page. To rescale the graph, enter the required size in the Dimensions box. In this case the Vertical Dots has been set to 50. Alternatively, both the size and position of the graph can be set by the Select tool. Use the Select tool to select an area of the page. Click the Draw Graph button and the graph will be scaled and positioned in the Select Box. To plot a graph of y=5 x sin(X) 1. Click the Graph button on the Tool Bar The Graph dialog box will appear. Decide whether a full page or smaller area is required. If a smaller area is sufficient, set the number of horizontal or vertical dots required in the Dimensions edit boxes. Alternatively, an area and page position can be set with the Select Tool. (Click the Select button before the Graph button). 2. Click the Equation Editor button to display the Equation Editor dialog box. The default equation is y=X. This must be changed to y=5 x sin(X). 3. On the key pad click the 5, X, and sin buttons. (The open bracket is automatically inserted by the sin button). Now move the cursor to the end of the line and click the Close Bracket button 4. To see what this looks like, click the Solve! button. This shows a plot of the equation with a Range and Domain of -10 to +10. By default the equation is plotted in rectangular coordinates. The graph can be better displayed by altering the Range, Domain and Scale Factor settings to reflect polar coordinates and the gaps in the plot can be filled in by increasing the Resolution. Change the From value of x to 0 and the To value of x to 2*pi. This sets the Range to one complete cycle of the sin wave. Change the From and To values of y to -6 and 6. Change the Resolution to 2. Change the X Scale Factor to pi/2. Click the Solve! button to see the changes. To create a plot from a text book example such as the one below. 1. To enter the equation y=X2, place the cursor after the X and click the X squared button The equation will display as X^2. 2. Set the Range from -3 to 3. 3. Set the Domain from 0 to 6. 4. Set the Resolution to 3. 5. Set the Y Scale Factor to 2. 6. Click the Solve! button. 7. In the Equation edit box, enter y = X+2. 8. Change the Resolution to 1 so that the line will not be too thick. 9. Click the Solve! button. 10. Use the Fill Area tool to fill the shaded area. 11. Use the Label tool to add the required braille labelling.


