Scratch Programming Cheat Sheet for Beginners
advertisement

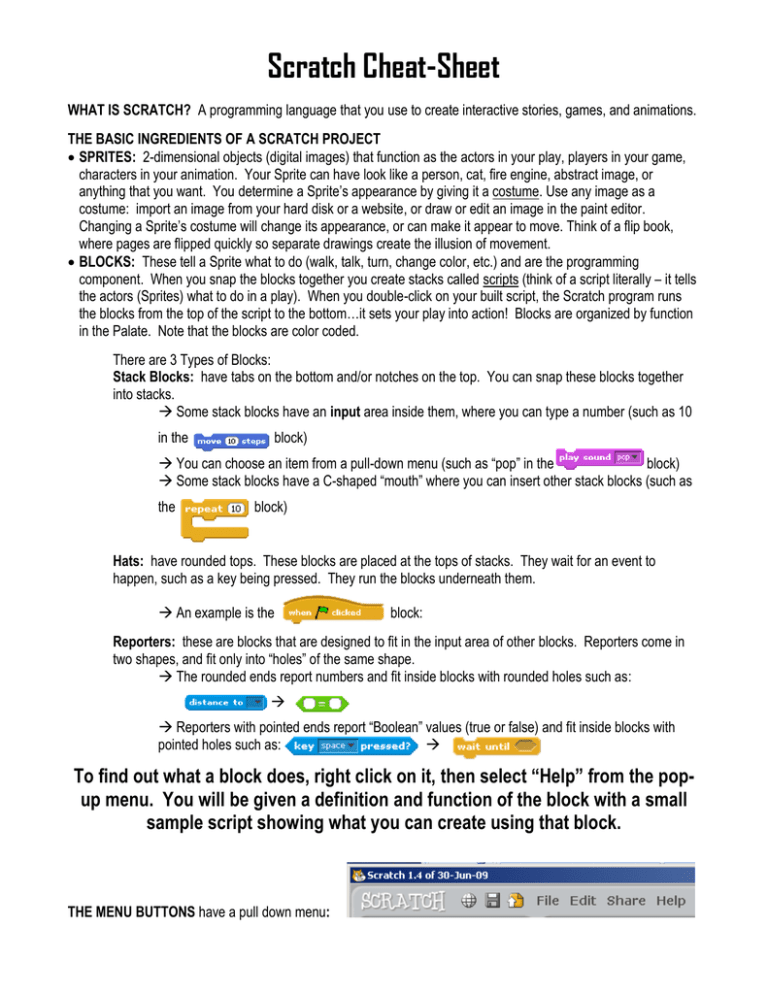
Scratch Cheat-Sheet WHAT IS SCRATCH? A programming language that you use to create interactive stories, games, and animations. THE BASIC INGREDIENTS OF A SCRATCH PROJECT SPRITES: 2-dimensional objects (digital images) that function as the actors in your play, players in your game, characters in your animation. Your Sprite can have look like a person, cat, fire engine, abstract image, or anything that you want. You determine a Sprite’s appearance by giving it a costume. Use any image as a costume: import an image from your hard disk or a website, or draw or edit an image in the paint editor. Changing a Sprite’s costume will change its appearance, or can make it appear to move. Think of a flip book, where pages are flipped quickly so separate drawings create the illusion of movement. BLOCKS: These tell a Sprite what to do (walk, talk, turn, change color, etc.) and are the programming component. When you snap the blocks together you create stacks called scripts (think of a script literally – it tells the actors (Sprites) what to do in a play). When you double-click on your built script, the Scratch program runs the blocks from the top of the script to the bottom…it sets your play into action! Blocks are organized by function in the Palate. Note that the blocks are color coded. There are 3 Types of Blocks: Stack Blocks: have tabs on the bottom and/or notches on the top. You can snap these blocks together into stacks. Some stack blocks have an input area inside them, where you can type a number (such as 10 in the block) You can choose an item from a pull-down menu (such as “pop” in the block) Some stack blocks have a C-shaped “mouth” where you can insert other stack blocks (such as the block) Hats: have rounded tops. These blocks are placed at the tops of stacks. They wait for an event to happen, such as a key being pressed. They run the blocks underneath them. An example is the block: Reporters: these are blocks that are designed to fit in the input area of other blocks. Reporters come in two shapes, and fit only into “holes” of the same shape. The rounded ends report numbers and fit inside blocks with rounded holes such as: Reporters with pointed ends report “Boolean” values (true or false) and fit inside blocks with pointed holes such as: To find out what a block does, right click on it, then select “Help” from the popup menu. You will be given a definition and function of the block with a small sample script showing what you can create using that block. THE MENU BUTTONS have a pull down menu: FILE: you will find New, Open, Save (& disk icon), and Save As which do what you would expect them to do. It also lets you Import Project (bring all Sprites and backgrounds from another project (a play or game) into your current project. This feature is useful for combining Sprites from multiple projects) and Export Sprite into the project, write Project Notes (document what you did, or tried to do!), and Quit. EDIT: you can “Undelete” (will allow you to retrieve the last block, script, or sprite you deleted - but does not allow you to undo most other actions); Compress Sound/Image files to reduce program size make it run more quickly; and Start/Stop Single Stepping (program runs one step at a time, highlighting each block as it runs. This feature can be useful for finding bugs in scripts, and for helping new programmers understand the flow of the script.) SHARE: uploads your project to the Scratch website (http://scratch.mit.edu) – provided you have the log-in. GLOBE ICON: allows you to change the language used on the script blocks. HELP: Brings up a page with links to reference materials, tutorials, and frequently-asked questions. To get help on an individual block, right click on the block and select Help form the pop-up menu. GETTING STARTED -- PLAY AND CREATE: (See Image #1) One of the best ways to learn about the Scratch program is to play with the examples provided. WHAT ARE ALL OF THESE BUTTONS? Here are the functions for the identified areas of the Scratch Control & Design Screen: (See Image #2) Tabs – click on these tabs to edit scripts, costumes, or sounds Blocks & Palette – where the blocks are located for programming your Sprites Script Area – drag blocks into this area, decide what you want to happen, snap them together to form scripts Green Flag – A way to start your scripts (the most common way to start them) Stage – Where your Scratch plays, games and animations come to life New Sprite Buttons – Create a new character or object for your project Sprite List – Thumbnails of all your Sprites. Click to select and edit a sprite. This list of buttons is not all-inclusive. If you consult the website resources that we provided for you, each button is given in detail. COSTUMES TAB & NEW SPRITES BUTTONS: (See Images #3 & #4) A costume can be a variety of things: - A color change - A positional change (you keep the same character but that characters appendages or facial expressions are different) this is how you create a believable animation - You can change your sprite all together (from a cat to a duck for example) - By using the paint function you can erase or add on qualities that you may or may not need for your Sprite FOR MORE INFORMATION: Scratch Reference Guide: http://info.scratch.mit.edu/Support/Reference_Guide_1.4 A Getting Started with Scratch guide: http://info.scratch.mit.edu/sites/infoscratch.media.mit.edu/files/file/ScratchGettingStartedv14.pdf Sharing your games or to download the Scratch program are at: http://scratch.mit.edu Handout from: Developing Online Games and Animations in Your Out-of-School Program Trudy Dunham, Molly Reisman, Jay Staker & Vishal Singh May 2010 CYFAR Conference, San Francisco, CA


