1. Ohms Law
advertisement
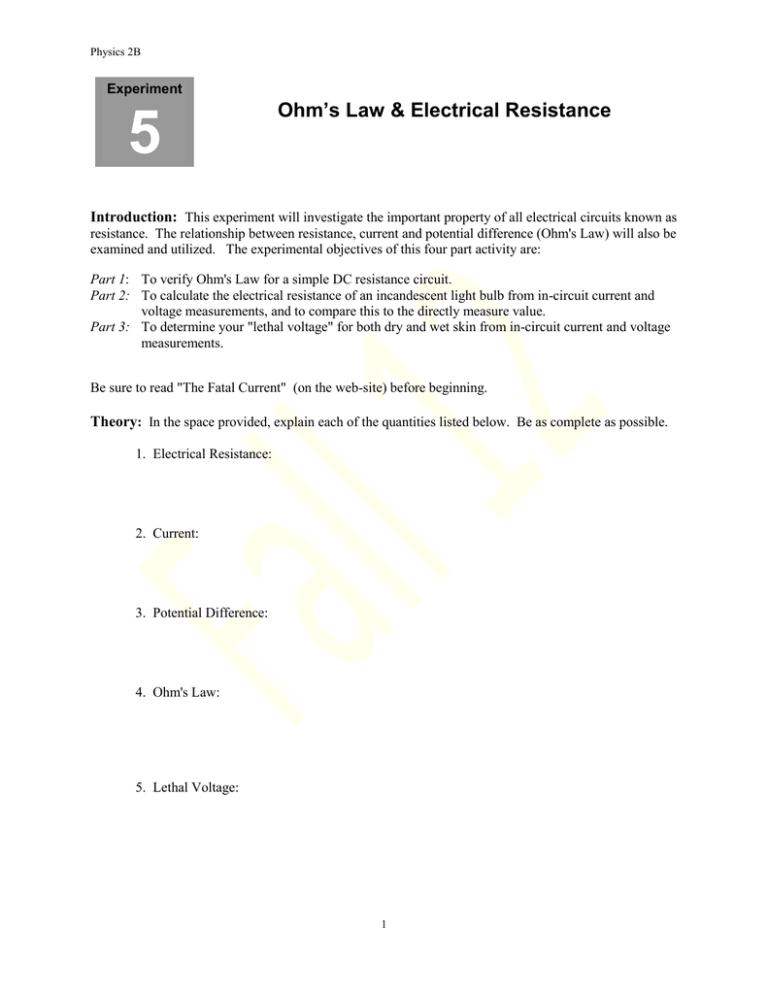
Physics 2B Experiment 5 Ohm’s Law & Electrical Resistance Introduction: This experiment will investigate the important property of all electrical circuits known as resistance. The relationship between resistance, current and potential difference (Ohm's Law) will also be examined and utilized. The experimental objectives of this four part activity are: Part 1: To verify Ohm's Law for a simple DC resistance circuit. Part 2: To calculate the electrical resistance of an incandescent light bulb from in-circuit current and voltage measurements, and to compare this to the directly measure value. Part 3: To determine your "lethal voltage" for both dry and wet skin from in-circuit current and voltage measurements. Be sure to read "The Fatal Current" (on the web-site) before beginning. Theory: In the space provided, explain each of the quantities listed below. Be as complete as possible. 1. Electrical Resistance: 2. Current: 3. Potential Difference: 4. Ohm's Law: 5. Lethal Voltage: 1 Physics 2B Procedure: The circuits for each part are already set up in the lab. They are labeled for identification and, along with the following instructions, are easy to use. Although you will have the opportunity to more completely learn how to build circuits and use the various circuit elements in the next experiment, you are encouraged to study these now. Do not tamper with these circuits in any way. If you have questions or suspect a problem, obtain help before proceeding. Part 1 You are going to collect a set of voltage and current data by varying the voltage of the power supply and reading the voltmeter and ammeter. Record this data in Table 1. 1. Locate the variable voltage knob on the power supply. Rotate it as far as it will go CCW to a zero setting. 2. Turn on the power supply, voltmeter and ammeter (note how these are wired). 3. Turn the voltage knob CW until approximately 2 V show on the voltmeter. Read both the voltmeter and ammeter and record in Table 1. 4. Increase the voltage in increments of approximately 2 V until you have recorded between 10 to 15 data points. (The number of data points will depend on your maximum voltage) 5. Turn off all the instruments and reset the voltage knob to a zero setting (full CCW). 6. Also record the colored bands on the resistor in the order that they appear. 7. Finally, measure and record the resistance of the resistor directly with the ohmmeter provided. To do this, first disconnect one of the patch cords from the terminal block (this opens the circuit). Now attach the two ohmmeter leads to opposite terminals of the block (note the bus line and make sure the two terminals used are not bused). The resistor and the meter should be in series with each other (visually trace the path to verify that it is correct). Plug in the ohmmeter, turn it on and read the resistance. Be sure to restore the original circuit and turn off the ohmmeter when you are finished. Part 2 Repeat Part 1 using a light bulb as the resistor. 1. After setting the power supply to zero, turn it on along with the two meters. 2. Slowly increase the voltage until the bulb just begins to glow, record this voltage, then reset to zero volts. 3. Collect trial of data ranging from zero to the max voltage. Increment each reading so that you can get 15 data points (probably 2-3 Volts), and record in Table 2. 4. Measure the resistance of the light bulb directly with an ohmmeter. Remember to disconnect the bulb from the original circuit before connecting it to the ohmmeter. 5. Finally, turn all equipment off and restore the original circuit when you are finished. 2 Physics 2B Part 3 In this part, you will determine your lethal voltage, with your body acting as the resistor in Part 1. You can measure your body's resistance by taking a voltage and current reading and using Ohm's law. 1. Turn on the voltmeter and power supply, and set the voltage to 3 V. 2. Place the back of your two index fingers (between the first and second knuckles) onto the two metal strips (one on each), push down and read the microammeter. Record both the voltage and current readings. 3. Repeat #2 after wetting your fingers (be consistent). 4. Be sure to dry off the two metal strips and turn off all instruments when you are finished. Note: 3 V may not work for everyone, since body resistance depends on so many factors. If the current reading is to low or pegs the meter, adjust the voltage accordingly. Data: Table 1: Part 1 Trial Voltage (V) Current (A) Trial 1 9 2 10 3 11 4 12 5 13 6 14 7 15 8 16 Color Code: _______________ Measured Resistance: _________________ 3 Voltage (V) Current (A) Physics 2B Table 2: Part 2 Trial Voltage (V) Current (A) Trial 1 9 2 10 3 11 4 12 5 13 6 14 7 15 8 16 Measured Resistance: _________________ ohms Part 3 Voltage, Dry Skin: ____________________ Current, Dry Skin: ___________________ Voltage, Wet Skin: ____________________ Current, Wet Skin: ___________________ 4 Voltage (V) Current (A) Physics 2B Analysis: Part 1: Plot a graph of voltage (ordinate) vs. current and evaluate the slope. Complete the "Results, Part 1" with the indicated comparisons, and attach your graph to this report. Part 2: Repeat #1 for part 2, and explain your results under Part 2” Part 3: Calculate your lethal voltage for both wet and dry conditions and report them under "Results, Part 3". Calculations: Show sample calculations below. Be as organized as you can, showing all formulas and units. Watch your sig. fig.'s! Results: Part 1 Slope of V vs. I: ________________________________ % Error (from measured value): ___________________ Color Coded Resistance: __________________________ % Error (from measured value): ___________________ Part 2 1. How does the curve for the light bulb differ for the curve in part 1 for a resistor? 2. Does the light bulb have one value for the resistance? 3. Take the ratio of the voltage to the current for one of your data points when the bulb is glowing. Compare this value with the value of the resistance measured with the ohmmeter. Why are they different? Part 3 Dry Skin Lethal Voltage = ________ volts Wet Skin Lethal Voltage = ________ volts 5

