Reading Langauge Arts Lesson Plan Charlotte's web
advertisement
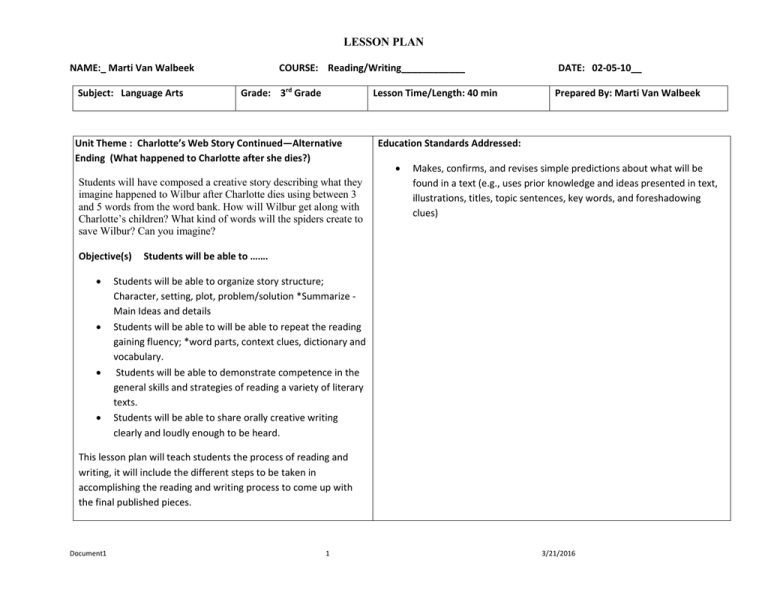
LESSON PLAN NAME:_ Marti Van Walbeek Subject: Language Arts COURSE: Reading/Writing____________ Grade: 3rd Grade Lesson Time/Length: 40 min Unit Theme : Charlotte’s Web Story Continued—Alternative Ending (What happened to Charlotte after she dies?) Students will have composed a creative story describing what they imagine happened to Wilbur after Charlotte dies using between 3 and 5 words from the word bank. How will Wilbur get along with Charlotte’s children? What kind of words will the spiders create to save Wilbur? Can you imagine? Objective(s) DATE: 02-05-10__ Prepared By: Marti Van Walbeek Education Standards Addressed: Makes, confirms, and revises simple predictions about what will be found in a text (e.g., uses prior knowledge and ideas presented in text, illustrations, titles, topic sentences, key words, and foreshadowing clues) Students will be able to ……. Students will be able to organize story structure; Character, setting, plot, problem/solution *Summarize Main Ideas and details Students will be able to will be able to repeat the reading gaining fluency; *word parts, context clues, dictionary and vocabulary. Students will be able to demonstrate competence in the general skills and strategies of reading a variety of literary texts. Students will be able to share orally creative writing clearly and loudly enough to be heard. This lesson plan will teach students the process of reading and writing, it will include the different steps to be taken in accomplishing the reading and writing process to come up with the final published pieces. Document1 1 3/21/2016 LESSON PLAN Essential Question: How can we explore our world by reading books and stories? Infusion: Learning/Studying Teaching Methods, Procedures & Activities Reading: Materials Needed: Stage 1: Pre Reading: Teacher and students talk about new key vocabulary words and build background knowledge of the story of Charlotte’s web. They make predictions about the story, and preview the text. 5 minutes Stage 2: Reading: Teacher divides the classroom into 3 groups. Guided reading: The teacher sits in with the slower readers for instruction and guidance. Everyone in their reading circles take turn reading the movie storybook. The children read Charlotte’s Web story out-loud. Ask the students to write down questions they have about the story. (This is a shorter version of Charlotte’s Web that came out when they wrote the movie.) 15 minutes Stage 3: Responding: Teachers and the students have a class discussion. Ask the students to write the questions on the board for everyone to see the questions. Ask the children if they can answer the questions. Some of the questions may be: What were the words that Templeton? Who was Wilbur’s first real friend? Who was the first friend that Wilbur would meet? Why was Wilbur lonely? Why did Wilbur consider Charlotte to be such a good friend? What did Charlotte do for Wilbur? Who did Charlotte leave behind? What were their names? All the students will participate in the grand conversations. 5 minutes Stage 4: Exploring: What vocabulary words did they learn from the story? Stage 5: Applying: Ask the Children to construct an shadow box of the barn or Wilbur’s home. Provide them a model of your barn. You may construct it as you model the barn; this will help the visual learners. Have the children present their shadow boxes. Display the boxes around the room. Explain to the children that they cannot take them home because they are going to add to the story. 15 minutes Going Green: Use recyclables from home. Be creative! Shadow Box: Egg cartons, popsicle sticks, pipe cleaners, shoe box, Styrofoam, etc. Sculpture: Recipe: Glue: 1 cup, food coloring: any color, borax: 1tsp, fabric softener: ¼ cup Strategy: Learning Center Graphic Organizer Skills: Inquiry based Project Method Lesson Evaluation /Reflection: Reading Document1 Students will be evaluated on their ability to identify the setting of the short story. 2 3/21/2016 LESSON PLAN Students will be evaluated on their ability to ask questions, retell the story, identify new vocabulary words, and characters of the short story. Student will be assessed on their ability to the present and the amount of time spent on the project. Notes Assessment: Rubric Response Analysis Web Links to National Education Standards: Special Educ.: www.cec.sped.org Core Subjects: www.mcrel.org/standards-benchmarks/ Iowa Core Curriculum: http://www.corecurriculum.iowa.gov/Home.aspx http://www.abchomepreschool.com/Crafts/EggCartonCrafts.htm http://www.dltk-kids.com/school/egg_carton_school_bus.htm http://web-apps.pella.k12.ia.us/php/curriculum_depart/map_view.php?map_id=0002311 http://web-apps.pella.k12.ia.us/php/curriculum_depart/forms/search_forms.php?department=004&course=Third+Grade&btnSubmit=Select http://web-apps.pella.k12.ia.us/php/curriculum_depart/map_view.php?map_id=0002163 http://www.busyteacherscafe.com/worksheets/Story%20Map.pdf Document1 3 3/21/2016 LESSON PLAN DLTK's Educational Activities - Book Report Ideas Example Diorama Charlotte's Web Kaitlyn made this diorama in Grade Three. Her favorite part: making the pig Her least favorite part: making the fence Her mark: 100% Materials: o o o Basics: Background: o acrylic paint (red) o powerpoint and color printer o straw colored (natural) raffia 4 small wooden sticks (like popsicle sticks) plasticize Stool o o Document1 Fence o o shoe box glue scissors cardboard two corks Roof 3/21/2016 LESSON PLAN Pig (Wilbur) o sculpey clay Spider (Charlotte) o black pom pom o small wiggly eyes o dark wool o Halloween web cotton o o o regular cardboard (ex: old cereal box) green poster board Corrugated cardboard (we got ours from the scrapbooking section of the craft store. The Steps We Took: You could do this all in one day but we never procrastinate! It's much more fun (and less stressful) if you do a little each day for a week. Day 1: Kaitlyn sketched out her ideas on a piece of paper Kaitlyn searched through the "craft cupboard" for what we had on hand and for inspiration. Kaitlyn made a list of materials she thought she would need - dividing her list into things we had and things we needed to buy. Mommy reviewed Kaitlyn's sketch and materials list. Kaitlyn painted the entire outside of the box red to look like a barn (we had the red acrylic paint on hand) after covering the table with newspaper. Kaitlyn washed her brushes and tidied the kitchen table -- acrylic paint dries in under an hour, so she was able to tidy up without setting anything aside to dry. Day 2: Kaitlyn and mommy sat down at the computer for a lesson on Powerpoint. Mommy designed an entire "background" for the walls of the barn while Kaitlyn watched. Document1 5 3/21/2016 LESSON PLAN Mommy deleted everything she'd done (to Kaitlyn's horror *grin*) and then Kaitlyn designed her own background for the walls of the barn while mommy watched. Kaitlyn printed her design (about 4 sheets), cut her sheets to fit the "walls" of her barn and glued them to the back and sides (inside). Kaitlyn chopped raffia into small bits (to look like straw) and glued this all over the floor of her box Kaitlyn glued wiggly eyes and bits of wool to a black pom pom to make a spider -- everything fell off! Kaitlyn and mommy hot glued wiggly eyes and bits of wool to a black pom pom -- this time it worked (hot glue!) Kaitlyn hot glued Charlotte to the side of her barn, toward the front. at this point we had run out of supplies we happened to have lying around the house so we made a trip to our local craft store to pick up sculpey clay, plasticine, wooden sticks and corrugated cardboard Day 3: Kaitlyn made her pig with sculpey clay -- one large oval for the body, four stubby cylinders for legs, pinched triangles for the ears and a coiled snake for the tail. Bits of white and blue made the eyes. Instruct children to jam their pieces together firmly (so the figure doesn't fall apart after baking Instruct children not to leave any "skinny pieces" sticking out (for example, make sure you push the tail against the body) -- skinny pieces will break off easily Instruct the children to make sure the piece stands up before you bake it (make the legs short and stubby, not wobbly and skinny) Day 4: Document1 6 3/21/2016 LESSON PLAN after a lot of trial and error -- mom, dad, grandpa and Kaitlyn managed to build a fence for Wilbur Clumps of plasticine were hotglued to the bottom of the shoebox floor Kaitlyn pushed her fence sticks into the plasticine to act as fence posts The fence cross pieces were hot glued to the fence posts -- everyone got a bit burned during the process (make sure you use a low-temp crafting hot glue gun not a carpentry one so that no one gets seriously injured) Day 5: Kaitlyn and daddy made the stool: o Daddy sawed two corks in half -- to make four corks half as tall o Kaitlyn glued a square of cardboard to the four half corks o Kaitlyn used a very creative swirly painting technique (with red and brown acrylic paint) to decorate her stool Day 6: Kaitlyn made her roof -- it was very challenging. She traced her shoebox onto a piece of cardboard and added a "Hip roof" type shape to the top She cut out this cardboard shape and glued it to the back of her shoebox Kaitlyn cut a piece of green posterboard (as long a strip as possible) as wide as the shoebox -- she left "tabs" on the posterboard. Document1 7 3/21/2016 LESSON PLAN Kaitlyn draped her green posterboard over her roof and folded the tabs around the cardboard and taped them on Kaitlyn cut "shingles" from corrugated cardboard. Starting from the bottom of the roof, she taped these onto the green poster board, overlapping each a little so it would look like a shingled roof Day 7: Kaitlyn did a few final touches, arranging all her characters as she liked them She wrote out her name, the name of the book and author's name and attached this "label" to the front of her project If yours doesn't have holes, just glue the people onto the bus... you can draw "windows" around them with a black marker. Document1 8 3/21/2016 LESSON PLAN Document1 9 3/21/2016
