Love Letter Project - Maria Gatling Handout
advertisement
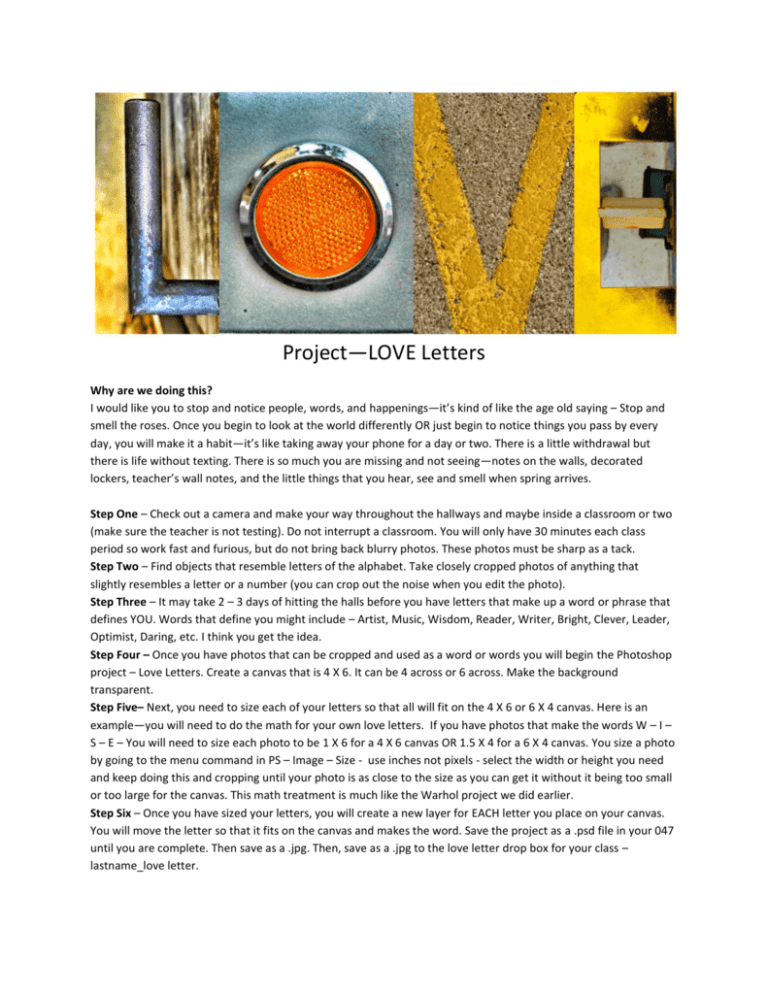
Project—LOVE Letters Why are we doing this? I would like you to stop and notice people, words, and happenings—it’s kind of like the age old saying – Stop and smell the roses. Once you begin to look at the world differently OR just begin to notice things you pass by every day, you will make it a habit—it’s like taking away your phone for a day or two. There is a little withdrawal but there is life without texting. There is so much you are missing and not seeing—notes on the walls, decorated lockers, teacher’s wall notes, and the little things that you hear, see and smell when spring arrives. Step One – Check out a camera and make your way throughout the hallways and maybe inside a classroom or two (make sure the teacher is not testing). Do not interrupt a classroom. You will only have 30 minutes each class period so work fast and furious, but do not bring back blurry photos. These photos must be sharp as a tack. Step Two – Find objects that resemble letters of the alphabet. Take closely cropped photos of anything that slightly resembles a letter or a number (you can crop out the noise when you edit the photo). Step Three – It may take 2 – 3 days of hitting the halls before you have letters that make up a word or phrase that defines YOU. Words that define you might include – Artist, Music, Wisdom, Reader, Writer, Bright, Clever, Leader, Optimist, Daring, etc. I think you get the idea. Step Four – Once you have photos that can be cropped and used as a word or words you will begin the Photoshop project – Love Letters. Create a canvas that is 4 X 6. It can be 4 across or 6 across. Make the background transparent. Step Five– Next, you need to size each of your letters so that all will fit on the 4 X 6 or 6 X 4 canvas. Here is an example—you will need to do the math for your own love letters. If you have photos that make the words W – I – S – E – You will need to size each photo to be 1 X 6 for a 4 X 6 canvas OR 1.5 X 4 for a 6 X 4 canvas. You size a photo by going to the menu command in PS – Image – Size - use inches not pixels - select the width or height you need and keep doing this and cropping until your photo is as close to the size as you can get it without it being too small or too large for the canvas. This math treatment is much like the Warhol project we did earlier. Step Six – Once you have sized your letters, you will create a new layer for EACH letter you place on your canvas. You will move the letter so that it fits on the canvas and makes the word. Save the project as a .psd file in your 047 until you are complete. Then save as a .jpg. Then, save as a .jpg to the love letter drop box for your class – lastname_love letter.
