File
advertisement
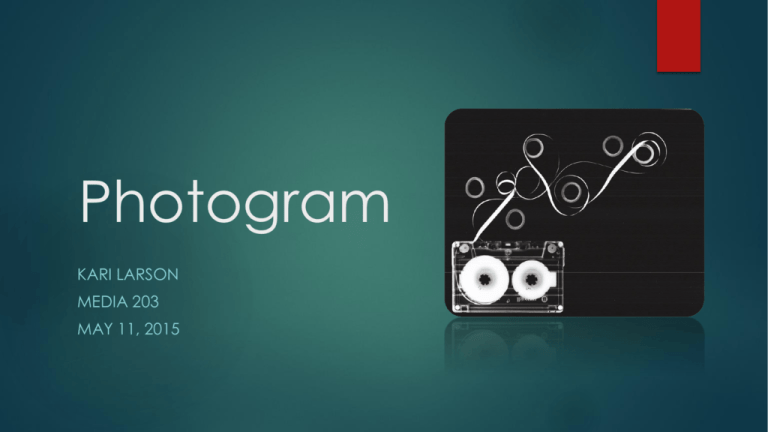
Photogram KARI LARSON MEDIA 203 MAY 11, 2015 What is a Photogram? Photograms are not made like normal photographs. Unlike the pictures that you see on a regular basis, Photograms do not use a camera. hey are made by placing objects between light sensitive paper and the light itself, much like an X-Ray. Essentially, Photograms are silhouetted images. As you can see in the photo above. History of Photograms Photograms were actually some of the very first photographic images. Very much at the forefront of photography, photograms are prestigious because of this. William Henry Fox Talbot William Henry Fox Talbot was considered the father of photograms. He was the first to use this the concept in an artistic sense. He created these images by laying leaves and pieces of lace and other similar objects on photo-sensitive paper and then exposing it to the sun. Born in 1800, died at the age of 77 in 1877. He was also known for inventing the calotype process. Anna Atkins Anna Atkins wrote the first book illustrated with pictures, British Algae: Cyanotype Impressions. The pictures in the book were photograms created using the cyanotype process developed by Sir John Herschel. This process caused the images to turn out blue. A photogram from Atkins’ book Man Ray A notable photographer in the 20th century that created photograms, which he called, “rayographs”. Ray’s images focused on contrast and starkness of the images. He also experimented with moving objects while they were being exposed and by exposing some objects more than others. As a result of a post World War I movement in Europe, the photogram process was popularized in the artistic community. Photograms passed into photographic history in 1930’s. Some notable photographers that used photograms were, Pablo Picasso, Christian Schad, and Markus Amm among many others. How are Photograms Made? To make a Photogram you need 1. Piece of photographic paper 2. A dark room 3. Some small objects 4. An enlarger or focused light source you can turn on and off For a more detailed tutorial go to: http://aaronleroyphotography.blogspot.com/2013/02/photogram-album.html 1. First set your light source to shed light a bit larger than your photographic paper. Do not turn light on. 2. Then lay your paper underneath the light. 3. Arrange your objects on the paper as you would like them to appear. 4. Now turn your light on and expose the paper for around five seconds. 5. Lastly, carefully remove the objects and then you can develop the photogram! The End References http://www.illuminatednegatives.com/photogramhistory.html http://www.photogram.org/concept/definition.html http://www.photograms.org/introduction.html http://www.ehow.com/how_2030110_make-a-photogram.html http://aaronleroyphotography.blogspot.com/2013/02/photogramalbum.html
