Visual Merchandising Shoebox Project: Marketing 11
advertisement
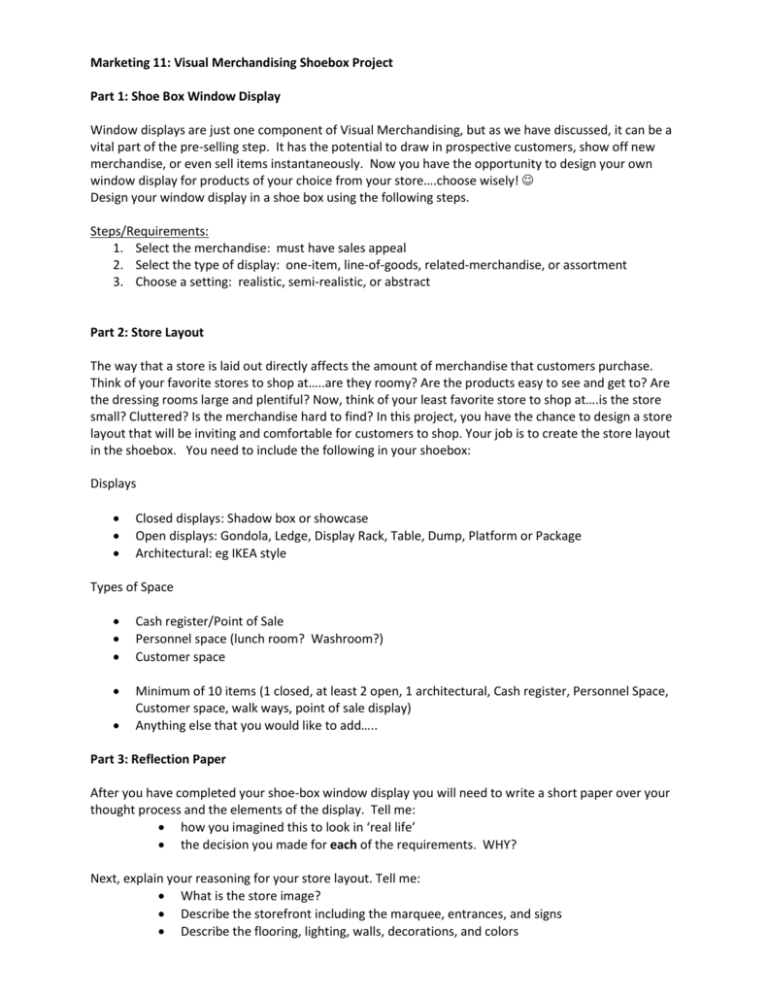
Marketing 11: Visual Merchandising Shoebox Project Part 1: Shoe Box Window Display Window displays are just one component of Visual Merchandising, but as we have discussed, it can be a vital part of the pre-selling step. It has the potential to draw in prospective customers, show off new merchandise, or even sell items instantaneously. Now you have the opportunity to design your own window display for products of your choice from your store….choose wisely! Design your window display in a shoe box using the following steps. Steps/Requirements: 1. Select the merchandise: must have sales appeal 2. Select the type of display: one-item, line-of-goods, related-merchandise, or assortment 3. Choose a setting: realistic, semi-realistic, or abstract Part 2: Store Layout The way that a store is laid out directly affects the amount of merchandise that customers purchase. Think of your favorite stores to shop at…..are they roomy? Are the products easy to see and get to? Are the dressing rooms large and plentiful? Now, think of your least favorite store to shop at….is the store small? Cluttered? Is the merchandise hard to find? In this project, you have the chance to design a store layout that will be inviting and comfortable for customers to shop. Your job is to create the store layout in the shoebox. You need to include the following in your shoebox: Displays Closed displays: Shadow box or showcase Open displays: Gondola, Ledge, Display Rack, Table, Dump, Platform or Package Architectural: eg IKEA style Types of Space Cash register/Point of Sale Personnel space (lunch room? Washroom?) Customer space Minimum of 10 items (1 closed, at least 2 open, 1 architectural, Cash register, Personnel Space, Customer space, walk ways, point of sale display) Anything else that you would like to add….. Part 3: Reflection Paper After you have completed your shoe-box window display you will need to write a short paper over your thought process and the elements of the display. Tell me: how you imagined this to look in ‘real life’ the decision you made for each of the requirements. WHY? Next, explain your reasoning for your store layout. Tell me: What is the store image? Describe the storefront including the marquee, entrances, and signs Describe the flooring, lighting, walls, decorations, and colors Window Display /10 Merchandise Selected Type of Display (Open, closed, semi-closed) Appeal/Creativity /2 /2 /6 Store Layout: /10 Minimum of 10 items Displays Closed display Open displays Architectural display Point of Purchase Additional Store Displays/Decorations /1 /2 /2 /1 /1 Types of Space Cash register/Point of Sale Personnel space (lunch room? Washroom?) Customer space (change room? Self checkout?) /1 /1 /1 Reflection Paper /10 how you imagined this to look in ‘real life’ the decision you made for each of the requirements. WHY? What is the store image? Describe the storefront including the marquee, entrances, and signs Describe the flooring, lighting, walls, decorations, and colors Total marks /2 /2 /2 /2 /2 /30 Date Due: January 7, 2013
