Grails Manual
advertisement

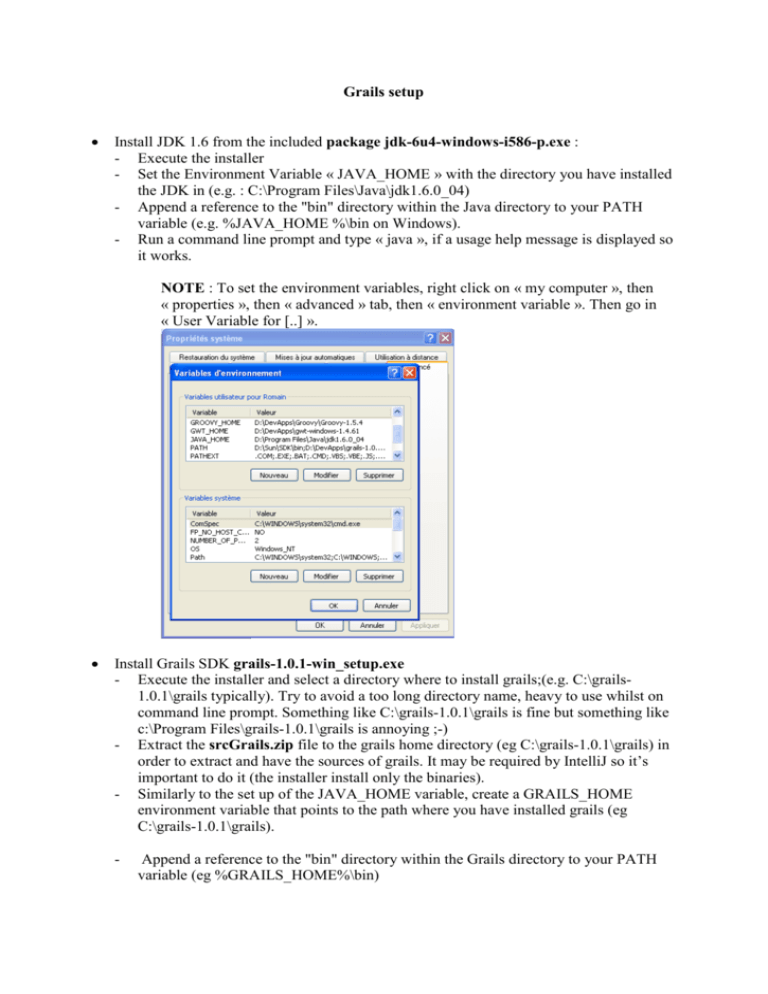
Grails setup Install JDK 1.6 from the included package jdk-6u4-windows-i586-p.exe : - Execute the installer - Set the Environment Variable « JAVA_HOME » with the directory you have installed the JDK in (e.g. : C:\Program Files\Java\jdk1.6.0_04) - Append a reference to the "bin" directory within the Java directory to your PATH variable (e.g. %JAVA_HOME %\bin on Windows). - Run a command line prompt and type « java », if a usage help message is displayed so it works. NOTE : To set the environment variables, right click on « my computer », then « properties », then « advanced » tab, then « environment variable ». Then go in « User Variable for [..] ». Install Grails SDK grails-1.0.1-win_setup.exe - Execute the installer and select a directory where to install grails;(e.g. C:\grails1.0.1\grails typically). Try to avoid a too long directory name, heavy to use whilst on command line prompt. Something like C:\grails-1.0.1\grails is fine but something like c:\Program Files\grails-1.0.1\grails is annoying ;-) - Extract the srcGrails.zip file to the grails home directory (eg C:\grails-1.0.1\grails) in order to extract and have the sources of grails. It may be required by IntelliJ so it’s important to do it (the installer install only the binaries). - Similarly to the set up of the JAVA_HOME variable, create a GRAILS_HOME environment variable that points to the path where you have installed grails (eg C:\grails-1.0.1\grails). - Append a reference to the "bin" directory within the Grails directory to your PATH variable (eg %GRAILS_HOME%\bin) . Type "grails" at the command line, if a help message is displayed you are ready to start using grails. Install Groovy groovy-1.5.4-installer.exe - Execute the installer and select a directory for groovy typically eg C: \Groovy\Groovy-1.5.4 - With the last version package every environment variables are set up automatically! Cool! - The only thing we will do is to add the source code directory as we did for Grails installation (the installer installs only the binaries and sometimes we may need the sources for intelliJ). To do so extract the srcGroovy.zip file in your groovy home directory (e.g. C: \Groovy\Groovy-1.5.4). - You should now have Groovy installed properly. - Test this by typing groovy in the command line prompt, you should have a help usage message displayed. Install Intellij idea-7.0.2.exe and set up the pugins: - Execute the installer given - Complete the installation process. - Execute the code generator to crack intellij. Enter a pseudo (anything you want e.g. “toto”) and generate a serial. - Run for the first time IntelliJ and enter the pseudo and the corresponding generated serial code. - Once the installation done we have to install some plugins : - Go in the IDE settins from thefile menu and go on the pugins tab - Install the following plugins that will make like easier from the list of the available ones : - JetGroovy - DBHelper - InspectorGroovy - SQL query plugin - DragNDrop - ZiptoGmailBackup - Launch IntelliJ, and try to create a project. If in the projects types selection list, « grails applicaiton » is present, so that means that you have well installed the plugins. - Don’t go further more in the project creation, so close the creation wizard to go back to the welcome page. - Go in the Menu File and clic on settings button. - Go in IDE Settings, clic on Groovy and grails tab and configure the groovy and grails directories. This should look like this : - Test that it works by clicking on the apply button at the righ bottom of the page. If it works you’ll be able to click and no error messages will be displayed. Go in the Template project settings by clicking on the button in the settings tree. In the « Project settings » menu, select « General » and then select the JDK you have installed. Normally it must appear in the select list for the « Project JDK ». Then go in the « Platform settings » and give a look to the GRAILS and GROOVY tab titles. Check that the installation of grails and groovy have been well take into account. If so « GRAILS » and « GROOVY » terms must not be underline in red. You should have something like the following result where nothing is written or underline in Red : It’s important to have this step right, because if not some problems may arise when building projects. richUI plugin for grails : - This plugin adds a set of AJAX components which can be used to create rich user interfaces without having to deal with JavaScript libraries. - To install it just go in your grails project directory and type : grails install-plugin richui - See http://www.grails.org/RichUI+Plugin#RichUIPlugin-Installation Yahoo! UI Library (YUI) Plugin for grails : - This plugin provides integration with the Yahoo! UI Library. When installing the plugin, it downloads and installs automatically the latest YUI 2.5.0 distribution in your application, and registers itself to be used with the adapative AJAX tags. It also contains two helper tags to easily include additional YUI javascript and css files as well. - To install the YUI plugin type this command from your project's root folder: grails install-plugin yui - The complete YUI distribution is downloaded and installed under your project's \webapp\js\yui folder. - See http://www.grails.org/YUI+Plugin Install Tortoise SVN TortoiseSVN-1.4.8.12137-win32-svn-1.4.6.msi - We need a code repository in order to e able to synchronize our work. - Tortoise is a tool that will integrate himself to the windows explorer in the context menu when right clicking. - The main command to use are : - - SVN Checkout for importing a repository to a local directory on your computer. - Once a repository imported, you can SVN commit to commit the changes you’ve done one your whole project or a particular file or several, selected. - SVN update allows you to update you local project from a distant repository. - Our distant repository is google code the URL is : https://napier.googlecode.com/svn/trunk/ - To connect to this repository you need a login your gmail login plus a password that will be generated and given to you on the google code page at : http://code.google.com/p/napier/source/checkout (click on the googlecode.com password link to obtain it) - - All you have to do is to enter this credentials when asked by tortoiseSVN when you try to checkout a distant repository to your local directory for the first time. You will need those each time you will do a checkout in a new local directory. Now you’re almost done for the installation part, just still to code now !


