FREE MEDICINE POUCH INSTRUCTIONS This Medicine Pouch
advertisement
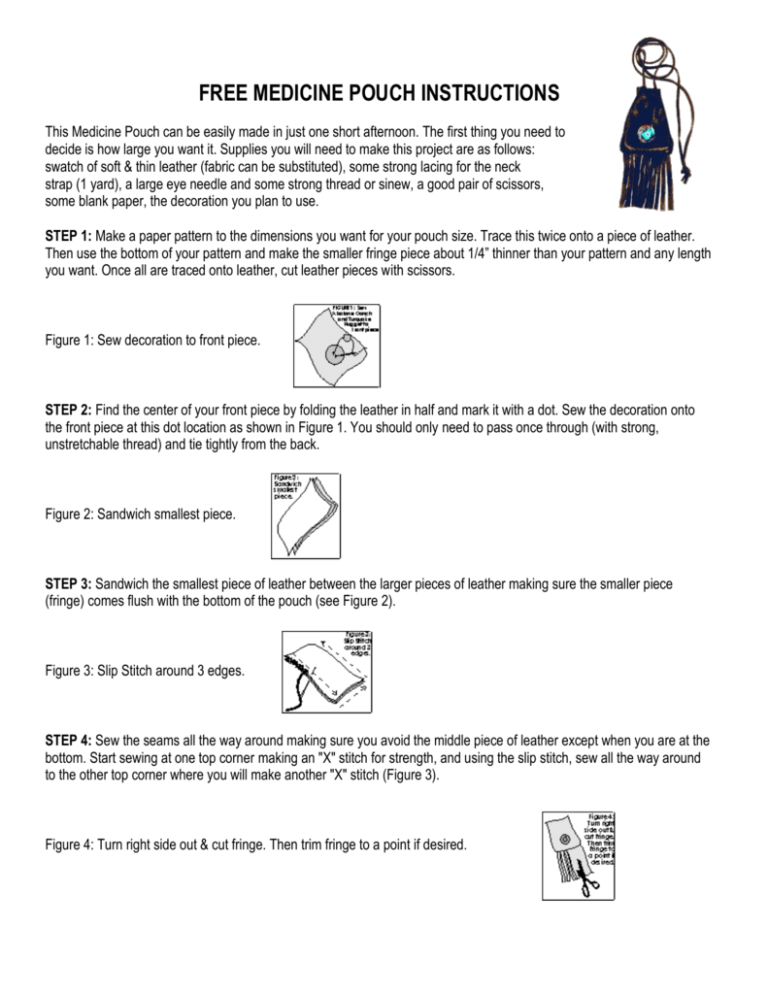
FREE MEDICINE POUCH INSTRUCTIONS This Medicine Pouch can be easily made in just one short afternoon. The first thing you need to decide is how large you want it. Supplies you will need to make this project are as follows: swatch of soft & thin leather (fabric can be substituted), some strong lacing for the neck strap (1 yard), a large eye needle and some strong thread or sinew, a good pair of scissors, some blank paper, the decoration you plan to use. STEP 1: Make a paper pattern to the dimensions you want for your pouch size. Trace this twice onto a piece of leather. Then use the bottom of your pattern and make the smaller fringe piece about 1/4” thinner than your pattern and any length you want. Once all are traced onto leather, cut leather pieces with scissors. Figure 1: Sew decoration to front piece. STEP 2: Find the center of your front piece by folding the leather in half and mark it with a dot. Sew the decoration onto the front piece at this dot location as shown in Figure 1. You should only need to pass once through (with strong, unstretchable thread) and tie tightly from the back. Figure 2: Sandwich smallest piece. STEP 3: Sandwich the smallest piece of leather between the larger pieces of leather making sure the smaller piece (fringe) comes flush with the bottom of the pouch (see Figure 2). Figure 3: Slip Stitch around 3 edges. STEP 4: Sew the seams all the way around making sure you avoid the middle piece of leather except when you are at the bottom. Start sewing at one top corner making an "X" stitch for strength, and using the slip stitch, sew all the way around to the other top corner where you will make another "X" stitch (Figure 3). Figure 4: Turn right side out & cut fringe. Then trim fringe to a point if desired. STEP 5: Turn your pouch right side out. Now cut the fringe so that each strip is about 1/8” wide and as close to the bottom of pouch as possible. You may then lay the fringe flat and cut an angle down each side to make a point if you desire (see Figure 4). Figure 5: Cut holes at top & weave lacing so that ends come out at the back. STEP 6: Punch 4 of holes across the top of your pouch front & back. This is easily done with a large nail and hammer or by folding leather and slitting with the point of your scissors. Now weave the leather lacing in and out of the holes starting at the back hole and coming all the way around to the adjacent back hole (see Figure 5). Tie a knot at the end of the lacing to fit your neck how you want it. Copyright (c) Native Essence Crafts & Supplies, 1999
