1.1_activity_sheet - Ohio Northern University
advertisement

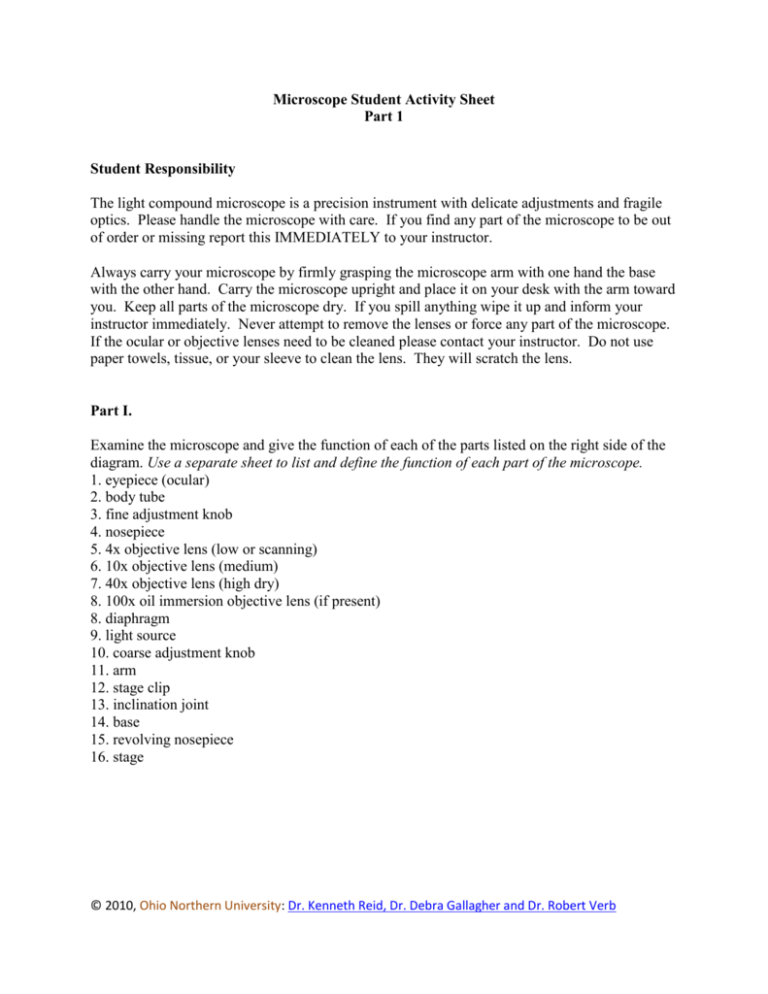
Microscope Student Activity Sheet Part 1 Student Responsibility The light compound microscope is a precision instrument with delicate adjustments and fragile optics. Please handle the microscope with care. If you find any part of the microscope to be out of order or missing report this IMMEDIATELY to your instructor. Always carry your microscope by firmly grasping the microscope arm with one hand the base with the other hand. Carry the microscope upright and place it on your desk with the arm toward you. Keep all parts of the microscope dry. If you spill anything wipe it up and inform your instructor immediately. Never attempt to remove the lenses or force any part of the microscope. If the ocular or objective lenses need to be cleaned please contact your instructor. Do not use paper towels, tissue, or your sleeve to clean the lens. They will scratch the lens. Part I. Examine the microscope and give the function of each of the parts listed on the right side of the diagram. Use a separate sheet to list and define the function of each part of the microscope. 1. eyepiece (ocular) 2. body tube 3. fine adjustment knob 4. nosepiece 5. 4x objective lens (low or scanning) 6. 10x objective lens (medium) 7. 40x objective lens (high dry) 8. 100x oil immersion objective lens (if present) 8. diaphragm 9. light source 10. coarse adjustment knob 11. arm 12. stage clip 13. inclination joint 14. base 15. revolving nosepiece 16. stage © 2010, Ohio Northern University: Dr. Kenneth Reid, Dr. Debra Gallagher and Dr. Robert Verb Part II. Total Magnification The compound microscope has two sets of lenses, the eyepiece and the objective. The total magnification is calculated by multiplying the magnification of each set of lenses: Total Magnification = Objective Magnification x Eyepiece Magnification The eyepiece magnification is fixed, and ranges from 8-15x depending on the manufacturer. The power of the objective lens is changeable through rotation of the revolving nosepiece. Typical magnification of the objective lenses is 4x, 10x, 40x, 100x (oil immersion). Calculate the total magnification for the following lens combinations on your microscope: Eyepiece Power _______X times Objective Power _______X = Total Magnification _______X Field of View = _______ Eyepiece Power _______X times Objective Power _______X = Total Magnification _______X Field of View = _______ Eyepiece Power _______X times Objective Power _______X = Total Magnification _______X Field of View = _______ Eyepiece Power _______X times Objective Power _______X = Total Magnification _______X Field of View = _______ Part III. Relative Fields of View This exercise will provide you with an idea of the fields of view with each of the objective lenses and how they differ. By knowing the relative size of an objective lens’ field of view you can make estimates as to the size of objects. 1. 2. 3. 4. Start with the microscope on the lowest power. Place a stage micrometer or transparent ruler on the stage. Move the micrometer or ruler so that the markings stretch from one side to the other. Determine the number of tick marks from side to side to figure out the objective’s field of view. Fill in the appropriate blank in the Table 1. 5. Repeat this procedure for each objective lens. Remember to only use the fine focus knob when changing between objective lenses. © 2010, Ohio Northern University: Dr. Kenneth Reid, Dr. Debra Gallagher and Dr. Robert Verb Part IV. Depth of Field When first looking at slides it is difficult to imagine that you are viewing a three-dimensional world. However, as you become more familiar with the microscope you will discover that the items you view often require some depth perception. 1. Obtain a slide with 3 different colored threads on it. View the slide under scanning and low power. 2. You should note that while you focus on one color of thread, the other threads become fuzzy. The microscope can only focus on one area at a time. Sketch the slide below (4x and 10x). Identify the top, middle, and lower thread colors. a. Figure out which thread is on top by lowering your stage all the way, then slowly raising it until the thread comes into focus. The first thread to come into focus is the one on top. Which color thread is on top? _____________ Which color thread is in the middle? ______________ Which color thread is on the bottom? ____________ Part V. The Letter “e”. 1. Obtain a prepared slide with letter “e” and place it on the slide face up on the stage. 2. View in low power (4x). Center the “e” in your field of view. Draw what you see in your laboratory notebook. 3. Move the slide to the left, what happens? Move the slide to the right, what happens? Up? Down? 4. View the specimen with the other non-oil objectives (10x and 40x). Use the fine adjustment only to focus. Draw what you see in laboratory notebook. Be certain to include the magnification of the objective lens which you are using. Analysis: 1. How does the letter “e” as seen through the microscope differ from the way an “e” normally appears? 2. How does the ink appear under the microscope compared to normal view? 3. Why does a specimen placed under the microscope have to be thin? Part VI. Plant Cell. In this exercise you will examine several types of cells by preparing wetmount slides. 1. Pluck a leaf from the aquatic plant Elodea. 2. Place the leaf on a glass slide and add a drop of water. 3. Place a coverslip on top of the leaf and make certain there are no large air bubbles. 4. Examine the cells using your various non-oil objective lenses. Make labeled sketches in your laboratory notebook. Be certain to include the magnification of the objective lens which you are using. © 2010, Ohio Northern University: Dr. Kenneth Reid, Dr. Debra Gallagher and Dr. Robert Verb Analysis: 1. Was anything occurring inside the cells? 2. What are the most obvious structures within the cells? 3. What is the function of these structures? © 2010, Ohio Northern University: Dr. Kenneth Reid, Dr. Debra Gallagher and Dr. Robert Verb


