tool pouch
Makes one pouch with 3 pockets
approximately 3" x 6"
skill level: intermediate
a pattern for
Teacup
1.5" x 43" Strips
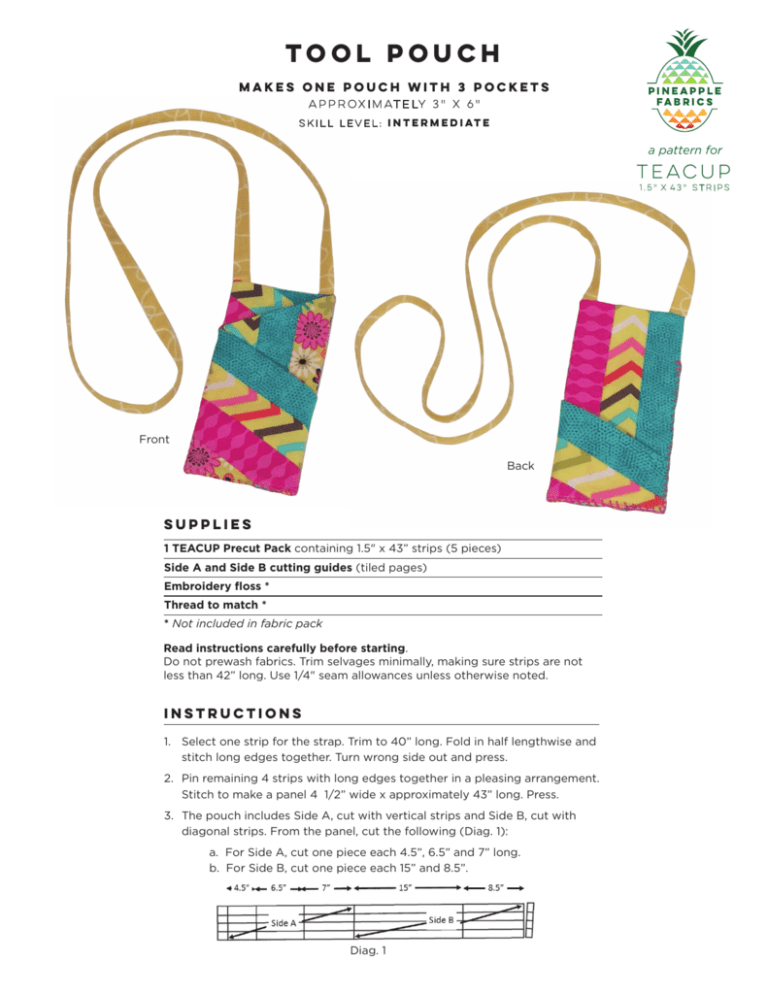
Front
Back
supplies
1 teacup Precut Pack containing 1.5" x 43” strips (5 pieces)
Side A and Side B cutting guides (tiled pages)
Embroidery floss *
Thread to match *
* Not included in fabric pack
Read instructions carefully before starting.
Do not prewash fabrics. Trim selvages minimally, making sure strips are not
less than 42” long. Use 1/4" seam allowances unless otherwise noted.
INSTRUCTIONS
1. Select one strip for the strap. Trim to 40” long. Fold in half lengthwise and
stitch long edges together. Turn wrong side out and press.
2. Pin remaining 4 strips with long edges together in a pleasing arrangement.
Stitch to make a panel 4 1/2” wide x approximately 43” long. Press.
3. The pouch includes Side A, cut with vertical strips and Side B, cut with
diagonal strips. From the panel, cut the following (Diag. 1):
a. For Side A, cut one piece each 4.5”, 6.5” and 7” long. b. For Side B, cut one piece each 15” and 8.5”.
Diag. 1
4. For Side A, match pieces together in a step arrangement with bottom
edges together, as shown. For Side B, match the smaller piece beneath
the larger piece, 1 1/2” from the left side, as shown. (Photo 1). Stitch
pieces together to make Sides A and B. Press seam allowances open.
5. Cut Side A using the cutting guide provided. (Photo 2).
Photo 2
6. Cut Side B using the cutting guide provided. (Photo 3).
Photo 1
Photo 3
7. Place side A with right side up. Pin strap ends to top edge between
marks as shown on cutting guide. (Diag. 2). Baste with raw edges
together.
8. With right sides together and the strap between layers and out of
the way, seam A and B around the outside edges. Leave a 2” opening
along the bottom. Clip corner seam allowances and turn right sides
out. Gently push out the corners and press into a neat shape. Slipstitch
opening closed.
Diag. 2
9. Place pouch with Side A up. Fold left side over the right and
edgestitch along the side and bottom edges. (Diag. 3). Flip the
pouch over with Side B up. Fold right side over the left and pin edges
together. With embroidery floss, hand stitch side and bottom edges
closed with a whip or blanket stitch.
Diag. 3
© 2016 Pineapple Fabrics. All rights reserved. Unauthorized copying not permitted.
PR-TEACUP-TP
160205
Joining Tiles: Match
numbers in half circles
as shown below.
1 1
Scale:
This square
measures
1” x 1”
Pattern tile 1
TOOL POUCH
CUTTING GUIDE
SIDE A:
CUT 1 ON PIECED PANEL
© 2016 Pineapple Fabrics. All rights reserved.
Unauthorized copying not permitted.
LINE UP WITH STRIP SEAMS
SIDE A
1
1
LINE UP WITH STRIP SEAMS
SIDE A
LI
NE
UP
IT
W
H
S
T
RI
P
Scale:
This square
measures
1” x 1”
PatternBtile 2
SIDE
SE
AM
S
Joining Tiles: Match
numbers in half circles
as shown below.
2 2
Scale:
This square
measures
1” x 1”
Pattern tile 3
LI
NE
UP
IT
W
H
S
T
RI
P
SIDE B
SE
AM
S
LI
NE
UP
IT
W
H
ST
RI
P
SE
AM
S
2
2
SIDE B
TOOL POUCH
CUTTING GUIDE
SIDE B:
CUT 1 ON PIECED PANEL
© 2016 Pineapple Fabrics. All rights reserved.
Unauthorized copying not permitted.
Scale:
This square
measures
1” x 1”
Pattern tile 4


