auto-giro - Vintage Projects
advertisement
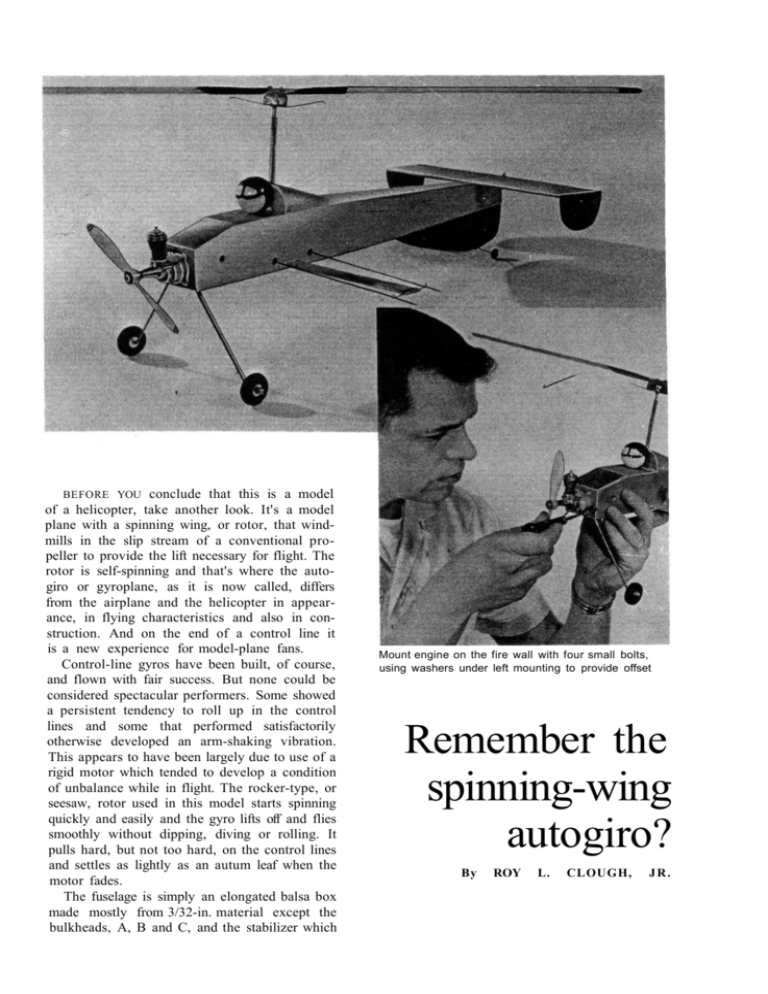
BEFORE YOU conclude that this is a model of a helicopter, take another look. It's a model plane with a spinning wing, or rotor, that windmills in the slip stream of a conventional propeller to provide the lift necessary for flight. The rotor is self-spinning and that's where the autogiro or gyroplane, as it is now called, differs from the airplane and the helicopter in appearance, in flying characteristics and also in construction. And on the end of a control line it is a new experience for model-plane fans. Control-line gyros have been built, of course, and flown with fair success. But none could be considered spectacular performers. Some showed a persistent tendency to roll up in the control lines and some that performed satisfactorily otherwise developed an arm-shaking vibration. This appears to have been largely due to use of a rigid motor which tended to develop a condition of unbalance while in flight. The rocker-type, or seesaw, rotor used in this model starts spinning quickly and easily and the gyro lifts off and flies smoothly without dipping, diving or rolling. It pulls hard, but not too hard, on the control lines and settles as lightly as an autum leaf when the motor fades. The fuselage is simply an elongated balsa box made mostly from 3/32-in. material except the bulkheads, A, B and C, and the stabilizer which Mount engine on the fire wall with four small bolts, using washers under left mounting to provide offset Remember the spinning-wing autogiro? By ROY L. CLOUGH, JR. are 1/8-,in. stock. Although the over-all size of the bulkhead, C, is given, you may have to do some fitting of this member to assure a true fairing of the fuselage sides and top piece. The fuselage is fitted with a conventional engine, propeller, landing gear and a standard control-line elevator for controlling the gyro in flight. The rotor mast centers 4-1/4 in from the forward end of the fuselage. In assembly it passes through the bottom of the fuselage, the bend at the end being seated and cemented in a notch cut in the bottom of the fuselage. Note that it also passes through the control strut and the bell crank. Washers are soldered above and below the crank, permitting the latter to swing freely on the mast. After installing the controls and the reinforcing strips at the forward end of the fuselage, cement the fuselage top pieces in place, then the pilot's head and the fairing. Study the rotor drawing closely. Note that the blades operate at a negative pitch and that the rotor, although stiff from tip to tip, is pivoted at the center to permit a seesaw motion. Stops on the hub pivot limit vertical motion so that the blades won't strike the tail. This type of rotor mount allows the blades to rock without transferring motion to the fuselage, yet keeps the rotor tracking evenly. Give the model a coat or two of sealer before applying pigmented dope. Make certain that everything runs freely, and that the center of gravity is either right on, or just ahead of the control crank or bell-crank axis. If the center of gravity (CG) is behind the control-crank axis, the model may not pull hard enough on the lines to give good control. After you get the feel of it, you can make jump takeoffs by letting the model roll about 6 ft., giving it full up and dumping the elevator quickly to bring it into a normal flight attitude. Incidentally, that machine-gun-like popping you hear in flight is common to all rotor craft. It's caused by the rotor blades running into their own tip vortices.
