Isolation of Caffeine from Tea Using Column Chromatography Carry
advertisement
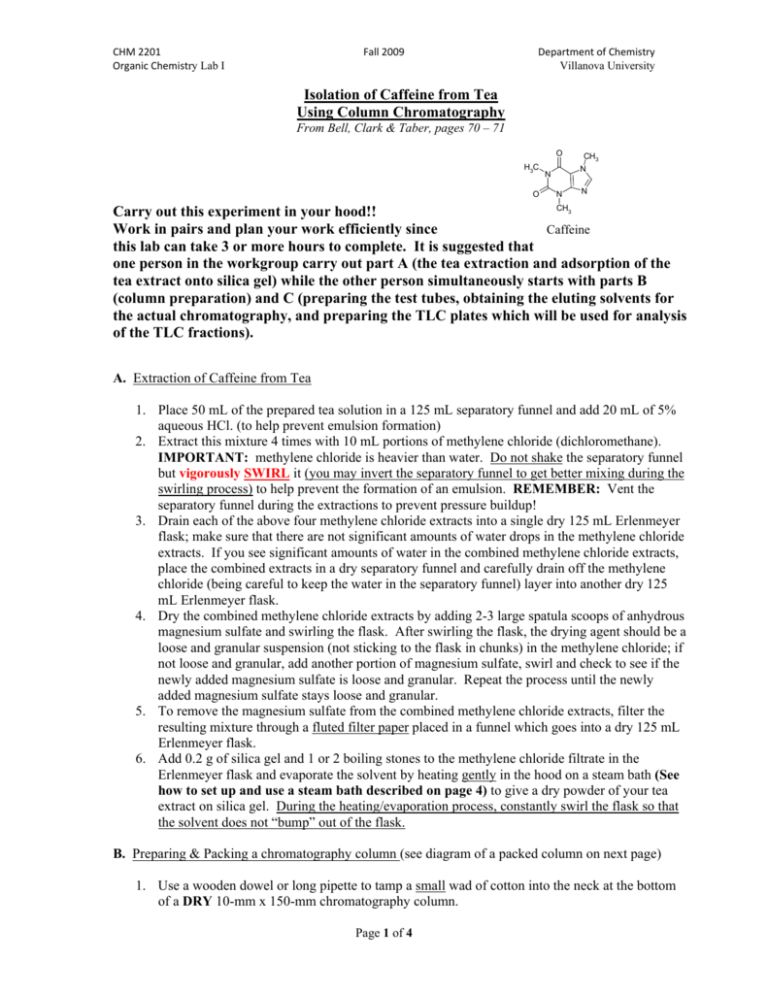
CHM!2201! Organic!Chemistry Lab I Fall!2009! Department!of!Chemistry! Villanova University Isolation of Caffeine from Tea Using Column Chromatography From Bell, Clark & Taber, pages 70 – 71 O H3C O CH3 N N N N CH Carry out this experiment in your hood!! Work in pairs and plan your work efficiently since Caffeine this lab can take 3 or more hours to complete. It is suggested that one person in the workgroup carry out part A (the tea extraction and adsorption of the tea extract onto silica gel) while the other person simultaneously starts with parts B (column preparation) and C (preparing the test tubes, obtaining the eluting solvents for the actual chromatography, and preparing the TLC plates which will be used for analysis of the TLC fractions). 3 A. Extraction of Caffeine from Tea 1. Place 50 mL of the prepared tea solution in a 125 mL separatory funnel and add 20 mL of 5% aqueous HCl. (to help prevent emulsion formation) 2. Extract this mixture 4 times with 10 mL portions of methylene chloride (dichloromethane). IMPORTANT: methylene chloride is heavier than water. Do not shake the separatory funnel but vigorously SWIRL it (you may invert the separatory funnel to get better mixing during the swirling process) to help prevent the formation of an emulsion. REMEMBER: Vent the separatory funnel during the extractions to prevent pressure buildup! 3. Drain each of the above four methylene chloride extracts into a single dry 125 mL Erlenmeyer flask; make sure that there are not significant amounts of water drops in the methylene chloride extracts. If you see significant amounts of water in the combined methylene chloride extracts, place the combined extracts in a dry separatory funnel and carefully drain off the methylene chloride (being careful to keep the water in the separatory funnel) layer into another dry 125 mL Erlenmeyer flask. 4. Dry the combined methylene chloride extracts by adding 2-3 large spatula scoops of anhydrous magnesium sulfate and swirling the flask. After swirling the flask, the drying agent should be a loose and granular suspension (not sticking to the flask in chunks) in the methylene chloride; if not loose and granular, add another portion of magnesium sulfate, swirl and check to see if the newly added magnesium sulfate is loose and granular. Repeat the process until the newly added magnesium sulfate stays loose and granular. 5. To remove the magnesium sulfate from the combined methylene chloride extracts, filter the resulting mixture through a fluted filter paper placed in a funnel which goes into a dry 125 mL Erlenmeyer flask. 6. Add 0.2 g of silica gel and 1 or 2 boiling stones to the methylene chloride filtrate in the Erlenmeyer flask and evaporate the solvent by heating gently in the hood on a steam bath (See how to set up and use a steam bath described on page 4) to give a dry powder of your tea extract on silica gel. During the heating/evaporation process, constantly swirl the flask so that the solvent does not “bump” out of the flask. B. Preparing & Packing a chromatography column (see diagram of a packed column on next page) 1. Use a wooden dowel or long pipette to tamp a small wad of cotton into the neck at the bottom of a DRY 10-mm x 150-mm chromatography column. Page 1 of 4 CHM!2201! Organic!Chemistry Lab I Fall!2009! Department!of!Chemistry! Villanova University 2. Gently pour a small layer of sand over the cotton plug to provide a flat surface for the silica gel and carefully tap the column to settle and level the sand layer. 3. Add 0.9 g of silica gel to the column in a fine gentle stream so as to do as little disruption to the sand layer. Note, instead of weighing the silica gel, use the marks on the community hood sash as a guide as to how much silica gel should be put into your column. The height of this silica gel should be ~ 26 – 30 mm. Tap the column gently to settle and level the silica gel. 4. Carefully and with minimum disruption to the silica gel in the column, add your tea extract that is adsorbed on silica gel (prepared above in A.6.) along with the boiling stone(s) to the top of the silica gel in the column and tap gently. 5. Then add final layer of sand to prevent disturbance of silica gel when solvent is added. Tap gently to settle. Schematic of a packed chromatography column Sand Silica Gel containing tea extract Solid Phase (silica gel) Liquid Phase (Eluting solvent) Solvent (Do not allow solvent to go below the level of the top sand layer during the chromatography) Approximate height of 0.9 g of Silica Gel = 26 - 30 mm Silica Gel Sand O Cotton Plug C. Eluting the column 1. Have ready at least eight 13 x 100-mm test tubes marked 1 thru 8. 2. Have ready the following three solvent systems a. 15 mL of methylene chloride ;ncreasing!<olarity b. 10 mL of 5% ethyl acetate in methylene chloride of!=ol>ent!=ystems c. 15 mL of ethyl acetate. 3. NOTE: Read this entire section (3.a. and b.) before you start eluting. Successively elute the column with the above solvents in the order listed. With the column stopcock open, pour the entire amount of the first listed solvent into the column carefully so as to not disrupt the sand and silica gel. a. Collect the eluant as it comes off the column in 5 mL fractions in the numbered test tubes and keep them in order of collection. Do not collect less than 5 mL in each fraction. It is OK to allow solvents from the different solvent systems that you use for eluting the column to mix together in the test tube from a previous fraction, just so you collect a full 5 mL of solvent in each test tube. b. When changing to a different solvent system, be sure not to add the new solvent system to the column until the level of the previous solvent has reached the top layer of sand. DO NOT ALLOW THE SOLVENT LEVEL TO GO BELOW THE TOP LAYER OF SAND. If necessary, close the column stopcock until the new solvent system is carefully poured into the column and then continue with the chromatography. Page 2 of 4 CHM!2201! Organic!Chemistry Lab I Fall!2009! Department!of!Chemistry! Villanova University D. Use TLC to check the makeup of each collected fraction; then combine and concentrate the fractions with pure caffeine as determined by TLC analysis 1. Spot each collected fraction on a small TLC plate (situated horizontally rather than vertically; see illustration below) to determine (using short wave UV light) whether there is any compound in a fraction. Note that at this point you do not have to develop the plate in the TLC chamber. This is just to determine whether or not there is material in each fraction. Use one small plate turned on its side to carry out this preliminary detection of compound in each fraction. 2. Note that if fraction 8 still contains UV active material, you may want to add some more ethyl acetate to the column and collect some additional fractions to try to remove all of the UV active material from the column. 3. For those fractions containing UV active material, spot each fraction on a large TLC plate along with a spot of authentic caffeine (the authentic caffeine reference sample is available in the community hood and is dissolved in ethanol) and develop the plate in your TLC chamber using ethyl acetate:ethanol:acetic acid (25:1:1 ratio) as the developing solvent. Caffeine 3 4 C 5 Labels of fraction numbers with UV active material (as determined in D.1.) and an authentic sample of caffeine (C) 6 Large TLC plate for analysis of chromatography fractions containing UV active material Spots visible under UV light after development of plate in eluting solvent Fractions 3, 4, 5, 6 spotted along with caffeine (C) TLC Plate after development with eluting solvent. 4. Save all of the fractions that contain TLC spots which correspond with the reference caffeine spot. E. Isolating the Pure Solid Caffeine Remember to pre-weigh flask 1. Combine all of the fractions that contain only caffeine in a tared (pre-weighed) 125 mL Erlenmeyer flask and then evaporate the solvent by heating on a steam bath (add 1 or 2 boiling Page 3 of 4 CHM!2201! Organic!Chemistry Lab I Fall!2009! Department!of!Chemistry! Villanova University stones) with constant swirling. When all of the solvent is evaporated, a white residue of caffeine crystals should have been deposited on the bottom of the flask. a. If the caffeine residue is dry and powdery, weigh the flask and contents to determine the weight of the caffeine. Take an infrared spectrum (ask TA to assist!) of a sample of your isolated caffeine and compare it with the IR spectrum of authentic caffeine (provided as a handout). Identify some of the key absorption bands. b. If the caffeine residue is still wet with some solvent, remove a small portion of the solid, place it on a watch glass and let it air dry for a few minutes. When the sample is dry, take an IR and compare it with the authentic caffeine IR. If the caffeine remaining in the Erlenmeyer is still wet, you may place the flask (uncovered and on its side) in your drawer to dry until next week when you can obtain the dry weight to put in your notebook. F. Cleaning the Chromatography Column An easy way to get rid of the silica gel and sand in the chromatography column is to connect a piece of the red rubber tubing from a compressed air nozzle to the tip of the chromatography column, invert the column over a beaker and slowly (make sure the column stopcock is open!) turn on the compressed air to carefully blow out the contents of the column into the beaker. Disconnect the tubing and use an acetone wash bottle to wash out the residue remaining in the column by squirting acetone into the column tip while holding the column in an inverted position over the beaker. Collect all washes in the beaker and dispose of this waste in the appropriate container in the community hood. Steam Bath Diagram/Description The steam bath is a metal container which contains metal rings that can be removed or added to adjust to glassware of different sizes. Steam is injected into the bath steam inlet (the UPPER connector) via a black steam bath hose connected to a steam outlet in the hood; the condensed water that forms in the bath is removed through a hose connected to the LOWER water outlet which leads into the small sink in the hood. It is important that the outlet hose lies flat on the bench surface and is not kinked; if the outlet hose is not flat on the bench surface and is elevated at some point, water won’t be able to drain from the steam bath and the bath will eventually fill up with water and overflow. Steam baths are used to evaporate low boiling solvents (for example, ether, dichloromethane, ethyl acetate, etc.), heat recrystallization mixtures and generally to heat or warm liquids (without the use of a flame) to temperatures below 100°C. To use the steam bath, remove enough of the inner rings so that your flask is safely supported (you may want to clamp it or hold it) and so that the bottom portion of the flask is exposed to the steam in the steam bath. Make sure the hoses are attached and set up properly and then turn on the steam valve in your hood. Initially, water will be expelled from the steam outlet, but eventually you will hear and see steam beginning to emerge into the bath. When finished using the steam bath, shut off the steam and allow the apparatus to cool. Remove the hoses and place them in the cabinet containing steam bath hoses. TMBare 10/19/2009 Page 4 of 4
