User's Manual
advertisement
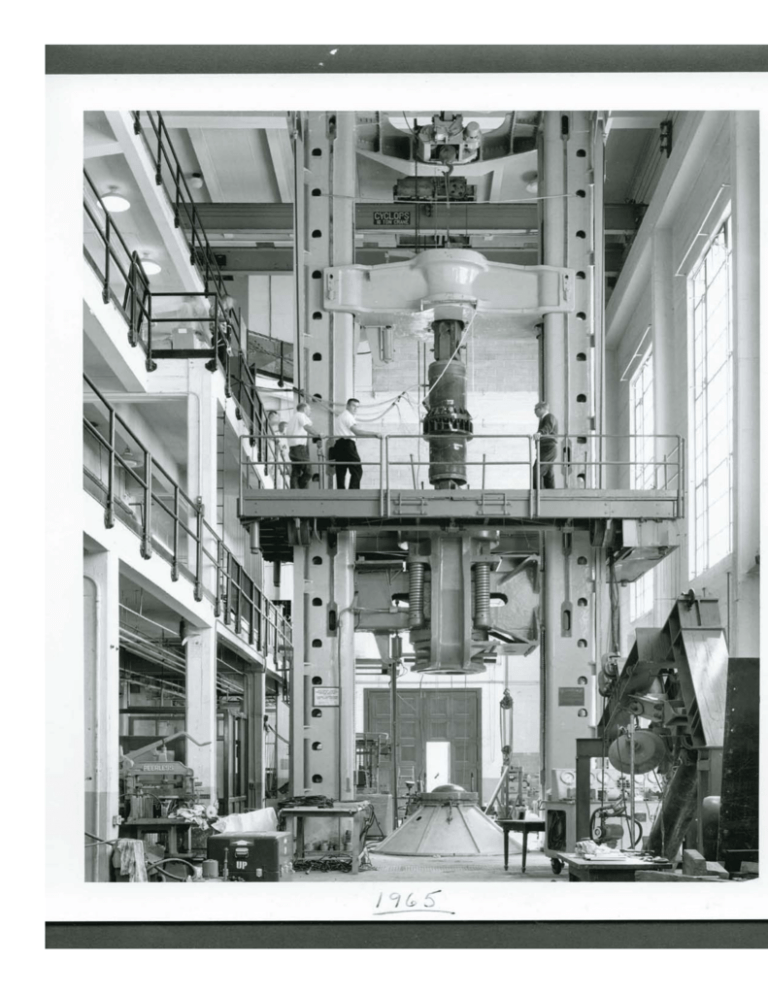
Operating Manual for 4,000 kip. Universal Testing Machine 2 Check capsule w/feeler gages adjust by adding oil. Record date, and feller gage dimension on the side of the capsule if any changes are made. 3 (Do not over fill. It can change calibration in the head). Make sure area is clear inside yellow boundary line. Make sure nothing is connected to machine, and elevator. Example: rope, instruments, pots, and wires etc. Check 5gallon oil bucket in pump room. Turn on all electric amplifiers and meters. Range Air Turn on air. Suggested 1.6-million test range. Allow approximately 2 minutes for air to settle out. 4 Dial zeros Do not use ON/OFF Turn on machine (pump control) Over Ride Black push button Rapid Travers Adjust head with Rapid Travel, and turn Hydraulic Control Unit switch to “Return, or Press” 5 Remote Box. Turn retract too 3,or 4. Once set do not change. Neg. 19-1/2” 11. Retract screws 48” meter reading minus 19-1/2” for a starting place. Hydraulic Control Unit. Switch to “Press” 6 Figure 1 13. Remote Box Turn to 3, or 4 / Turn speed to 3, or 4 (See Figure1) Repeat steps 11 and 13 (3 times) to remove air out of system. Check pit for water. Screw Covers Remove screw covers at bottom of screws. Do not change Do not change signal pots for any reason. (Digital Indicator) Compression Example: 7 Assuming you are doing a compression test. Unlock mechanical lever (Pad Lock), and choose position up, or down. Choose between pedestal or specimen, and leave a 2” gap. Lever should be in the middle, or off position. See Figure 1 PRESSURE CAPSULE UTM HEAD UTM HEAD PLATE LOAD CELL STRAIN INDICATOR PLATE JACK HYDRAULIC PUMP WITH PRESSURE GAGE FLOOR 8 To close the gap, bring it down hydraulically. Watch load indicator. Have a ground person to guide the operator with guiding onto the specimen, or pedestal. Example: Calibrating a load cell with pedestal. You normally take it to maximum of the load cell range 3 times. Then calibrate load cell. Head can be either fixed, or spherical. (usually fixed). Tension Test The hardness of the spuds should be no greater then 35B, and a minimum of 6 inches in diameter, and a minimum of 24 inches in length. It is important that the spuds stick through the grips 1-2 inches minimum to eliminate damage to grips. The grips in the lower, and upper head should never extend below or above the head, but must be adjusted so that when gripping, the grips remain within the taper area of the head. When adjusting the grips, they should receive the same shim sizes on each side to remain in the center. It is very important to apply a lot of grease to the shims and the back of grips to aid in removal of the specimens. Operating the Grips “Upper Head” 9 Connections Connect air, and electrical plug on the machine, that opens and closes the upper grips. Turn on the grips. Using the crane and a cable insert spud through grips. 10 Once the spud is installed turn the electrical switch for the grips, to off. Loosen the crane cable (don’t disconnect). At this point the spud should be in place, and hanging by the grips. Adjust upper grips as needed by removing and installing shims. Shims Connect the lower spud to the bottom of the specimen. 11 Lower Head Grips Hook up air hose and electrical for the lower grips. Place blocks under grips For safety, place a 4” – 6” block of wood in the center of the lower head, and below the grips. The lower grips will travel upward 2 –3 inches when the air, and electrical is turned on. The grips should never extend above, or below the head. (Always adjust so grips remain within the tapered area). Load specimen up to 200,000 lbs. if possible. To seat the grips. 12 There is a red light on the control panel. At 200,000 lbs. load, turn the red light off, and go back to “0” and start testing. Lowering, and Raising Upper Orange Head Make sure electrical, and air hoses are disconnected. Clamp “I” beam to 6 Ton crane. 2 Keys Remove 6-Ton crane. Clamp beam to crane, so that when lifting crane, the beam doesn’t slip out and fall. 13 Rapid Travers Raise red head within 1” of touching the bottom of the orange head. Use the screws, or rapid travel to get within 1”. Hydraulically use the red head to lift the orange head. Install 4ea. 1-1/2” studs for orange keys, and pull out the 4 keys. Do not move the elevator at this time. (Will crash into key studs) Move head to the desired height with the rapid traverse. Reinstall keys and remove studs. Lower head to desired height. Reinstall crane. 14 15 16


