avast! 7.x Mac: Installing avast! Free Antivirus for Mac
advertisement
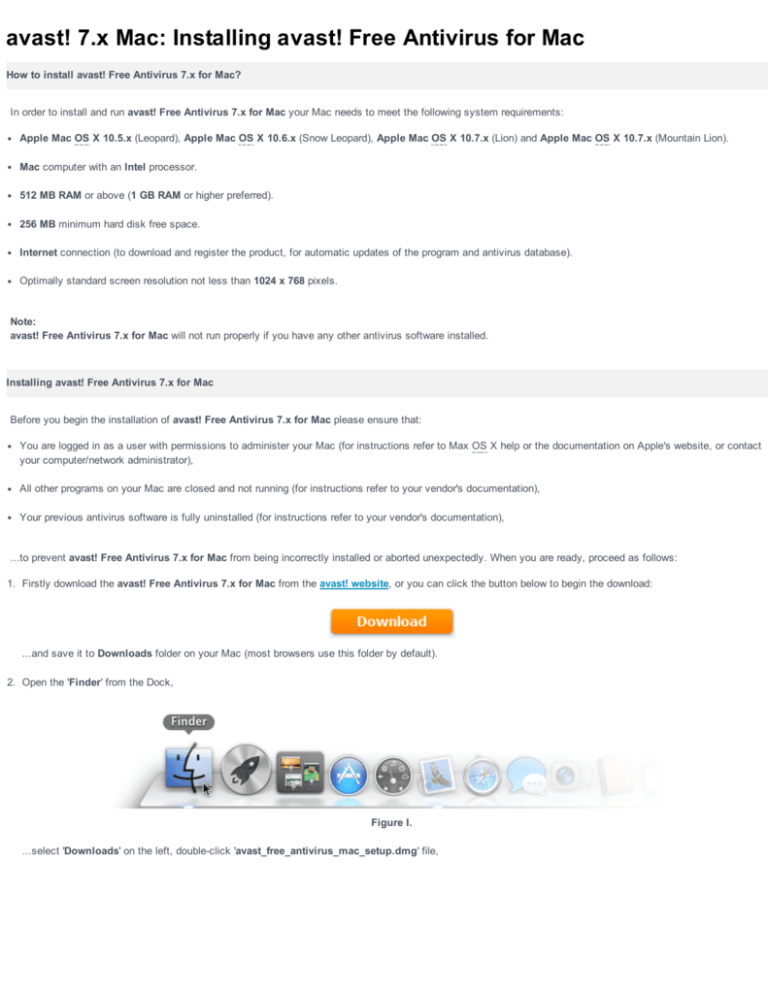
avast! 7.x Mac: Installing avast! Free Antivirus for Mac How to install avast! Free Antivirus 7.x for Mac? In order to install and run avast! Free Antivirus 7.x for Mac your Mac needs to meet the following system requirements: Apple Mac OS X 10.5.x (Leopard), Apple Mac OS X 10.6.x (Snow Leopard), Apple Mac OS X 10.7.x (Lion) and Apple Mac OS X 10.7.x (Mountain Lion). Mac computer with an Intel processor. 512 MB RAM or above (1 GB RAM or higher preferred). 256 MB minimum hard disk free space. Internet connection (to download and register the product, for automatic updates of the program and antivirus database). Optimally standard screen resolution not less than 1024 x 768 pixels. Note: avast! Free Antivirus 7.x for Mac will not run properly if you have any other antivirus software installed. Installing avast! Free Antivirus 7.x for Mac Before you begin the installation of avast! Free Antivirus 7.x for Mac please ensure that: You are logged in as a user with permissions to administer your Mac (for instructions refer to Max OS X help or the documentation on Apple's website, or contact your computer/network administrator), All other programs on your Mac are closed and not running (for instructions refer to your vendor's documentation), Your previous antivirus software is fully uninstalled (for instructions refer to your vendor's documentation), ...to prevent avast! Free Antivirus 7.x for Mac from being incorrectly installed or aborted unexpectedly. When you are ready, proceed as follows: 1. Firstly download the avast! Free Antivirus 7.x for Mac from the avast! website, or you can click the button below to begin the download: ...and save it to Downloads folder on your Mac (most browsers use this folder by default). 2. Open the 'Finder' from the Dock, Figure I. ...select 'Downloads' on the left, double­click 'avast_free_antivirus_mac_setup.dmg' file, Figure II. ...and wait a few seconds until verification process is completed. Figure III. 3. On the displayed setup screen drag the avast!.app icon from the left and drop it to the Applications folder on the right, Figure IV. ...and then wait a few seconds until the file is copied. Figure V. 4. Double­click the Applications folder on the right side of the setup screen, Figure VI. ...or you can get to the Applications folder using the 'Finder' from the Dock. Figure VII. 5. Double­click 'avast!.app' icon, Figure VIII. ...and if asked whether you want to continue, click 'Open'. Figure IX. 6. In order to continue, you now need to 'Confirm', that you have read and accept the terms of the AVAST END USER LICENSE AGREEMENT. Figure X. 7. On the next screen select 'Install', Figure XI. ...when asked for authentication, enter the Name with Password you are using to access and administer your Mac, click 'OK', Figure XII. ...and then wait a few seconds until the application components are installed. Figure XIII. Note: If you see a message, telling you that WebRep Extensions cannot be installed or updated when the particular browsers are running, you have to quit each browser listed, one by one, Figure XIV. ...for example, if the system default Safari browser is running, open its user interface, and select 'Quit Safari' (for Firefox browser select 'Quit Firefox', etc. ­ it depends on used browser), from the Menu bar on the top­left of the screen. Figure XV. When it's done, the message automatically disappears and installation will continue. 8. Once the installation is successfully completed, avast! user interface will open, and you can close the initial setup screen on the background. Figure XIV. avast! Free Antivirus 7.x for Mac should be then installed on your system and ready to use. But it works for 30 days in trial mode after the installation. During this period you need to register to get your free license to continue to use the program and remain protected against the very latest threats. For more information and detailed step­by­step instructions please read the following article: avast! 7.x: Registering avast! Free Antivirus The avast! user interface is accessible via avast! Menu bar icon on the top­right of the screen, or the orange shortcut icon within the Applications.
