ANALOG AND DIGITAL METERS
ANALOG VS. DIGITAL METERS
Ultimately, your diagnosis of vehicle
electrical system problems will come
down to using a voltmeter, ammeter, or
ohmmeter to pinpoint the exact location of
the problem. There are two types of each
meter—analog and digital.
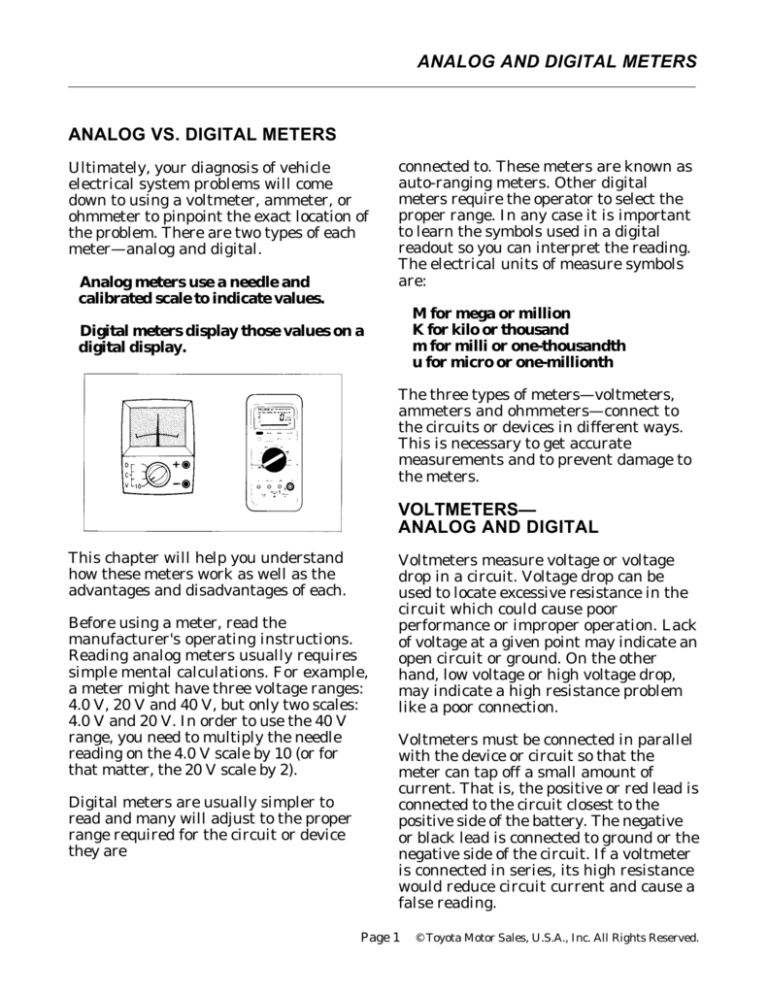
Analog meters use a needle and
calibrated scale to indicate values.
connected to. These meters are known as
auto-ranging meters. Other digital
meters require the operator to select the
proper range. In any case it is important
to learn the symbols used in a digital
readout so you can interpret the reading.
The electrical units of measure symbols
are:
M for mega or million
K for kilo or thousand
m for milli or one-thousandth
u for micro or one-millionth
Digital meters display those values on a
digital display.
The three types of meters—voltmeters,
ammeters and ohmmeters—connect to
the circuits or devices in different ways.
This is necessary to get accurate
measurements and to prevent damage to
the meters.
VOLTMETERS—
ANALOG AND DIGITAL
This chapter will help you understand
how these meters work as well as the
advantages and disadvantages of each.
Before using a meter, read the
manufacturer's operating instructions.
Reading analog meters usually requires
simple mental calculations. For example,
a meter might have three voltage ranges:
4.0 V, 20 V and 40 V, but only two scales:
4.0 V and 20 V. In order to use the 40 V
range, you need to multiply the needle
reading on the 4.0 V scale by 10 (or for
that matter, the 20 V scale by 2).
Digital meters are usually simpler to
read and many will adjust to the proper
range required for the circuit or device
they are
Voltmeters measure voltage or voltage
drop in a circuit. Voltage drop can be
used to locate excessive resistance in the
circuit which could cause poor
performance or improper operation. Lack
of voltage at a given point may indicate an
open circuit or ground. On the other
hand, low voltage or high voltage drop,
may indicate a high resistance problem
like a poor connection.
Voltmeters must be connected in parallel
with the device or circuit so that the
meter can tap off a small amount of
current. That is, the positive or red lead is
connected to the circuit closest to the
positive side of the battery. The negative
or black lead is connected to ground or the
negative side of the circuit. If a voltmeter
is connected in series, its high resistance
would reduce circuit current and cause a
false reading.
Page 1
© Toyota Motor Sales, U.S.A., Inc. All Rights Reserved.
ANALOG AND DIGITAL METERS
Because voltmeters are always hooked to
a circuit in parallel, they become part of
the circuit and reduce the total resistance
of the circuit. If a voltmeter has a
resistance that is too low in comparison to
the circuit, it will give a false
measurement. The false reading is due to
the meter changing the circuit by
lowering the resistance, which increases
the current flow in the circuit. The effect
a voltmeter has on the circuit to which it
is attached is sometimes referred to as
"loading effect" of the meter. The loading
effect a voltmeter has on a circuit is
determined by the total resistance of the
circuit in relation to the impedance of the
voltmeter.
Impedance is the biggest difference
between analog and digital voltmeters.
Since most digital voltmeters have 50
times more impedance than analog
voltmeters, digital meters are more
accurate when measuring voltage in
high resistance circuits.
For example, if you are using a low
impedance (20,000 ohms per volt) analog
meter on the 20 volt scale (the voltmeter
represents 400,000 ohms resistance to the
circuit) to measure voltage drop across a
1,000,000 ohm component in a circuit, two
and a half times as much current is
flowing through the meter than through
the component. You are no longer
measuring just that component, but the
component plus your meter, giving you a
false reading of the actual voltage drop
across the component. This situation
might lead you to believe the voltage at the
component is low or that there is high
resistance somewhere in the circuit or
that the component is defective when it is
just the meter you are using.
If you use a digital meter with 10 million
ohms of impedance to test the same
component, only 1/10 of the current will
flow through the meter, which means it
has very little effect on the circuit being
measured.
Every voltmeter has an impedance,
which is the meter's internal resistance.
The impedance of a conventional analog
voltmeter is expressed in "ohms per volt."
The amount of resistance an analog
voltmeter represents to the circuit
changes in relation to the scale on which
it is placed. Digital voltmeters, on the
other hand, have a fixed impedance
which does not change from scale to scale
and is usually 10 M ohms or more.
Page 2
© Toyota Motor Sales, U.S.A., Inc. All Rights Reserved.
ANALOG AND DIGITAL METERS
There is not a great difference between
analog and digital ammeters. Digital
meters are often capable of measuring
smaller currents, all the way down to
microamps. They are easier to use
because they give a specific value,
eliminating the need to interpret the
analog meter's needle on its scale.
Generally speaking, most digital
ammeters are combined with a voltmeter.
AMMETERS—
ANALOG AND DIGITAL
Ammeters measure amperage, or
current flow, in a circuit, and provide
information on current draw as well as
circuit continuity. High current flow
indicates a short circuit, unintentional
ground or a defective component. Some
type of defect has lowered the circuit
resistance. Low current flow may
indicate high resistance or a poor
connection in the circuit or a discharged
battery. No current indicates an open
circuit or loss of power.
OHMMETERS—
ANALOG AND DIGITAL
An ohmmeter is powered by an internal
battery that applies a small voltage to a
circuit or component and measures how
much current flows through the circuit
or component. It then displays the result
as resistance. Ohmmeters are used for
Ammeters must always be connected in
series with the circuit, never in parallel.
That is, all the circuit current must flow
through the meter. It is connected by
attaching the positive lead to the positive
or battery side of the circuit, and the
negative lead to negative or ground side of
the circuit, as shown.
CAUTION: These meters have extremely low
internal resistance. If connected in parallel, the
current running through the parallel branch
created by the meter might be high enough to
damage the meter along with the circuit the meter
is connected to. Also, since all the current will
flow through the ammeter when it is connected be
sure that the circuit current will not exceed the
maximum rating of the meter.
checking continuity and for measuring
the resistance of components. Zero
resistance indicates a short while infinite
resistance indicates an open in a circuit
or device. A reading higher than the
specification indicates a faulty component
or a high resistance problem such as
burnt contacts, corroded terminals or
loose connections.
Page 3
© Toyota Motor Sales, U.S.A., Inc. All Rights Reserved.
ANALOG AND DIGITAL METERS
Ohmmeters, because they are selfpowered, must never be connected to a
powered circuit as this may blow a fuse in
the meter and damage its battery. Unless
the circuit being measured contains a
diode, polarity (attaching the leads in a
particular order) is inconsequential.
An analog ohmmeter should be
calibrated regularly by connecting the two
leads together and zeroing the meter with
the adjust knob. This compensates for
changes in the state of charge of the
internal battery.
CAUTION: Analog ohmmeters may apply a
higher voltage to a circuit than a digital
ohmmeter, causing damage to solid state
components.
Use analog ohmmeters with care. Digital meters,
on the other hand, apply less voltage to a circuit, so
damage is less likely.
Many analog ohmmeters will, when
switched to the ohm function, reverse the
polarity of the test leads. In other words,
the red lead may become negative and the
black lead may become positive. The
meter will function properly as long as
you are aware of this and reverse the
leads. This is especially important when
working with diodes or transistors which
are polarity sensitive and only allow
current to flow from the positive to the
negative end. To check for polarity
reversal, set the ohmmeter in ohm
function and connect its leads to the leads
of a voltmeter (red to red, black to black).
If the voltmeter shows a negative value,
that particular ohmmeter reverses
polarity in ohm function. Most digital
meters do not reverse polarity.
Analog meters can also bias, or turn on,
semi-conductors and change the circuit
by allowing current to flow to other
portions of the circuit.
Most digital meters have a low voltage
setting which will not bias semiconductors and a higher voltage setting
for testing semiconductors. The
information displayed on a digital meter
in the diode test function differs from one
meter brand to another. Some digital
meters will display a value which
represents the perceived resistance
of the diode in forward bias. Other meters
will display the forward bias voltage drop
of the diode.
Digital ohmmeters do have one
limitation. Due to the small amount of
current they pass through the device
being tested, they cannot check some
semiconductors in circuits, such as a
clamping diode on a relay coil.
You should note that ohmmeters do little
good in low resistance, high currentcarrying circuits such as starters. They
cannot find points of high resistance
because they only use a small amount of
current from their internal batteries. In a
large conductor (such as a battery cable),
this current meets little resistance. A
voltage drop test during circuit operation
is much more effective at locating points
of high resistance in this type of circuit.
Taken with permission from the
Toyota Advanced Electrical Course#672,
Page 4
© Toyota Motor Sales, U.S.A., Inc. All Rights Reserved.
ANALOG AND DIGITAL METERS
ASSIGNMENT
NAME:
1.
Explain how reading an Analog meter differs from a Digital meter.
2.
Explain the following electrical units of measure symbols ( M, K, m, u ).
3.
List three types of meters.
4.
Describe how voltmeters are connected to a circuit.
5.
Explain how “meter loading” affects the circuit.
6.
Describe “meter impedance” and how it effects a circuit?
7.
List the fixed impedance value of a digital voltmeter.
8.
Explain how the impedance of a digital meter differs from an analog meter.
9.
Describe how ammeters are connected to a circuit.
10.
Explain how analog ohmmeters differ from digital ohmmeters in setup.
11.
Explain what precautions one should take while connecting an ohmmeter to a
circuit.


