LEO 1430VP Scanning Electron Microscope: Basic User Guide
advertisement
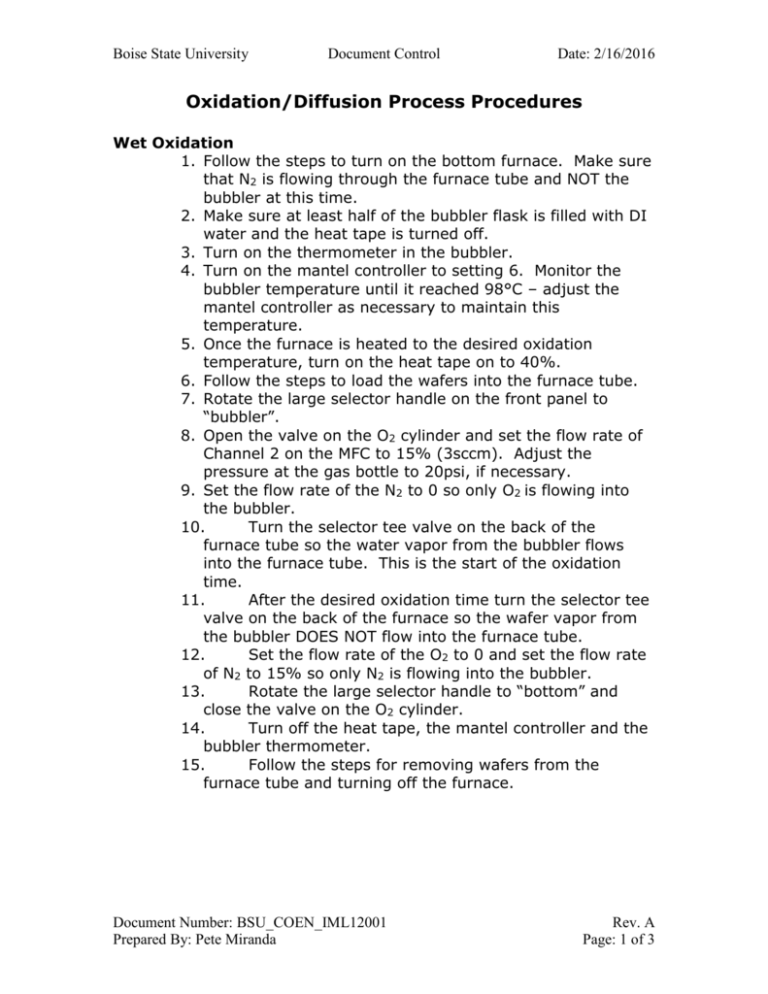
Boise State University Document Control Date: 2/16/2016 Oxidation/Diffusion Process Procedures Wet Oxidation 1. Follow the steps to turn on the bottom furnace. Make sure that N2 is flowing through the furnace tube and NOT the bubbler at this time. 2. Make sure at least half of the bubbler flask is filled with DI water and the heat tape is turned off. 3. Turn on the thermometer in the bubbler. 4. Turn on the mantel controller to setting 6. Monitor the bubbler temperature until it reached 98°C – adjust the mantel controller as necessary to maintain this temperature. 5. Once the furnace is heated to the desired oxidation temperature, turn on the heat tape on to 40%. 6. Follow the steps to load the wafers into the furnace tube. 7. Rotate the large selector handle on the front panel to “bubbler”. 8. Open the valve on the O2 cylinder and set the flow rate of Channel 2 on the MFC to 15% (3sccm). Adjust the pressure at the gas bottle to 20psi, if necessary. 9. Set the flow rate of the N2 to 0 so only O2 is flowing into the bubbler. 10. Turn the selector tee valve on the back of the furnace tube so the water vapor from the bubbler flows into the furnace tube. This is the start of the oxidation time. 11. After the desired oxidation time turn the selector tee valve on the back of the furnace so the wafer vapor from the bubbler DOES NOT flow into the furnace tube. 12. Set the flow rate of the O2 to 0 and set the flow rate of N2 to 15% so only N2 is flowing into the bubbler. 13. Rotate the large selector handle to “bottom” and close the valve on the O2 cylinder. 14. Turn off the heat tape, the mantel controller and the bubbler thermometer. 15. Follow the steps for removing wafers from the furnace tube and turning off the furnace. Document Number: BSU_COEN_IML12001 Prepared By: Pete Miranda Rev. A Page: 1 of 3 Boise State University Document Control Date: 2/16/2016 Dry Oxidation 1. Follow the steps to turn on the bottom furnace. Check the selector tee valve on the back of the furnace tube to be sure that N2 is flowing into the furnace tube and not the bubbler. 2. Once the furnace is heated to the desired oxidation temperature, follow the steps to load wafers into the furnace. 3. Open the valve on the O2 cylinder and set the MFC to 30% for the O2 and the N2 to 0. Start your oxidation time. Use the “oxide thickness calculator” and the SPC chart to get your desired oxide thickness based on time, temperature and O2 flowrate. 4. Adjust the pressure at both gas bottles to 20psi if necessary. 5. Once oxidation is complete, set the flow rate of channel 2 on the MFC (O2) to 0. 6. Follow steps to remove wafers from the furnace and to turn off the furnace. Diffusion 1. Follow the steps to turn on the top furnace. 2. Once the furnace is heated to the desired temperature, open the valve on the O2 cylinder and set the desired flow rate on the MFC for the O2 and N2 (See notes below on the diffusion of Phosphorus). 3. Adjust the pressure at both gas bottles to 20psi if necessary. 4. Follow the steps to unload Phosphorus Dopant (Filmtronics P450) a) spin coat the wafer with Phosphorus. b) bake for 60 seconds at each temperature of 80C, 150C & 250C. c) insert the wafers into the diffusion furnace at a temp. of 550°C and a 25% O2 75% N2 gas ratio. d) ramp to diffusion temperature of 1000°C at a rate of 5°C per minute. e) hold this temperature for 1 hour for a theoretical diffusion depth of 5µm. f) cool wafer slowly. g) etch away the residual PSG in HF acid. h) Test for results. Document Number: BSU_COEN_IML12001 Prepared By: Pete Miranda Rev. A Page: 2 of 3 Boise State University Document Control Document Number: BSU_COEN_IML12001 Prepared By: Pete Miranda Date: 2/16/2016 Rev. A Page: 3 of 3

