How to Remove Wallpaper From Plaster Walls
advertisement
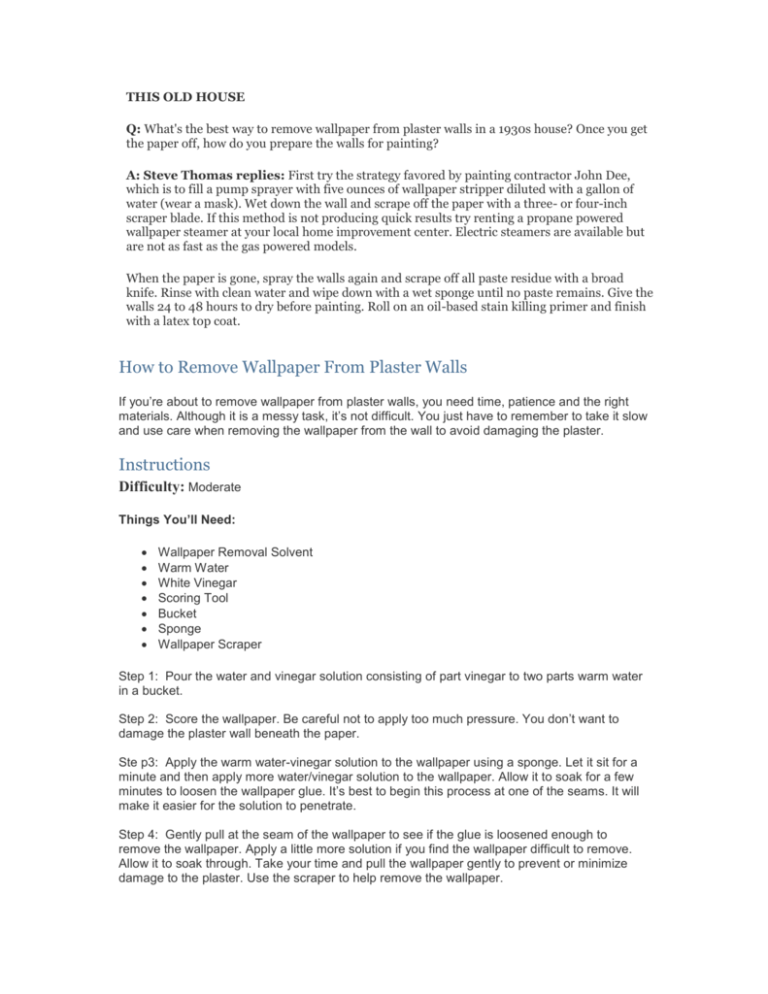
THIS OLD HOUSE Q: What's the best way to remove wallpaper from plaster walls in a 1930s house? Once you get the paper off, how do you prepare the walls for painting? A: Steve Thomas replies: First try the strategy favored by painting contractor John Dee, which is to fill a pump sprayer with five ounces of wallpaper stripper diluted with a gallon of water (wear a mask). Wet down the wall and scrape off the paper with a three- or four-inch scraper blade. If this method is not producing quick results try renting a propane powered wallpaper steamer at your local home improvement center. Electric steamers are available but are not as fast as the gas powered models. When the paper is gone, spray the walls again and scrape off all paste residue with a broad knife. Rinse with clean water and wipe down with a wet sponge until no paste remains. Give the walls 24 to 48 hours to dry before painting. Roll on an oil-based stain killing primer and finish with a latex top coat. How to Remove Wallpaper From Plaster Walls If you’re about to remove wallpaper from plaster walls, you need time, patience and the right materials. Although it is a messy task, it’s not difficult. You just have to remember to take it slow and use care when removing the wallpaper from the wall to avoid damaging the plaster. Instructions Difficulty: Moderate Things You’ll Need: Wallpaper Removal Solvent Warm Water White Vinegar Scoring Tool Bucket Sponge Wallpaper Scraper Step 1: Pour the water and vinegar solution consisting of part vinegar to two parts warm water in a bucket. Step 2: Score the wallpaper. Be careful not to apply too much pressure. You don’t want to damage the plaster wall beneath the paper. Ste p3: Apply the warm water-vinegar solution to the wallpaper using a sponge. Let it sit for a minute and then apply more water/vinegar solution to the wallpaper. Allow it to soak for a few minutes to loosen the wallpaper glue. It’s best to begin this process at one of the seams. It will make it easier for the solution to penetrate. Step 4: Gently pull at the seam of the wallpaper to see if the glue is loosened enough to remove the wallpaper. Apply a little more solution if you find the wallpaper difficult to remove. Allow it to soak through. Take your time and pull the wallpaper gently to prevent or minimize damage to the plaster. Use the scraper to help remove the wallpaper. Step 5: For truly stubborn areas, apply a wallpaper removal solvent. The chemicals in the solvent loosen the glue without damaging the plaster wall beneath it. Once the glue is loose, gently scrape and remove the wallpaper. Step 6: Patch the plaster if needed. Even the most gentle and careful removal of wallpaper can result in a few dings and scratches in the plaster. Unfortunately, the only way to make things look good as new is to patch and sand the affected areas. DUMMIES.COM Knowing what you're up against In most cases, walls are either drywall (gypsum sandwiched between layers of paper) or plaster smoothed over lath (either strips of wood or metal mesh). You can usually tell what you have by the feel (plaster is harder, colder, and smoother than drywall) or by tapping on it (drywall sounds hollow, and plaster doesn't). When in doubt, remove an outlet cover to see the exposed edges. Drywall is more vulnerable to water damage; you must avoid overwetting it. And use care when you're scraping because drywall gouges more easily than plaster. What about the wallpaper? Be optimistic — assume that the paper is dry-strippable. Lift a corner of the paper from the wall with a putty knife. Grasp the paper with both hands and slowly attempt to peel it back at a very low angle. If it all peels off, you're home free. If the wallpaper doesn't peel off, or if only the decorative surface layer peels off, you must saturate the wallpaper or the remaining backing with water and wallpaper remover solvent and then scrape it off. Some papers, such as foils or those coated with a vinyl or acrylic finish, are not porous. If you're removing such wallpapers, you must scratch, perforate, or roughen the entire surface to permit the solution to penetrate below the nonporous surface to the adhesive. You can test for porosity by spraying a small area with hot water and wallpaper remover. If the paper is porous, you should see the paper absorb the water immediately. After the paper is wetted, you can scrape it off. Now that you know what you're dealing with, you can choose an appropriate removal technique for the entire surface. Depending on your situation, choose one of three wallpaper-removal approaches: drystripping, wallpaper remover, or steam. Choosing a removal technique The technique you use for removing the old wallpaper depends on what kind of paper you're taking down and what kind of surface is underneath (see the previous section, "Knowing what you're up against"). The following sections outline the steps involved in the different approaches. Dry-stripping If a wallpaper is dry-strippable, you just need to loosen each strip at the corners with a putty knife and slowly peel it back at a 10- to 15-degree angle. Don't pull the wallpaper straight out or you may damage the underlying surface, especially if it's drywall. After you remove all the paper, follow the adhesive removal procedures the next section describes. If only the top, decorative layer peels off, leaving a paper backing behind, it's a peelable paper. Dry-strip the entire top layer and then follow the steps in the next section to take off the backing and adhesive. If you plan to repaper and the old backing is secure and in good condition, you may be able to hang the new wallcovering right on top of it. Discuss this option with your wallpaper dealer. Soaking and scraping it off To remove nonstrippable paper or any paper backing that remains after dry-stripping a peelable paper's decorative layer, turn first to warm water and wallpaper removal solvent. Soak the surface with a wallpaper remover solution. Although a spray bottle works, the most effective way to get the solution on the wall and not all over the floor is to use a paint roller or a spray bottle. Then scrape the sodden paper off with a wide taping knife or a wallpaper scraper. Don't wet a larger area than you can scrape off within about 15 minutes. You shouldn't let water soak into drywall for longer than that, or it may cause unnecessary damage. Usually, you can wet about a 3foot-wide, floor-to-ceiling section at a time. Scrape off the wet wallpaper and let it fall to the floor. The canvas drop cloth or towels that you put down absorbs most of the dripping solution and keeps your shoe soles a little cleaner. If the wallpaper is nonporous, you must roughen or perforate the surface so that the remover solution can penetrate and dissolve the adhesive. To roughen the surface, use coarse sandpaper on either a pad sander or a hand-sanding block. You can also use a neat gizmo called a Paper Tiger or another perforating tool devised for use on wallpaper applied over drywall. Rounded edges on these tools help ensure that you don't cause damage that may require subsequent repair. Don't use the scraper after the wallpaper is wet, though; you may damage the drywall. If you're successful in using the soak-and-scrape approach, you can finish up the job. If not, it's time to pull out the big gun: a wallpaper steamer. Giving it a steam bath You're talking major work if you must remove more than one layer of wall-paper or remove wallpaper that has been painted over. And if the wallpaper was not applied to a properly sealed surface, removing it without damaging the wall can be next to impossible. For these tough jobs, you may have to rent a wallpaper steamer (about $15 for a half-day) or buy a do-it-yourself model (about $50). A wallpaper steamer is a hotplate attached to a hose extending from a hot water reservoir that heats the water and directs steam to the hotplate. Although you can use a steamer and wallpaper scraper with relative confidence on plaster walls, use caution on drywall, which is much more vulnerable to water damage and is more easily gouged. Fill the steamer with water and let it heat up, and keep a baking pan handy to put the hotplate in when you're not using it. Starting at the top of the wall, hold the hotplate against the wall in one area until the wallpaper softens. Move the hotplate to an adjacent area as you scrape the softened wallpaper with a wallpaper razor scraper and let it fall onto the plastic as described in the preceding section. When you're through scraping one area, the steamer usually has softened the next area, depending on the porosity of the paper. Both steam and the water that condenses from it can drip off the hotplate and burn you. To prevent hot water from dripping down your arm, stand on a stepstool when you're working above chest height. Wear rubber gloves and a long-sleeved shirt, too. If previous strips of wall covering have been lapped at the seams, these lap marks will show through the new covering. If you still want to paper over old coverings, as necessary, sand the seams smooth, tear away any loose strips, and re-paste loose edges around butt seams or defects before applying the new covering. If you're papering over foil or vinyl wall coverings, go over the shiny areas lightly with coarse sandpaper and then vacuum or wipe the sanding dust off the wall. Slitting and Soaking Publications International, Ltd. Learn about the slitting and soaking method. With this technique, you make horizontal slits in the surface of the old wall covering with a utility knife, a razor blade, or a special tool called a paper stripper, available at wall covering stores. The slits, made eight or ten inches apart, allow warm, soapy water or a liquid paper remover to get behind the paper and soften the adhesive so you can pull or scrape the paper off plaster walls. You can apply either solution with a sponge or a spray bottle. Caution: If you spray on a liquid paper remover, use a painters' mask to keep from inhaling chemical vapors. Step 1: Apply the water or the paper remover and let it soak in for a few minutes. Step 2: Do the same thing on the next strip, then go back to the first and wet it again top to bottom. Step 3: Use a 3 1/2-inch-wide wall scraper with a flexible blade to begin stripping. Slide the blade under the top edge of one of the horizontal slits and, holding it at about a 30-degree angle, push up on the wet paper. A scraper-width section should rip along the sides of the blade and wrinkle up above it as you push. Step 4: Continue pushing as long as the paper comes off. If the strip of scraped paper breaks, resoak that area and start scraping at another slit. If, after repeated soaking and scraping attempts, the adhesive is clearly not yielding, you'll have to use another method. On walls made of drywall, use a paper stripper to make the horizontal slits as before, but don't wet the paper. Just slowly scrape or peel it away from the wall. Steaming Publications International, Ltd. Learn about the steaming method. Many tool rental and wallpaper outlets rent electrical steamers to do-it-yourselfers. These appliances typically consist of an electrically heated water tank connected by a long hose to a steamer plate with a perforated face. Here's how they're used: Step 1: Once the water is hot, hold the plate against the wall until you see the wall covering darken with moisture around the edges of the plate. Start on a single strip and work from the top down. Step 2: After about half of the strip has been steamed, lift a top corner with a fingernail or a utility knife and attempt to peel the paper downward. If that doesn't work, resort to a wall scraper. You may have to steam the same areas two or three times to loosen older adhesive behind the paper.
