Skill 20. Insertion of a Nasogastric Tube
advertisement

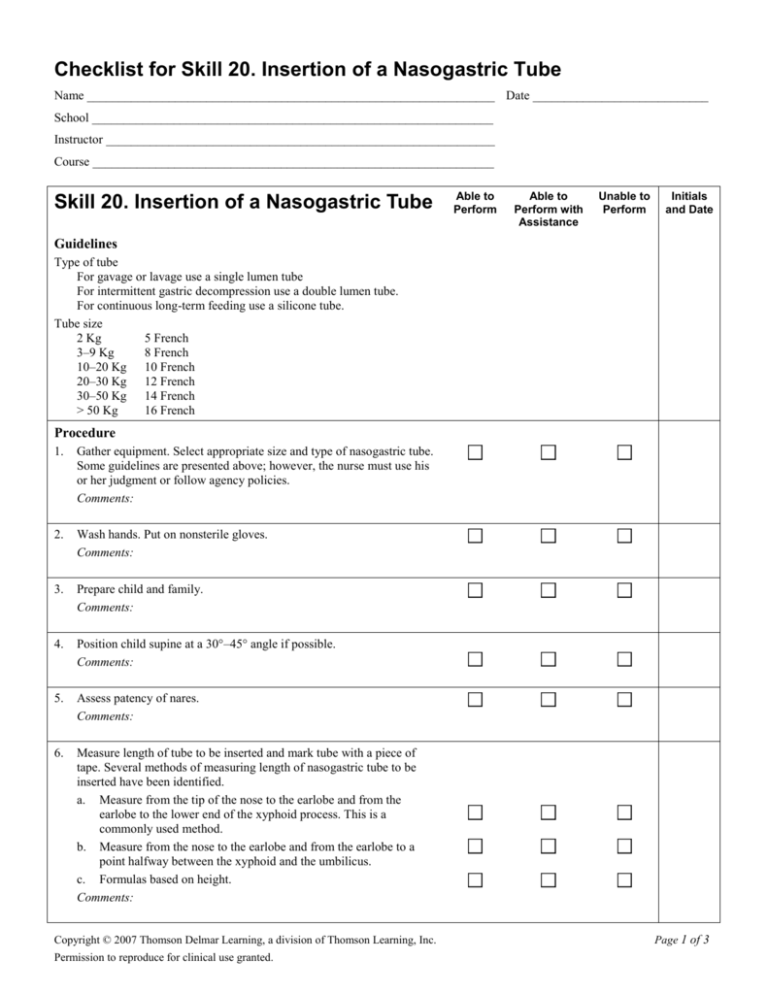
Checklist for Skill 20. Insertion of a Nasogastric Tube Name _________________________________________________________________ Date ____________________________ School ________________________________________________________________ Instructor ______________________________________________________________ Course ________________________________________________________________ Skill 20. Insertion of a Nasogastric Tube Able to Perform Able to Perform with Assistance Unable to Perform Initials and Date Guidelines Type of tube For gavage or lavage use a single lumen tube For intermittent gastric decompression use a double lumen tube. For continuous long-term feeding use a silicone tube. Tube size 2 Kg 5 French 3–9 Kg 8 French 10–20 Kg 10 French 20–30 Kg 12 French 30–50 Kg 14 French > 50 Kg 16 French Procedure 1. Gather equipment. Select appropriate size and type of nasogastric tube. Some guidelines are presented above; however, the nurse must use his or her judgment or follow agency policies. Comments: 2. Wash hands. Put on nonsterile gloves. Comments: 3. Prepare child and family. Comments: 4. Position child supine at a 30°–45° angle if possible. Comments: 5. Assess patency of nares. Comments: 6. Measure length of tube to be inserted and mark tube with a piece of tape. Several methods of measuring length of nasogastric tube to be inserted have been identified. a. Measure from the tip of the nose to the earlobe and from the earlobe to the lower end of the xyphoid process. This is a commonly used method. b. Measure from the nose to the earlobe and from the earlobe to a point halfway between the xyphoid and the umbilicus. c. Formulas based on height. Comments: Copyright © 2007 Thomson Delmar Learning, a division of Thomson Learning, Inc. Permission to reproduce for clinical use granted. Page 1 of 3 Skill 20. Insertion of a Nasogastric Tube 7. Place a towel over the child’s chest to protect clothing. Comments: 8. Lubricate 1 to 3 inches of the tube with water or a water-soluble gel. Comments: 9. Insert tube back and up into nostril; advance using gentle pressure. If resistance is met, withdraw the tube, relubricate and try the other nostril. Comments: Able to Perform Able to Perform with Assistance Unable to Perform Initials and Date 10. If the child is able, ask child to swallow as the tube is advanced. A pacifier may be used for an infant over 3 months of age who does not need to mouth breathe. Continue to advance the tube until the tape mark is at the nostril. Comments: 11. Check back of mouth for kinking of tube. Comments: 12. Remove tube immediately if there is vomiting or signs of respiratory distress, e.g., cyanosis, tachypnea, nasal flaring, grunting, wheezing, prolonged coughing or choking, or if the child is unable to speak or cry. These symptoms suggest the tube is in the respiratory tract rather than the gastrointestinal tract. Comments: 13. Remove guide wire if applicable. NOTE: Some agencies have policies that limit insertion of nasogastric tubes with guide wires to physicians. Follow agency policy. Comments: 14. Verify placement of nasogastric tube per agency protocol. The literature identifies several methods for determining appropriate placement of nasogastric tubes (Beckstrand, et al., 1990; Gharib, Stern, Sherbin, & Rohrmann, 1996; Rakel, et al., 1994). These include insufflation of air while listening for the sound of the air, withdrawal of gastric/intestinal contents, checking contents withdrawn for pH and other characteristics, and inserting end of tube in the water and watching for bubbles. Research has demonstrated the listening for air (a frequently identified method) is the least reliable method. The most reliable method for confirming placement is X ray. Comments: Copyright © 2007 Thomson Delmar Learning, a division of Thomson Learning, Inc. Permission to reproduce for clinical use granted. Page 2 of 3 Skill 20. Insertion of a Nasogastric Tube Able to Perform Able to Perform with Assistance Unable to Perform Initials and Date 15. Secure tube by placing hypoactive dressing on child’s cheek and then securing the tube to the dressing with the transparent dressing or tape. The tube also may be taped to the upper lip or nose. Use a 4 inch length of tape, split about 2 inches of the tape lengthwise, place unsplit end on nose, wrap spit ends around tube and secure to nose. Comments: 16. Attach tube to suction, feeding, or clamp as ordered. Comments: 17. Remove gloves. Wash hands. Comments: Documentation 1. 2. 3. 4. 5. 6. 7. Insertion procedure with date and time. How tolerated by child. Type and size of tube. Which nostril used. Patency. Amount, color, and consistency of returns. Laboratory tests done on gastric contents, if applicable. Comments: Copyright © 2007 Thomson Delmar Learning, a division of Thomson Learning, Inc. Permission to reproduce for clinical use granted. Page 3 of 3


