Mapping_Photographs_and_other_Resources_v3 (new window)
advertisement
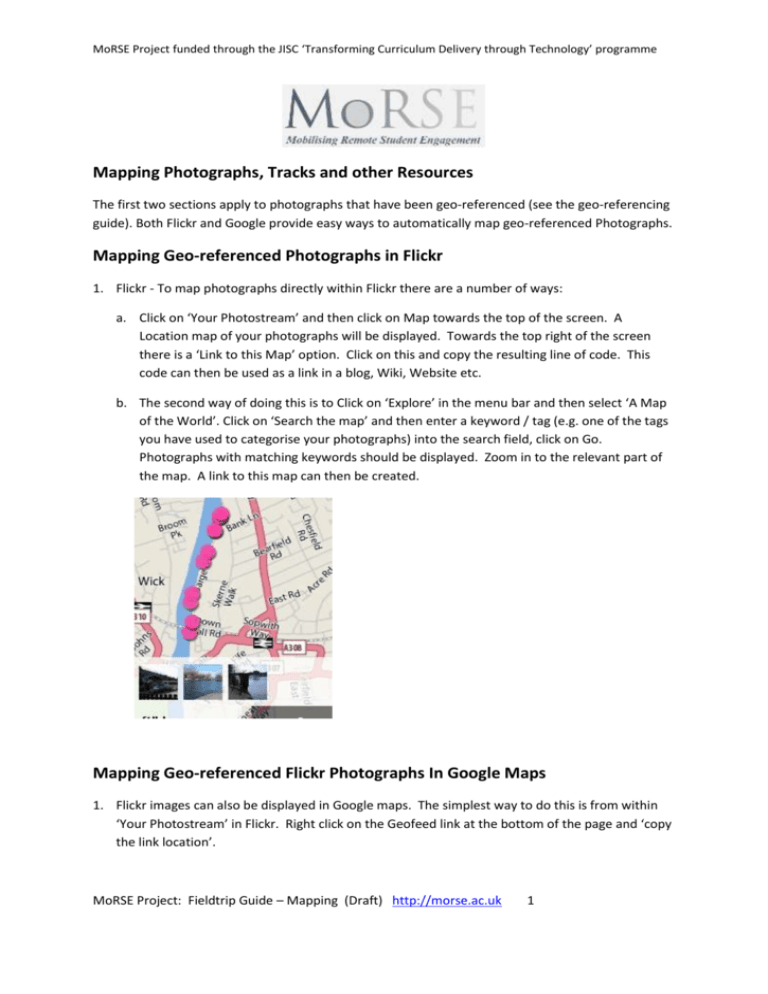
MoRSE Project funded through the JISC ‘Transforming Curriculum Delivery through Technology’ programme Mapping Photographs, Tracks and other Resources The first two sections apply to photographs that have been geo-referenced (see the geo-referencing guide). Both Flickr and Google provide easy ways to automatically map geo-referenced Photographs. Mapping Geo-referenced Photographs in Flickr 1. Flickr - To map photographs directly within Flickr there are a number of ways: a. Click on ‘Your Photostream’ and then click on Map towards the top of the screen. A Location map of your photographs will be displayed. Towards the top right of the screen there is a ‘Link to this Map’ option. Click on this and copy the resulting line of code. This code can then be used as a link in a blog, Wiki, Website etc. b. The second way of doing this is to Click on ‘Explore’ in the menu bar and then select ‘A Map of the World’. Click on ‘Search the map’ and then enter a keyword / tag (e.g. one of the tags you have used to categorise your photographs) into the search field, click on Go. Photographs with matching keywords should be displayed. Zoom in to the relevant part of the map. A link to this map can then be created. Mapping Geo-referenced Flickr Photographs In Google Maps 1. Flickr images can also be displayed in Google maps. The simplest way to do this is from within ‘Your Photostream’ in Flickr. Right click on the Geofeed link at the bottom of the page and ‘copy the link location’. MoRSE Project: Fieldtrip Guide – Mapping (Draft) http://morse.ac.uk 1 MoRSE Project funded through the JISC ‘Transforming Curriculum Delivery through Technology’ programme 2. If you have a Google account log in to Google and then click on Maps (towards the top left). Then click on ‘My Maps’ towards the left side of the screen. Click on ‘Create a new map’. Enter a title and description and then click on import. In the second field enter the link you created in step one above and then click on upload: The photographs should now be displayed in Google maps. Google Maps includes further options for including other data sources including Youtube videos etc, customised maps etc. These are explored towards the end of this document. Mapping Flickr Photographs In Google Maps using Keywords / Tags and Sets To be selective in terms of feeding geo-referenced photographs into Google Maps use one of the following options: a. Keywords – Instead of pasting in the Geofeed as described above paste in the following URL, replacing Keyword with your own keyword: http://api.flickr.com/services/feeds/photos_public.gne?tags=Keyword&format=rss_200&georss=1 Multiple keywords can be used – just place a comma between them. Paste the link into the second import field. For example try: http://api.flickr.com/services/feeds/photos_public.gne?tags=gg2350&format=rss_200&georss=1 b. It is possible to organise Flickr photographs into Sets ‘Sub folders’. From within a Flickr set, right click on the Feed link at the bottom of the page and ‘Copy Shortcut’. Instead of using the above links paste this resulting link into the Google Import box. However before clicking upload append the following line to the end of the url: ?&format=rss_200&georss=1 For example, the following is a feed for a Flickr Thames ‘set’: http://www.flickr.com/photos/34972638@N07/sets/72157623632165258/ MoRSE Project: Fieldtrip Guide – Mapping (Draft) http://morse.ac.uk 2 MoRSE Project funded through the JISC ‘Transforming Curriculum Delivery through Technology’ programme and the geofeed is: http://www.flickr.com/photos/34972638@N07/sets/72157623632165258/?&format=rss_200&geor ss=1 Mapping GPS Tracks Many though not all dedicated GPS units can record tracks which can then be plotted as a path or route on a map. There are also mobile phone applications that are capable or recording tracks and also uploading them to Google Maps. One example is the ‘My Tracks’ (http://mytracks.appspot.com/) Android application. A common export format for dedicated GPS units is the ‘GPX’ format though this cannot be imported directly into Google Maps. My Tracks can also export tracks in the GPX format but additionally can export in Google’s KML format which can be imported directly into Google Maps. To Import a KML file into Google Maps open an existing map or create and new map and then click on Import. Click on the first Browse button and select the relevant KML file: To import a GPS file you will need to convert it first to a KML file. This can be done via Google Earth, GPS Babel (http://www.gpsbabel.org/) or GPS Visualiser (http://www.gpsvisualizer.com/). Mapping Non Geo-Referenced Photographs and other Resources in Google Maps Point and line symbols can be easily added to a ‘My Map’ in Google Maps. Photographs and other resources such as videos can then be embedded within these symbols, including files that have been uploaded to Studyspace. 1. Open an existing ‘My Map’ or create a new map as described previously. If you are using an existing map click on the Edit button. 2. Adding Point Symbols and embedding photographs, videos and Studyspace resources. Click on the Blue marker symbol towards the top left of your map and then drag the marker to the MoRSE Project: Fieldtrip Guide – Mapping (Draft) http://morse.ac.uk 3 MoRSE Project funded through the JISC ‘Transforming Curriculum Delivery through Technology’ programme appropriate location. You can then enter a title. In the main text box you can now enter descriptive text along with for example embedding photographs from Flickr, video from Youtube or resources from Studyspace. Click on ‘Edit HTML’. a. Embedding Flickr Photographs. To add a photograph open Flickr in another Window. Find the relevant photograph and click on it. Towards the top right of the screen you will see a ‘Share This’ link. Click on this and then select ‘Grab the HTML’. ‘Embed’ code will appear. Copy this code, and then paste the code into the text box that you have currently got open in Google. Click OK and then Save if it is highlighted and then Done. b. Embedding Video from Youtube. The process is very similar to that for Flickr. From within Youtube copy the Embed code displayed to the right of the video and then copy this into the symbol’s text box as described above. c. Embedding Photographs and other resources from Studyspace. Upload the relevant resources to Studyspace and create a URL as described in ‘Sharing Photographs’. Use the following code replacing Studyspace with the URL you have just created. Paste this code into the text box that you have currently got open in Google. Click OK and then Save if it is highlighted, and then Done. To add the image use: <img src="Studyspace" width="500" height="333" alt="Label_here"> If you want to hotlink the photograph use the following code: <a href="Weblink" title="Add_title_here"><img src="Studyspace" width="500" height="333" alt="Thames Walk"></a> Replace ‘Weblink’ with the web address you want to hotlink the photograph to, and add a title in place of Add_title_here. As before replace Studyspace with the URL of the photograph in Studyspace. d. It is also possible to create links to other files including audio files that you have uploaded to Studyspace. Obtain the URL for the resource. Add or edit a new map symbol. In the text box for the symbol click on Rich Text. Enter appropriate text and select the text you wish to link. Click on the chain icon and enter the URL. Click on OK, Save and Done. e. The symbol can also be changed. While still in the edit mode click on the symbol in the map and then choose a new symbol from the set displayed. When you have finished editing make sure you click on Save and then Done. 3. Adding Line Symbols. This works exactly the same as for symbols described above except click on the line symbol rather than the Point symbol. Photographs and other files can also be embedded with line symbols. MoRSE Project: Fieldtrip Guide – Mapping (Draft) http://morse.ac.uk 4 MoRSE Project funded through the JISC ‘Transforming Curriculum Delivery through Technology’ programme Sharing Google Maps When you have completed editing your My Map Click on the link in the top right corner. Copy the line of code in the first box. This line of code can then be used as a link in a Blog or elsewhere. The second box contains code that can be used to ‘embed a map in a website or blog but currently this is not working for our Blog server. Alternatives to Google Maps There are other tools on the web that provide either similar functionality to Google Maps or further options: Microsoft Bing Maps http://www.bing.com/maps/ Open StreetMap http://www.openstreetmap.org is another source of map data. The licensing arrangements give you greater freedom in how you use this data – see: http://wiki.openstreetmap.org/wiki/OpenStreetMap_License Options for Web Mapping without creating accounts Although you cannot create customised maps with Google without signing up for an account you can create links to sections of the map. Zoom to the relevant map location and then click on ‘Link’ towards the top right of the screen. You could for instance upload a photograph directly to the Blog and then create a link to its map location. Similar options are available with Bing Maps and Open StreetMap. MoRSE Project: Fieldtrip Guide – Mapping (Draft) http://morse.ac.uk 5
