samplePrograms
advertisement
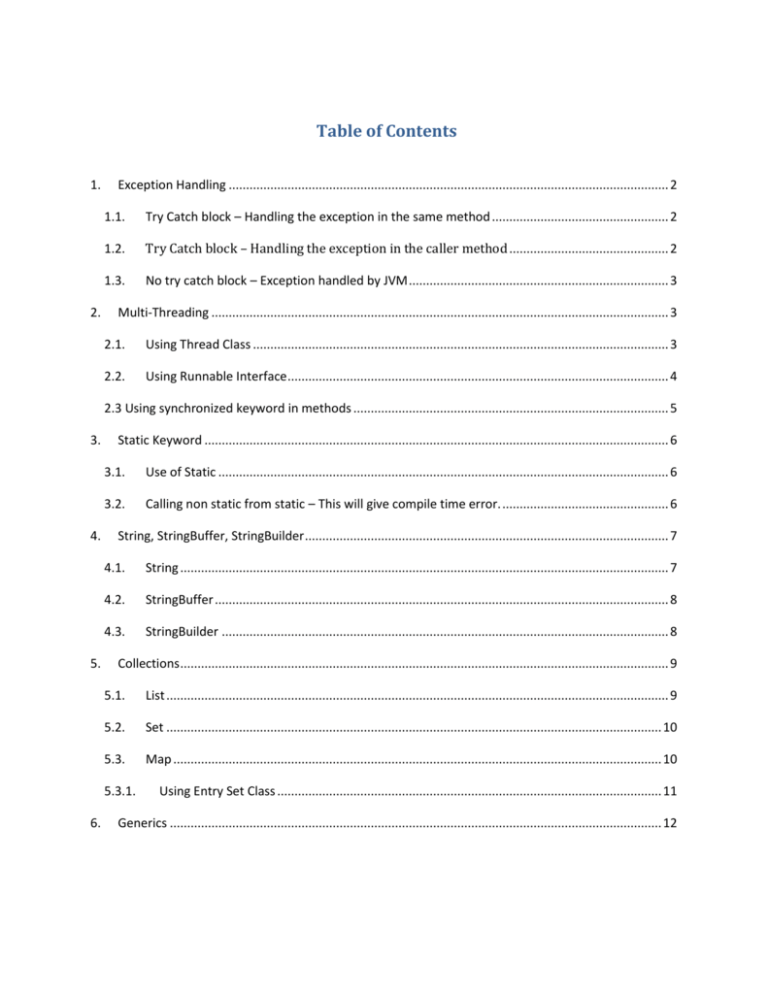
Table of Contents
1.
2.
Exception Handling ............................................................................................................................... 2
1.1.
Try Catch block – Handling the exception in the same method ................................................... 2
1.2.
Try Catch block – Handling the exception in the caller method .............................................. 2
1.3.
No try catch block – Exception handled by JVM ........................................................................... 3
Multi-Threading .................................................................................................................................... 3
2.1.
Using Thread Class ........................................................................................................................ 3
2.2.
Using Runnable Interface .............................................................................................................. 4
2.3 Using synchronized keyword in methods ........................................................................................... 5
3.
4.
5.
Static Keyword ...................................................................................................................................... 6
3.1.
Use of Static .................................................................................................................................. 6
3.2.
Calling non static from static – This will give compile time error. ................................................ 6
String, StringBuffer, StringBuilder ......................................................................................................... 7
4.1.
String ............................................................................................................................................. 7
4.2.
StringBuffer ................................................................................................................................... 8
4.3.
StringBuilder ................................................................................................................................. 8
Collections ............................................................................................................................................. 9
5.1.
List ................................................................................................................................................. 9
5.2.
Set ............................................................................................................................................... 10
5.3.
Map ............................................................................................................................................. 10
5.3.1.
6.
Using Entry Set Class ............................................................................................................... 11
Generics .............................................................................................................................................. 12
1. Exception Handling
1.1.Try Catch block – Handling the exception in the same method
Use the try and catch block to throw and handle exception. Arithemetic Exception is unchecked
exception. So, not using try/catch block is also fine.
package com.sample.example;
public class Example {
public static void main(String args[]){
try{
int a=100;
int b=0;
int c = a/b;
System.out.println("The result of a/b is "+c);
}catch(ArithmeticException aex){
System.out.println("Cannot divide by 0");
}
}
}
Output:
Cannot divide by 0
1.2.Try Catch block – Handling the exception in the caller method
The try catch code blocks are in the caller method and the exception generated will be handled in
the caller.
package com.sample.example;
public class Example {
public static void main(String args[]){
int a=100;
int b=0;
try{
System.out.println("The result of the a/b is
"+returnResultOfDivision(a, b));
}catch(ArithmeticException aex){
System.out.println("In the caller method - Cannot divide by zero");
}
}
public static int returnResultOfDivision(int a, int b)throws
ArithmeticException{
return a/b;
}
}
Output:
In the caller method - Cannot divide by zero
1.3.No try catch block – Exception handled by JVM
Remove the try and catch block and use the throws clause to throw the exception generated to
the caller method. As Arithmetic Exception is an unchecked exception, we need not write
it using the throws clause. The exception will travel up the exception stack and finally is handled
by jvm.
package com.sample.example;
public class Example {
public static void main(String args[])throws
ArithemeticExcpetion{
int a=100;
int b=0;
System.out.println("The result of the a/b is
"+returnResultOfDivision(a, b));
}
public static int returnResultOfDivision(int a, int b)throws
ArithmeticException{
return a/b;
}
}
Output:
Exception in thread "main" java.lang.ArithmeticException: / by zero
at com.sample.example.Example.returnResultOfDivision(Example.java:11)
at com.sample.example.Example.main(Example.java:7)
2. Multi-Threading
2.1.Using Thread Class
Create a mythread class by extending the Thread class and overriding the run method. The run
method is the starting point for the thread. Thread.start() method starts the thread and puts it in
the Ready state.
package com.sample.example;
class Example {
public static void main(String args[]){
myThread t1 = new myThread();
myThread t2 = new myThread();
myThread t3 = new myThread();
t1.setName("t1");
t2.setName("t2");
t3.setName("t3");
t1.start();
t2.start();
t3.start();
}
}
class myThread extends Thread{
public void run(){
System.out.println("This is thread
"+Thread.currentThread().getName());
}
}
Output:
This is
This is
This is
(May differ for different machines based on JVM)
thread t1
thread t3
thread t2
2.2.Using Runnable Interface
Create a myThread class implementing the run method and implementing the Runnable interface.
Set the name of individual threads as t1, t2 and t3 and observe the results. The order of thread
execution is determined by different parameters and cannot be controlled.
package com.sample.example;
class Example {
public static void main(String args[]){
Thread t1 = new Thread(new myThread());
Thread t2 = new Thread(new myThread());
Thread t3 = new Thread(new myThread());
t1.setName("t1");
t2.setName("t2");
t3.setName("t3");
t1.start();
t2.start();
t3.start();
}
}
class myThread implements Runnable{
public void run(){
System.out.println("Running thread
"+Thread.currentThread().getName());
}
}
Ouput: (May differ for different machines based on JVM)
Running thread t2
Running thread t1
Running thread t3
2.3 Using synchronized keyword in methods
Create a class myCustomClass with a count variable. Increment the count variable using different
instances of thread and see the observe the value of count. Observe the value of count without the
synchronized keyword for inconsistency.
package com.sample.example;
class Example {
public static void main(String args[]){
myCustomClass customClass = new myCustomClass();
Thread t1 = new Thread(new myThread(customClass));
Thread t2 = new Thread(new myThread(customClass));
Thread t3 = new Thread(new myThread(customClass));
t1.setName("t1");
t2.setName("t2");
t3.setName("t3");
t1.start();
t2.start();
t3.start();
customClass.printValue();
}
}
class myCustomClass{
private int count=1;
public synchronized void increment(){
count++;
}
public void printValue(){
System.out.println("Count is "+count);
}
}
class myThread implements Runnable{
private myCustomClass customClass;
public myThread(myCustomClass object){
customClass=object;
}
public void run(){
customClass.increment();
}
}
Output:
Count is 2
3. Static Keyword
3.1. Use of Static
Create a class myStaticExample with a static variable count. In the main
method we can directly access the variable using the class name. Only a
single copy of the variable is maintained which is bound to the class.
package com.sample.example;
class Example {
public static void main(String args[]){
System.out.println("Value of count before increment
"+myStaticExample.count);
myStaticExample.count++;
System.out.println("Value of count after increment
"+myStaticExample.count);
}
}
class myStaticExample{
public static int count = 0;
}
Ouput:
Value of count before increment 0
Value of count after increment 1
3.2. Calling non static from static – This will give compile time error.
package com.sample.example;
class Example {
public static void main(String args[]){
System.out.println("Value of count before increment
"+myStaticExample.count);
myStaticExample.count++;
System.out.println("Value of count after increment
"+myStaticExample.count);
printHello(); // Compile Time error
}
public void printHello(){
System.out.println("Hello");
}
}
class myStaticExample{
public static int count = 0;
}
Output:
Compile Time error at line “printHello() ” because we cannot access non static methods from static
classes as they are available only after class instantiation. To fix this change the function to
public static void printHello(){
// Your code here
}
4. String, StringBuffer, StringBuilder
4.1.String
Create two string objects using the literal form and the new keyword.
The output of the equals method will be true because, the equals method
compares the strings in the object. The “==” operator compares the
memory locations and as they are two different objects and are not the
same, returns false.
package com.sample.example;
class Example {
public static void main(String args[]){
String s1 = "Hello";
String s2 = new String("Hello");
if(s1.equals(s2)){
System.out.println("s1 is equal to s2");
}
else{
System.out.println("s1 is not equal to s2");
}
if(s1==s2){
System.out.println("s1 is equal to s2");
}
else{
System.out.println("s1 is not equal to s2");
}
}
}
Output:
s1 is equal to s2
s1 is not equal to s2
4.2.StringBuffer
Create a stringBuffer object and invoke the append method to append text to the object. New
objects are not created when the stringbuffer is manipulated.
package com.sample.example;
class Example {
public static void main(String args[]){
StringBuffer sbuffer1 = new StringBuffer();
sbuffer1.append("Hello! ");
sbuffer1.append("This ");
sbuffer1.append("is ");
sbuffer1.append("an ");
sbuffer1.append("example.");
System.out.println(sbuffer1.toString());
}
}
Output:
Hello! This is an example.
4.3. StringBuilder
Create a stringBuilder object and invoke the append method to append text to the object. New
objects are not created when the stringBuilder is manipulated.
package com.sample.example;
class Example {
public static void main(String args[]){
StringBuilder sbuffer1 = new StringBuilder();
sbuffer1.append("Hello! ");
sbuffer1.append("This ");
sbuffer1.append("is ");
sbuffer1.append("an ");
sbuffer1.append("example.");
System.out.println(sbuffer1.toString());
}
}
Output:
Hello! This is an example.
5. Collections
5.1.List
The index is used to access any specific element. We can use the iterator in the List to iterate
through elements. The order is preserved in the List.
package com.sample.example;
import java.util.ArrayList;
import java.util.Iterator;
import java.util.List;
public class Example {
public static void main(String args[]){
List myList = new ArrayList();
myList.add(new String("Hello"));
myList.add(new String("This is"));
myList.add(new String("an"));
myList.add(new String("example"));
System.out.println("This is the size "+myList.size());
Iterator keyIter = myList.iterator();
System.out.println("\t\tPrinting the keys");
while(keyIter.hasNext()){
System.out.println(keyIter.next());
}
System.out.println("\t\tPrinting using index");
for(int i=0;i<myList.size();i++){
System.out.println(myList.get(i));
}
}
}
Output:
This is the size 4
Printing the keys
Hello
This is
an
example
Printing using index
Hello
This is
an
example
5.2.Set
Use the add method in the Set to add objects to the Set. The order is not guaranteed.
package com.sample.example;
import java.util.HashSet;
import java.util.Iterator;
import java.util.Set;
public class Example {
public static void main(String args[]){
Set myset = new HashSet();
myset.add(new String("Hello"));
myset.add(new String("This is"));
myset.add(new String("an"));
myset.add(new String("example"));
System.out.println("This is the size "+myset.size());
Iterator iter = myset.iterator();
while(iter.hasNext()){
System.out.println(iter.next());
}
}
}
Ouput :
This is the size 4
This is
an
example
Hello
5.3.Map
Us e the put(key, value) method to insert values in to the map, Use the keySet() and values()
methods to iterate over the keys and values.
package com.sample.example;
import java.util.HashMap;
import java.util.Iterator;
import java.util.Map;
public class Example {
public static void main(String args[]){
Map mymap = new HashMap();
mymap.put("1",new String("Hello"));
mymap.put("2",new String("This is"));
mymap.put("3",new String("an"));
mymap.put("4", new String("example"));
System.out.println("This is the size "+mymap.size());
Iterator keyIter = mymap.keySet().iterator();
System.out.println("Printing the keys");
while(keyIter.hasNext()){
System.out.println(keyIter.next());
}
Iterator valiIter = mymap.values().iterator();
System.out.println("Printing the values");
while(valiIter.hasNext()){
System.out.println(valiIter.next());
}
}
}
Output:
This is the size 4
Printing the keys
3
2
1
4
Printing the values
an
This is
Hello
example
5.3.1. Using Entry Set Class
The Entry class is an inner class of the Map Interface which stores both the key and the
corresponding value together. We can iterate over the entry set to extract the key and value
package com.sample.example;
import
import
import
import
java.util.HashMap;
java.util.Iterator;
java.util.Map;
java.util.Map.Entry;
public class Example {
public static void main(String args[]){
Map mymap = new HashMap();
mymap.put("1",new String("Hello"));
mymap.put("2",new String("This is"));
mymap.put("3",new String("an"));
mymap.put("4", new String("example"));
System.out.println("This is the size "+mymap.size());
Iterator keyIter = mymap.keySet().iterator();
System.out.println("Printing the keys and values");
Iterator iter = mymap.entrySet().iterator();
while(iter.hasNext()){
Entry e = (Entry)iter.next();
System.out.println("Key is "+ e.getKey()+" and value
is "+e.getValue());
}
}
}
Output:
This is the size 4
Printing the keys and
Key is 3 and value is
Key is 2 and value is
Key is 1 and value is
Key is 4 and value is
values
an
This is
Hello
example
6. Generics
Create a GenericClass with a parameter E. During runtime the parameter E will be removed and
replace with the type provided. In the first object, the type of E is String and the setKey would only
accept String and any other type would raise a compile time error. In the second object, the type of
E is integer and would only accept integers.
package com.sample.example;
class Example {
public static void main(String args[]){
GenericClass<String> gc = new GenericClass<String>();
gc.setKey("Hi! This is a sample");
gc.printE();
GenericClass<Integer> gc1 = new GenericClass<Integer>();
gc1.setKey(2);// Autoboxed
System.out.println("This is the integer Value");
gc1.printE();
}
}
class GenericClass<E>{
E key;
public void setKey(E e){
key=e;
}
public void printE(){
System.out.println(key);
}
}
Output:
Hi! This is a sample
This is the integer Value
2

