Build Your Own Hovercraft Instructions
advertisement
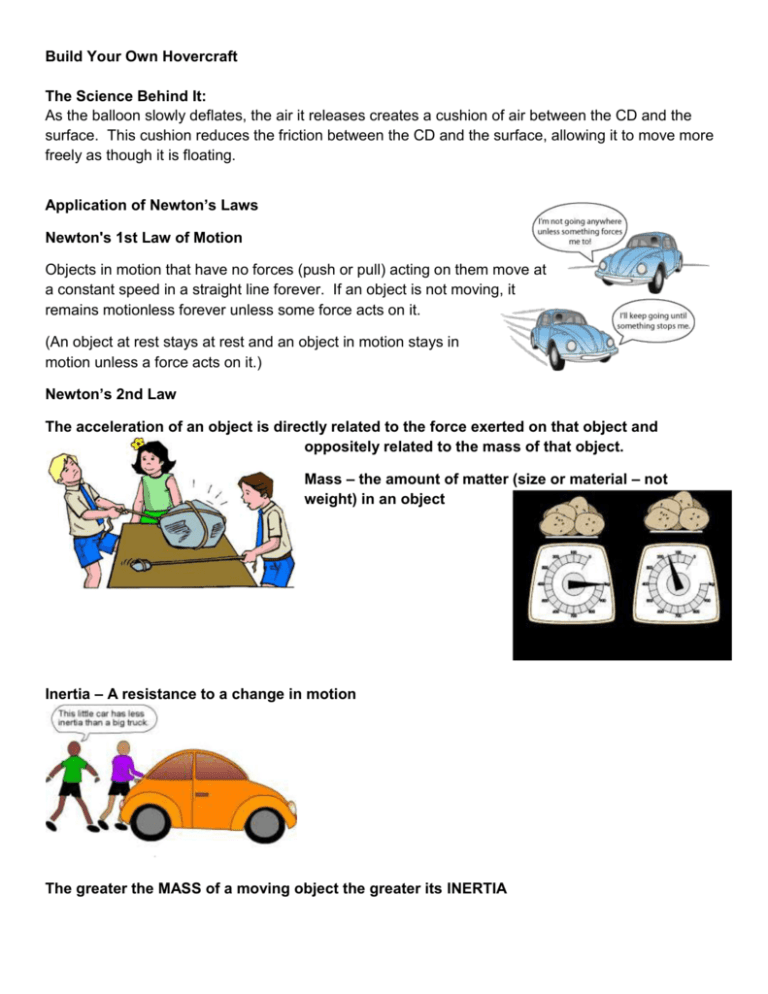
Build Your Own Hovercraft The Science Behind It: As the balloon slowly deflates, the air it releases creates a cushion of air between the CD and the surface. This cushion reduces the friction between the CD and the surface, allowing it to move more freely as though it is floating. Application of Newton’s Laws Newton's 1st Law of Motion Objects in motion that have no forces (push or pull) acting on them move at a constant speed in a straight line forever. If an object is not moving, it remains motionless forever unless some force acts on it. (An object at rest stays at rest and an object in motion stays in motion unless a force acts on it.) Newton’s 2nd Law The acceleration of an object is directly related to the force exerted on that object and oppositely related to the mass of that object. Mass – the amount of matter (size or material – not weight) in an object Inertia – A resistance to a change in motion The greater the MASS of a moving object the greater its INERTIA Newton’s 3rd Law For every action there is always an equal and opposite reaction Hovercraft Background Information A hovercraft is a vehicle that glides over a smooth surface by hovering upon an air cushion. Because of this, a hovercraft is also called an Air-Cushion Vehicle, or ACV. How is the air cushion made? The hovercraft creates vents or currents of slow-moving, low-pressure air that are pushed downward against the surface below the hovercraft. Modern ACVs often have propellers on top that create the air currents. These currents are pushed beneath the vehicle with the use of fans. Surrounding the base of the ACV is a flexible skirt, also called the curtain, which traps the air currents, keeping them underneath the hovercraft. These trapped air currents can create an air cushion on any smooth surface, land or water! Since a hovercraft can travel upon the surface of water, it is also called an amphibious vehicle. Figure 1 below shows a picture of a modern hovercraft and a diagram showing how the air vents create the air cushion. Figure 1. This image on the left shows a modern style hovercraft which carries passengers over the surface of the water, while the diagram on the left shows how the air vents moving through the hovercraft create the air cushion below the craft for movement using the following labels: 1) propellers, 2) air currents, 3) fan, and 4) flexible skirt. (Wikipedia, 2007) How does the air cushion beneath the hovercraft allow the vehicle to glide to freely? The key to the ease of movement is reducing friction. A simple way to think of friction is to think about how things rub together. It is easier to rollerblade on a smooth sidewalk than a gravel path because the sidewalk has less friction. The wheels of the rollerblade do not rub as much against the sidewalk as they do all the pieces of gravel on the path. Similarly, the air cushion beneath the hovercraft greatly reduces the friction of the vehicle, allowing it to glide freely upon the land or water below. In this aerodynamics and hydrodynamics science project, you will build your own mini hovercraft using a CD or DVD, pop-top lid from a plastic drinking bottle, and a balloon. Create a chart with question and flip to reveal the answers… What will create the AIR CURRENT for your hovercraft needs to work? Balloon How can you change the VOLUMN of air used in your hovercraft? How much air you blow into your balloon Will a balloon with a large VOLUMN of air travel longer than a balloon with a smaller VOLUMN of air? Things to think about… How does a hovercraft work? How do the air currents in a hovercraft reduce friction? Do you think the volume of air in a balloon-powered hovercraft is important for how long the hovercraft can hover? How does the air cushion beneath the hovercraft allow the vehicle to glide to freely? It reduces friction. The balloon will create the air currents the hovercraft needs to work. These air currents will travel through the pop-top lid and go beneath the hovercraft. You will fill the balloon up with different amounts of air to test if more air will cause the hovercraft to travel for longer periods of time. A balloon blown up with a lot of air will provide a large volume of air, and a balloon blown up with less air will provide a smaller volume of air. Will a balloon with a large volume of air make the hovercraft travel longer than a balloon with a smaller volume of air? Science Terms and Concepts Hovercraft Air cushion Friction Volume Hovercraft Experimental Procedure 1. First you will construct the base of the hovercraft, so gather your supplies and prepare a craft space. 2. Remove a pop-top lid from a plastic drinking bottle. Alternatively, if you are using a straight valve, get the valve out and take a look at it so you know how it works. 3. Glue the base of the lid or valve to the CD (or DVD) so that the lid covers the hole in the center of the CD. a. If you are using a pop-top lid, you can use craft glue or epoxy to do this. i. If you want to use epoxy, have adult help and use caution, following all of the instructions and safety warnings on the packaging. b. If you are using a straight valve, place the valve standing up on the CD's hole so that the ringed/ridged part of the valve is touching the CD. The valve should just barely cover the hole in the center of the CD. With the valve in place on the CD, cover the base and sides of the valve with epoxy so that when the epoxy dries it will completely and securely attach the valve to the CD. i. Again, when using the epoxy have adult help and use caution, following all of the instructions and safety warnings on the packaging. c. When using the glue or epoxy, be careful to only let epoxy go on the top side of the CD. i. If glue or epoxy dries on the bottom of the CD, this may make your hovercraft not work because it could have increased friction. 4. Allow the glue to dry completely. a. Optional: You can make several of these if you like by repeating steps 2-3. 5. Get ready to test the hovercraft with your balloon inflated to different sizes. a. Make sure the pop-top lid or valve is closed. 6. Blow the balloon up as large as you safely can without popping it, then pinch the balloon's neck so that no air can escape. 7. Stretch the neck of the balloon over the pop-top lid or valve, being careful not to let any air escape. a. Carefully center the balloon's opening above the pop-top lid opening. b. Tip: If the pop-top lid detaches from the CD and you used craft glue to glue them together, carefully re-glue them using epoxy. 8. Your completed hovercraft should now look like the one of the ones in Figure 2 below. It is now ready to do some hovering! 9. In your lab notebook, make a data table like Table 1 below. You will be recording your results in the data table. Figure 2. Your completed hovercraft should look like one of the ones shown here. The hovercraft on the left was made using a pop-top lid while the hovercraft on the right was made using a valve. Trial Large Balloon Medium Balloon Small Balloon #1 #2 #3 #4 #5 Average Table 1. In your lab notebook, make a data table like this and record your results in it. 10. Place the hovercraft on a flat surface and prepare your timer. 11. Start your timer, open the pop top lid, and push the hovercraft. Stop the timer when the hovercraft stops hovering. 12. In your data table, record the time in second (s) that the hovercraft hovered for. Write your result down as a trial for the "Large Balloon." 13. Remove the balloon and close the pop-top lid or valve. 14. Test your hovercraft four more times with the balloon inflated with a large amount of air. a. Do this by repeating steps 6-7 and 10-13 four more times. 15. Test your hovercraft five times with the balloon inflated with a medium amount of air. a. Do this by repeating steps 6-7 and 10-13 five times, but this time only inflate the balloon to a medium size and write your results down as trials for the "Medium Balloon." b. For example, if it took three breaths to blow the balloon up as large as you safely could, use only two breaths or a little less to inflate it this time. 16. Test your hovercraft five times with the balloon inflated with a small amount of air. a. Do this by repeating steps 6-7 and 10-13 five times, but this time only inflate the balloon to a small size and write your results down as trials for the "Small Balloon." b. For example, if it took three breaths to fill the balloon to its maximum size, use only one breath or less to blow it up now. 17. Calculate the average hover time in seconds for each balloon size. a. Do this calculation by separately adding together the times of all five trials for each balloon size, and then dividing your answer by five. 18. Using your average hover time in seconds for each balloon size, make a bar graph of how long the hovercraft hovered for each balloon size. a. You can make a graph by hand or use a website like Create a Graph to make a graph on the computer and print it. b. Put the average hover time in seconds on the y-axis (the vertical axis going up and down) and put each balloon size on the y-axis (the horizontal axis going across). Draw a bar for each balloon size up to the corresponding value, and be sure to label your columns. 19. Analyze your data and make your conclusions. Did you notice any trends? Which size balloon correlated with the hovercraft hovering for the longest period of time? Why do you think this happened? Variations – adding inquiry You can also measure the volume of air inside each balloon to have a more quantitative test of the hovercraft. You can measure the volume of air in the balloon in three ways: o Water displacement method—dunk the filled balloon in a large metric measuring container. Subtract the initial water height from the final water height, and the answer will be equal to the volume of the balloon. o Air displacement method—Fill a large graduated cylinder with water in a large tub of water. Turn the cylinder bottom up and lift so that you can see the measurements, but keeping the opening of the cylinder under water so that the water will not escape. Place the pinched opening of the balloon near the opening of the cylinder and release the balloon so that the air travels up into the cylinder. When the balloon is finished draining air, record the volume of air trapped in the cylinder. o Geometric method (gives an estimate)—You can measure the circumference of the balloon and estimate the volume of the balloon based on the formula for the volume of a sphere. Try testing the hovercraft on different surfaces. Which type of surface works best? Instead of using a CD or DVD, you can make a hovercraft using foam board, such as a small piece of Elmer's® foam board. Do different shapes or sizes of foam board affect how well the hovercraft hovers? You may want to first test a piece of foam board that is roughly the same size as a CD or DVD. You can carefully use epoxy to attach either the pop-top lid or valve to a piece of foam board. What other hovercraft designs can you try? Can you make your hovercraft hover for even longer? Can you scale up this design to make a larger hovercraft? Can you use the action of a hovercraft for any practical purpose, or to solve a problem? Bibliography Read this article to understand how a hovercraft works: Xinventions. (n.d.). How does a hovercraft work? Retrieved August 23, 2012, from http://www.xinventions.com/main/hovercrafts/work.htm There are many designs for balloon hovercrafts. Here are three design sources for this science project: Questacon. (2007). CD Balloon Hovercraft. The National Science and Technology Centre: Canberra, Australia. Retrieved October 6, 2007, fromhttp://www.questacon.edu.au/html/squad_activities/forces_cd_hovercraft.html Cambridge University Engineering Department Outreach, UK. (n.d.). Try this at home! Balloon Hovercraft. Retrieved August 23, 2012, fromhttp://www.eng.cam.ac.uk/outreach/Projectresources/Hovermagic/instructions_balloons.pdf MAKE. (2006, October 26). Balloon Hovercrafts: Made! Retrieved October 6, 2007, fromhttp://www.makezine.com/blog/archive/2006/10/balloon_hovercr.html Ready to scale up? Here are two designs for building a large hovercraft you can ride on: Beaty, Bill. (1997). Ultra-Simple Hovercraft Science Fair Project. Can lift several adults! Science Hobbyist..Retrieved October 6, 2007, fromhttp://amasci.com/amateur/hovercft.html Twofoos. (2005). DIY Hovercraft—Story and Materials.Retrieved August 23, 2012, from http://twofoos.com/index.php/8/diy-hovercraft-story-and-materials/ For help creating graphs, try this website: National Center for Education Statistics. (n.d.). Create a Graph. Retrieved June 2, 2009, from http://nces.ed.gov/nceskids/CreateAGraph/default.aspx If you like this project, you might enjoy exploring these related careers: Aerospace Engineer Humans have always longed to fly and to make other things fly, both through the air and into outer space—aerospace engineers are the people that make those dreams come true. They design, build, and test vehicles like airplanes, helicopters, balloons, rockets, missiles, satellites, and spacecraft. Mechanical Engineer Mechanical engineers are part of your everyday life, designing the spoon you used to eat your breakfast, your breakfast's packaging, the flip-top cap on your toothpaste tube, the zipper on your jacket, the car, bike, or bus you took to school, the chair you sat in, the door handle you grasped and the hinges it opened on, and the ballpoint pen you used to take your test. Virtually every object that you see around you has passed through the hands of a mechanical engineer. Consequently, their skills are in demand to design millions of different products in almost every type of industry.
