Schrodinger Software Installation Guide for Windows
advertisement
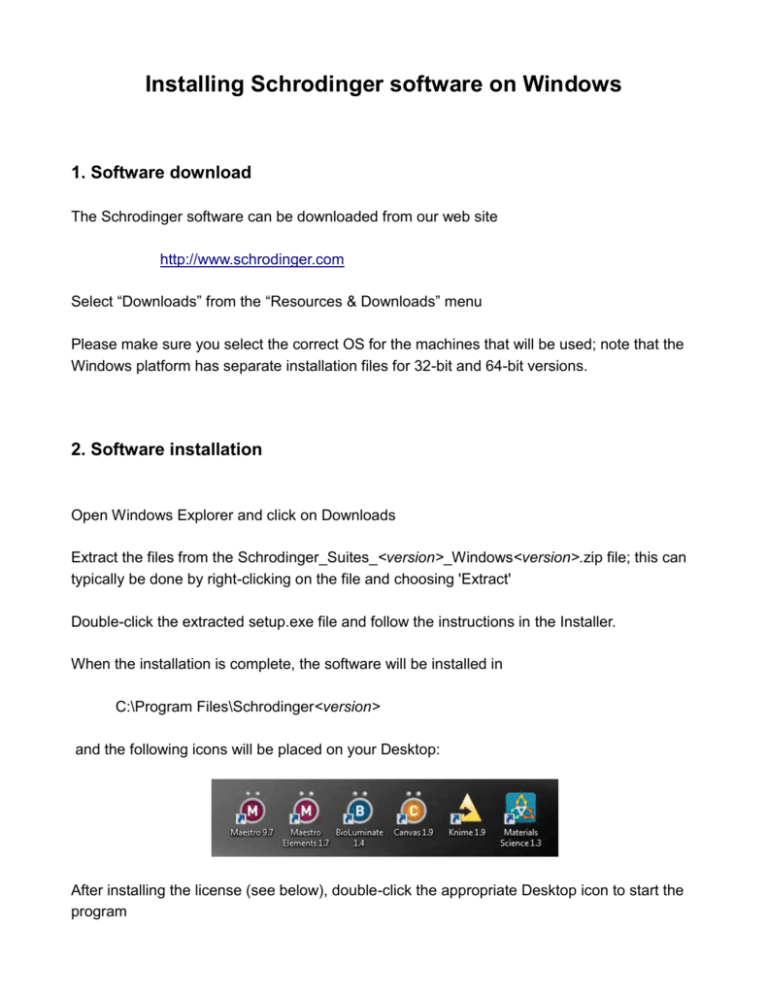
Installing Schrodinger software on Windows 1. Software download The Schrodinger software can be downloaded from our web site http://www.schrodinger.com Select “Downloads” from the “Resources & Downloads” menu Please make sure you select the correct OS for the machines that will be used; note that the Windows platform has separate installation files for 32-bit and 64-bit versions. 2. Software installation Open Windows Explorer and click on Downloads Extract the files from the Schrodinger_Suites_<version>_Windows<version>.zip file; this can typically be done by right-clicking on the file and choosing 'Extract' Double-click the extracted setup.exe file and follow the instructions in the Installer. When the installation is complete, the software will be installed in C:\Program Files\Schrodinger<version> and the following icons will be placed on your Desktop: After installing the license (see below), double-click the appropriate Desktop icon to start the program 3. Requesting a license Once the software has been installed, a license will be needed in order to start Maestro and run jobs. In order to obtain a license for the workshop, please contact, in the following order: 1) Your account manager 2) licensing@schrodinger.com 3) Call the technical support line at: US: +1 (503) 299 1150 Europe: +49 621-438-55173 4. License Installation and verification Note that Administrative privileges are required to write to the default C:\Program Files\Schrodinger<version> installation directory. If you have current licenses in your 'C:\Program Files\Schrodinger<version>\license.txt' file that you do not want replaced by the new license file, please send both the old and new license files to help@schrodinger.com and we will send you a single file that combines all of your licenses. Otherwise, move/copy the new license file directly to C:\Program Files\Schrodinger<version>\license.txt overwriting any existing 'license.txt' file. Please note that Windows Explorer may hide file extensions. Node-locked license: Verifying the licenses Open the Diagnostics panel via: Start > All Programs > Schrodinger-<version> > Diagnostics Verify that the correct licenses are reported in the "License Test" tab. If yes, you should be able to start Maestro. If no, click on the Tech Support button at the bottom of the Diagnostics panel and send the resulting tarball file as an attachment in an email to help@schrodinger.com. Server-based license: Starting/updating the license server and verifying the licenses If you are logged in with an administrative account or have chosen a non-default Schrodinger installation directory that is writable by non-administrative users, open the Diagnostics pane via: Start > All Programs > Schrodinger-<version> > Diagnostics Otherwise, open the Diagnostics panel by right-clicking Start > All Programs > Schrodinger-<version> > Diagnostics and choosing "Run as administrator". If the "Stop License Server" button is enabled, click it to temporarily stop the license server daemon. If the "Start License Server" button is enabled, click it to start the license server daemon. If you are installing server-based licenses but this button is not enabled, you might be running the Diagnostics GUI on a machine other than the license server. Verify that the license server daemon is running and reporting the correct licenses in the "Server Status" tab. If yes, you should be able to start Maestro. If no, click on the Tech Support button at the bottom of the Diagnostics panel and send the resulting tarball file as an attachment in an email to help@schrodinger.com. 5. Checking the installation In order to check the software installation, please run the following and check that the output agrees whit what is seen below. The commands should be run from command-line: Go to Start > All Programs > Schrodinger<version> > Schrodinger Power Shell This will open a DOS-like window. Type sh <Enter> at the prompt, then the commands listed below. a. Check that the top level environment variable is set correctly: echo $SCHRODINGER This should give: C:\Program Files\Schrodinger<version> b. Check what programs have been installed: $SCHRODINGER/machid This should give output similar to: Date: Tue Feb 18 19:41:52 2014 SCHRODINGER: /opt/schrodinger/suites2014-1 uname -a : Darwin Heges-MacBook-Pro.local 11.4.2 Darwin Kernel Version 11.4.2: Thu Aug 23 16:25:48 PDT 2012; root:xnu-1699.32.7~1/RELEASE_X86_64 x86_64 ERROR: Fully qualified domain name could not be obtained FQDN: Heges-MacBook-Pro.local IP address: 10 211 55 2 Main memory: 8185 MB Free disk: 518980 MB Host ID: 3c07545035d6 Machine name: Heges-MacBook-Pro.local OS: MacOSX 10.7.5 CPU: x86_64 Processors: 4 perl: 5.014 python: 2.7 Product: bioluminate-v14012-Darwin-x86_64 Product: canvas-v19012-Darwin-x86_64 Product: combiglide-v32012-Darwin-x86_64 Product: desmond-v37012-Darwin-x86_64 Product: epik-v27012-Darwin-x86_64 Product: ffld-v13012-Darwin-x86_64 Product: impact-v62012-Darwin-x86_64 Product: jaguar-v83012-Darwin-x86_64 Product: knime-v19012-Darwin-x86_64 Product: Product: Product: Product: Product: Product: Product: Product: Product: Product: Module: leadopt-v13012-Darwin-x86_64 macromodel-v103012-Darwin-x86_64 maestro-v97012-Darwin-x86_64 mcpro-v33012-Darwin-x86_64 mmshare-v25012-Darwin-x86_64 phase-v38012-Darwin-x86_64 psp-vpsp-Darwin-x86_64 qikprop-v39012-Darwin-x86_64 scisol-v13012-Darwin-x86_64 watermap-v18012-Darwin-x86_64 python-v44012-Darwin-x86_64 c. Run the Diagnostics panel to provide information on the installation, including license information (as seen in step 4. above) $SCHRODINGER/diagnostics This command will open the Diagnostics panel (see figures on the following pages). There are two top-level tabs in the panel; License and Hosts. In the License tab, we see the 'Server Status' (for server-based licenses) and results of the License Test The third tab, 'Job Capacity', shows the number of allowed simultaneous jobs that can be run for each installed program. The top-level Hosts tab should show results similar to the below, if you choose "Run test job on: 'Selected Hosts/All Hosts'" Click the "Techsupport…" button. This will create a tarball of all your Diagonistics test. Send your tarball output to the workshop organizer and help@schrodinger.com. 6. Installing scripts in Maestro A number of Python scripts are available to use in Maestro and many of them are installed with the software installation. The scripts are accessed from the Scripts… menu in Maestro Scripts not in the default installation can be installed from Maestro: Scripts > Update… => update scripts from the Script Center page of our web site Scripts > Install… => install scripts from a local disk 7. Downloading KNIME Workflows and example files If the workshop will include KNIME, please download the KNIME workflows. They are available from our website: www.schrodinger.com Select “KNIME Workflows” from the “Resources & Downloads” menu Choose the “Select All” option to download all available workflows. Please do also make sure to toggle on the option to “Include optional example data in the download” and follow the installation instructions on the web site. 8. Running simple test jobs a. Simple LigPrep job that will return the output structures to the Maestro Project Table: In Maestro: Project > Import Structures… Navigate to: <SchrodingerInstallationDirectory>/maestro-v<version>/tutorial Import: small_molecule.mae Go to Applications > LigPrep Select to "Use structures from: Workspace (included entries)" Leave all options at their default values Click the "gear" button next to the 'Job name:' field at the bottom at the panel and make sure that the "Incorporate" option is set to "Append new entries" and that the job will run on 1 processor, and is separated into 1 sub job, then click the "Save and Run" button to start the job. The job will finish quickly, and eight output structures will be added to the Project Table in a new group. b. Simple Python script that will calculate molecular descriptors for the output structures from step a. With the output compounds from the LigPrep job selected (highlighted) in the Project Table, go to Scripts > Cheminformatics > Molecular Descriptors… Select to "Use structures from: Project Table (selected entries)" Go to the "Semiempirical Properties" tab and toggle off the option to "Compute Semiempirical Properties" Click the "Run" button The job will finish quickly, and a new group, containing eight output structures, will be added to the Project Table. A number of new columns will also be added to the Project Table, containing the Molecular Descriptor properties. c. Run a simple KNIME workflow Open Knime, then in the Node Repository: Go to Schrodinger > Readers/Writers and drag the “Molecule Reader” node into the project workspace Go to Schrodinger > Molecular Mechanics > Minimization and drag the “MacroModel Minimization” node into the project workspace Go to Schrodinger > Readers/Writers and drag the “Molecule Writer” node into the project workspace Connect the nodes (drag the mouse from a triangle on one node to a triangle on the next node) so that the workflow goes from the “Molecule Reader” node to the “MacroModel Minimization” node to the “Molecule Writer” node Right-click the “Molecule Reader” node and select “Configure…” from the menu Click the “Add File(s)…” button and select the following file: C:\Program Files\Schrodinger<version>/macromodel-<version>/samples/Examples/ecalc.mae where <Schrodinger installation directory> is the directory/folder in which you installed the Schrodinger software. Click “OK” to exit the configuration panel Right-click the “Molecule Writer” node and select “Configure…” from the menu Type in the desired name of the output file, for instance, testKnime-out.mae Click “OK” to exit the configuration panel Select all three nodes in the workspace Right-click and select “Execute…” from the menu to run the workflow. You should see some time being spent in the “MacroModel Minimization” and the output file should be written to the directory/folder shown in the Console part of the GUI 9. Downloading the thirdparty Blast and PDB databases Homology modeling uses the Blast and PDB databases to search for and import homologs. It is possible to access these databases remotely by setting the preference: Maestro > Preferences > Jobs > Starting; toggle on to “Use web server for BLAST searches” If desired, the Blast and PDB databases can be installed locally. We provide utility scripts that can be used to install the databases: Blast: $SCHRODINGER/utilities/update_BLASTDB PDB: $SCHRODINGER/utilities/rsync_pdb On Window, the commands will have to be run from a Schrodinger Power Shell: Go to Start > All Programs > Schrodinger-<version> > Schrodinger Power Shell This will open up a DOS-like window At the prompt, type: sh <Enter>. In order to install the databases run the commands above. Running the commands with the “-h” option will show usage and options for the commands: $SCHRODINGER/utilities/update_BLASTDB -h $SCHRODINGER/utilities/rsync_pdb –h 10. Setting Environment variables By default, third party programs and data will be installed in $SCHRODINGER/thirdparty, where $SCHRODINGER is the top-level directory for the software installation. If desired, third party data (Blast and PDB databases) may be placed in non-default locations, in which case, one has to use environment variables to point to their locations. Environment variables used are PSP_BLASTDB for the location of the Blast database and SCHRODINGER_PDB for the location of the PDB database. In the instructions below: variable: PSP_BLASTDB for the Blast database SCHRODINGER_PDB for the PDB database value: full path to the location of the database; for instance C:\databases\blast C:\databases\pdb Note that the Blast database will have to be located on the C drive of a Windows computer. a1. WindowsVista and Windows 7 Open the Environment Variables dialog box: Click Start, then click Control Panel. The Control Panel opens. Click User Accounts. Click User Accounts again. In the Task side pane on the left, click Change my environment variables. The Environment Variables dialog box opens. Create a new environment variable: In the User variables section, click New. The New User Variable dialog box opens. Enter the name of the variable and its value, and click OK. The New User Variable dialog box closes, and the variable is added to the User variables section of the Environment Variables dialog box. Click OK in the Environment Variables dialog box. a2. Windows XP Open the Environment Variables dialog box: Right-click on My Computer, and choose Properties from the shortcut menu. The System Properties dialog box opens. In the Advanced tab, click Environment Variables. The Environment Variables dialog box opens. Create a new environment variable: In the User variables section, click New. The New User Variable dialog box opens. Enter the name of the variable and its value, and click OK. The New User Variable dialog box closes, and the variable is added to the User variables section of the Environment Variables dialog box. 11. Firewalls and proxies Firewalls and proxies may impact how you access the license server, remote hosts, and the internet. Please see the Schrodinger Installation Guide for information on how to configure firewalls and accessing the web via a proxy. The installation guide can be found in the following location: C:\Program Files\Schrodinger<version>\docs\general\install_guide.pdf It can also be downloaded from our website: http://schrodinger.com/supportdocs/18/
