Underglazing techniques
advertisement

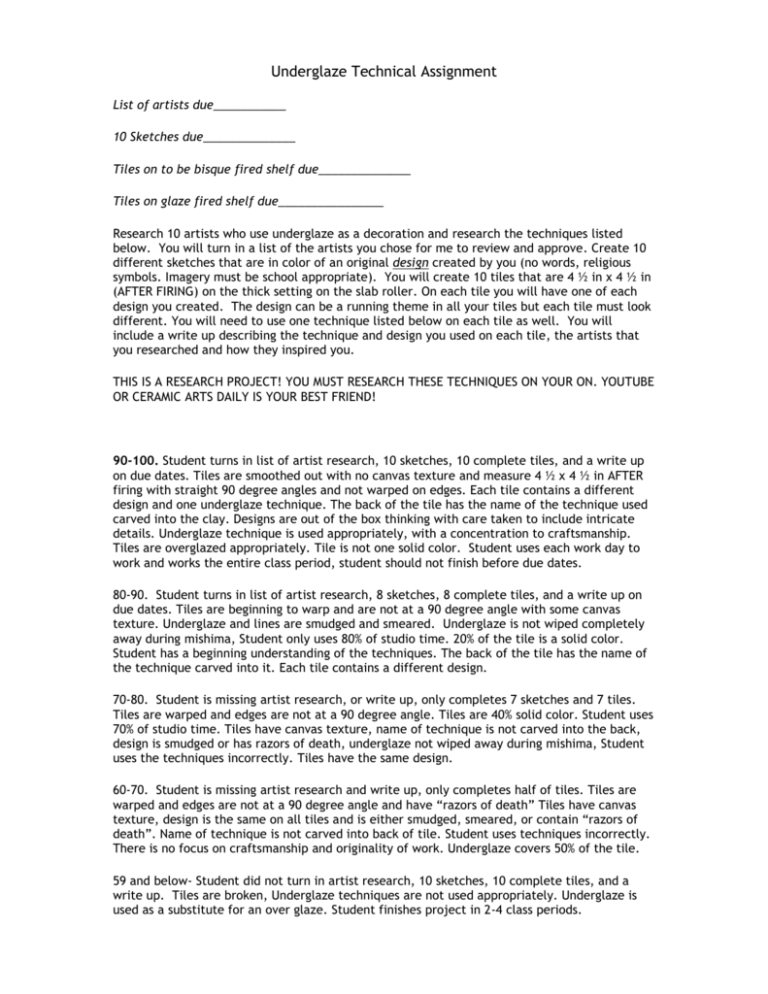
Underglaze Technical Assignment List of artists due___________ 10 Sketches due______________ Tiles on to be bisque fired shelf due______________ Tiles on glaze fired shelf due________________ Research 10 artists who use underglaze as a decoration and research the techniques listed below. You will turn in a list of the artists you chose for me to review and approve. Create 10 different sketches that are in color of an original design created by you (no words, religious symbols. Imagery must be school appropriate). You will create 10 tiles that are 4 ½ in x 4 ½ in (AFTER FIRING) on the thick setting on the slab roller. On each tile you will have one of each design you created. The design can be a running theme in all your tiles but each tile must look different. You will need to use one technique listed below on each tile as well. You will include a write up describing the technique and design you used on each tile, the artists that you researched and how they inspired you. THIS IS A RESEARCH PROJECT! YOU MUST RESEARCH THESE TECHNIQUES ON YOUR ON. YOUTUBE OR CERAMIC ARTS DAILY IS YOUR BEST FRIEND! 90-100. Student turns in list of artist research, 10 sketches, 10 complete tiles, and a write up on due dates. Tiles are smoothed out with no canvas texture and measure 4 ½ x 4 ½ in AFTER firing with straight 90 degree angles and not warped on edges. Each tile contains a different design and one underglaze technique. The back of the tile has the name of the technique used carved into the clay. Designs are out of the box thinking with care taken to include intricate details. Underglaze technique is used appropriately, with a concentration to craftsmanship. Tiles are overglazed appropriately. Tile is not one solid color. Student uses each work day to work and works the entire class period, student should not finish before due dates. 80-90. Student turns in list of artist research, 8 sketches, 8 complete tiles, and a write up on due dates. Tiles are beginning to warp and are not at a 90 degree angle with some canvas texture. Underglaze and lines are smudged and smeared. Underglaze is not wiped completely away during mishima, Student only uses 80% of studio time. 20% of the tile is a solid color. Student has a beginning understanding of the techniques. The back of the tile has the name of the technique carved into it. Each tile contains a different design. 70-80. Student is missing artist research, or write up, only completes 7 sketches and 7 tiles. Tiles are warped and edges are not at a 90 degree angle. Tiles are 40% solid color. Student uses 70% of studio time. Tiles have canvas texture, name of technique is not carved into the back, design is smudged or has razors of death, underglaze not wiped away during mishima, Student uses the techniques incorrectly. Tiles have the same design. 60-70. Student is missing artist research and write up, only completes half of tiles. Tiles are warped and edges are not at a 90 degree angle and have “razors of death” Tiles have canvas texture, design is the same on all tiles and is either smudged, smeared, or contain “razors of death”. Name of technique is not carved into back of tile. Student uses techniques incorrectly. There is no focus on craftsmanship and originality of work. Underglaze covers 50% of the tile. 59 and below- Student did not turn in artist research, 10 sketches, 10 complete tiles, and a write up. Tiles are broken, Underglaze techniques are not used appropriately. Underglaze is used as a substitute for an over glaze. Student finishes project in 2-4 class periods. Underglazing techniques Underglazes are used in pottery to create designs and patterns that will come up through the glaze covering them, which can give the surface more visual depth and character. Although they are often used under clear glazes, they can also be used under other, generally light colored, transparent glazes. UNDERGLAZES ARE NOT USED AS A SOLID COLOR TO TAKE THE PLACE OF AN OVERGLAZE! Mishimia-slip inlay Apply to leather hard clay. First, the leather-hard clay is incised in the desired pattern. Contrasting slip is then applied to and forced into the incised design. Slip will need to overflow the incised designs, as the slip will shrink somewhat as it dries. After the slip has stiffened, the entire area is scraped flush to the original surface level. This reveals the original clay body and the slip which remains embedded in the incised design. Brushing Apply to clean, dust free greenware. Apply by letting the brush bend gently to halfway, but at the first feel of the brush dragging re-load and begin again. Allow the first coat to dry thoroughly before applying the second or the third coats in different directions to prevent streaking. Sponging Pour required amount of color onto a glazed tile or palette. Using a slightly dampened sponge apply to greenware. Allow each coat to dry thoroughly. Apply 3 separate coats. Banding Apply with brush or sponge. Place greenware on rotating banding wheel. Do not allow brush to touch greenware when wheel is not rotating. Polishing Apply color on greenware. When ware is almost dry buff up with soft tissues gently in a circular motion. If polishing a large area spray moisture on underglaze or use a dampened brush to keep surface moist. Antiquing/Underglaze Wash Thin watered down color of underglaze and apply to bisque surface. Add more layers of colors if want to. Texture with a clean damp sponge then glaze with transparent or semi-transparent glaze. Sgraffito After application of color and while color is still damp use a needle tool to etch the design through the color to the clay body. Slip Trailing Dampen greenware first to help adhere to ware. Fill slip trailer with color. Hold the nozzle close to the surface and squeeze gently. Allow to dry and fire and then glaze normally. Spattering & Stippling Use a stipple brush. Load the brush sparingly. Keep the brush approx. ½ in from the surface, hold the brush in one hand and flick the bristles with the index finger of the other hand. Use 2 or 3 colors. Apply 3 coats. Wax Resist Applied to greenware. Paint designs with wax resist. Allow to dry. Paint color over the design. Fire to burn out wax. Glaze normally if desired.


