Melting Point Apparatus - Environmental Health and Safety at Iowa
advertisement
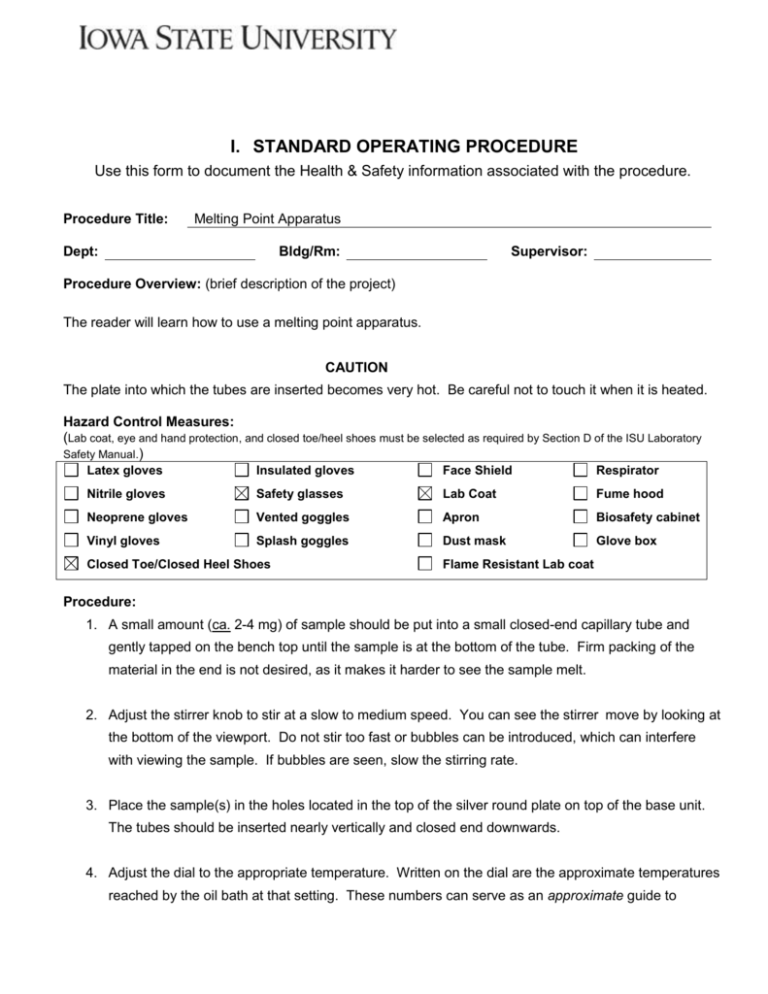
I. STANDARD OPERATING PROCEDURE Use this form to document the Health & Safety information associated with the procedure. Procedure Title: Melting Point Apparatus Dept: Bldg/Rm: Supervisor: Procedure Overview: (brief description of the project) The reader will learn how to use a melting point apparatus. CAUTION The plate into which the tubes are inserted becomes very hot. Be careful not to touch it when it is heated. Hazard Control Measures: (Lab coat, eye and hand protection, and closed toe/heel shoes must be selected as required by Section D of the ISU Laboratory Safety Manual.) Latex gloves Insulated gloves Face Shield Respirator Nitrile gloves Safety glasses Lab Coat Fume hood Neoprene gloves Vented goggles Apron Biosafety cabinet Vinyl gloves Splash goggles Dust mask Glove box Closed Toe/Closed Heel Shoes Flame Resistant Lab coat Procedure: 1. A small amount (ca. 2-4 mg) of sample should be put into a small closed-end capillary tube and gently tapped on the bench top until the sample is at the bottom of the tube. Firm packing of the material in the end is not desired, as it makes it harder to see the sample melt. 2. Adjust the stirrer knob to stir at a slow to medium speed. You can see the stirrer move by looking at the bottom of the viewport. Do not stir too fast or bubbles can be introduced, which can interfere with viewing the sample. If bubbles are seen, slow the stirring rate. 3. Place the sample(s) in the holes located in the top of the silver round plate on top of the base unit. The tubes should be inserted nearly vertically and closed end downwards. 4. Adjust the dial to the appropriate temperature. Written on the dial are the approximate temperatures reached by the oil bath at that setting. These numbers can serve as an approximate guide to determine the appropriate setting for the dial. For samples with unknown melting points, the temperature should only be gradually raised, i.e., a few degrees per minute. For samples whose melting points are essentially known, you can quickly raise the temperature to about 20° less than the expected melting point. Then raise the bath temperature slowly. Consult the Owner's Manual for more information. 5. Carry out the melting point determination, using the periscopic viewer to help monitor the temperature at which the sample melts 6. After completing the determination, remove your sample tubes from the sample holder, turn down the temperature dial and turn off the power switch. Clean up the area. Maintenance: Use a silicone oil if replacement of the oil is necessary. In order to replace the oil, the central unit containing the thermometer, periscope and bath is lifted out. A 100 ml beaker (no lip) is the container for the oil. Consult the Owner's Manual for more details. Each person using the melting point apparatus must: 1. Read and understand this document. 2. Be able to properly: a) Start up the melting point apparatus and set the temperature b) Understand the rules regarding the use of the melting point apparatus Using Substances Requiring Special Procedures? No Yes (If Yes; identify authorized personnel, designate a use area and specify specialized safety precautions here. Refer to Section B in the ISU Laboratory Safety Manual for details.) Written By: Date: Approved By: Date: (PI or Lab Supervisor) II. HAZARD ASSESSMENT Use the hierarchy of controls to document the hazards and the corresponding control measure(s) involved in each step of the procedure. Consider elimination or substitution of hazards, if possible. Engineering Control(s): items used to isolate the hazard from the user (i.e. fume hood, biosafety cabinet). Administrative Control(s): policies/programs to limit the exposure to the hazard (i.e. authorizations, designated areas, time restrictions, training). Required PPE: indicate PPE including specific material requirements if applicable (i.e. flame resistant lab coat, type of respirator or cartridge). Hazard Engineering Control(s) Heat transfer causing burn Administrative Control(s) Site specific training III. Required PPE Insulated gloves Training Record Use the following table to record the training associated with this Standard Operating Procedure. Print Name Signature Note: Attach to or file with written materials and methods Date

