here
advertisement

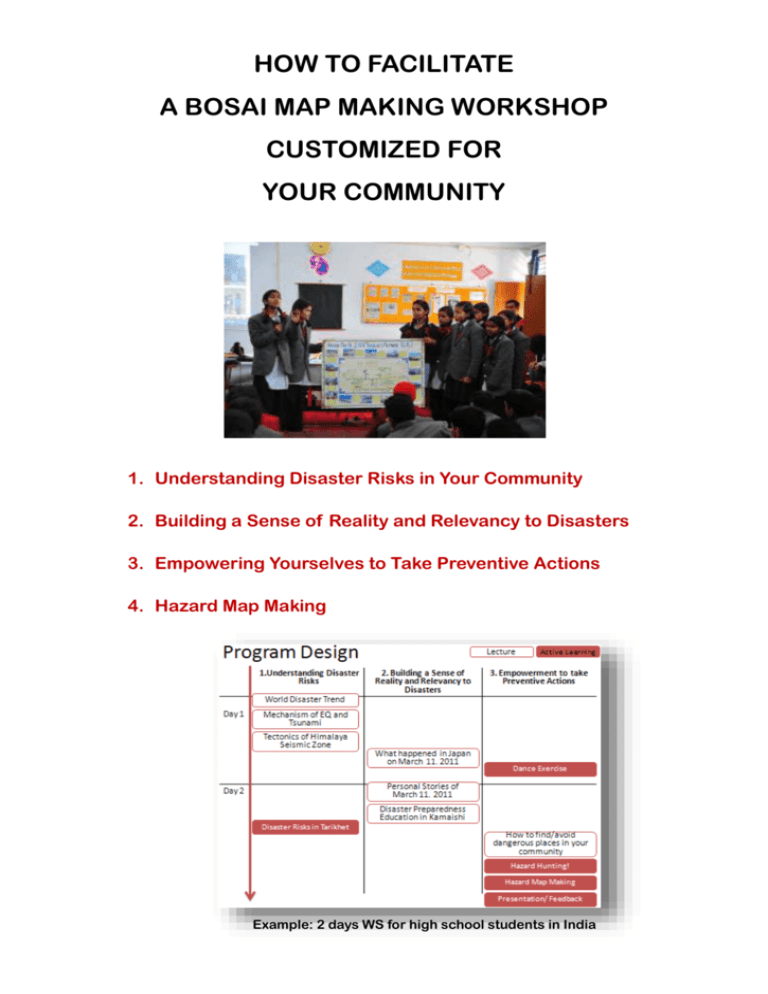
HOW TO FACILITATE A BOSAI MAP MAKING WORKSHOP CUSTOMIZED FOR YOUR COMMUNITY 1. Understanding Disaster Risks in Your Community 2. Building a Sense of Reality and Relevancy to Disasters 3. Empowering Yourselves to Take Preventive Actions 4. Hazard Map Making Example: 2 days WS for high school students in India 4. Hazard Map Making First, please watch this preview to understand the flow of the workshop! Facilitation Tutorial “7 Steps to Raise Awareness on Disaster Preparedness” Step 1 Learn how to identify hazardous areas! Step 2 Form groups! Step 3 Go Hazard Hunting! Step 4 Analyze your map! Step 5 Design your map! Step 6 Presentation to the class! Step 7 Your turn to inspire other students! This is the tutorial is for teachers on how to facilitate this activity. Download; understand the aim, what to do, necessary Download from HERE time, and find out the tips for successful facilitation! PowerPoint Template “How to Identify Hazardous Areas” This is a power point presentation with script that you can use as template when facilitating Step1. All students participating in the activity will learn the aim and procedure of this workshop and also become able to identify and analyze the hazards in the neighborhood. Download and customize the following; and you are ready to start! Download from HERE 1. Add photos of your neighborhood areas 2. Add photos of the classrooms 3. Add photo of the typical home in your region 4. A clear map of your school compound/ neighborhood *If you don’t have a clear map, you can hand-write or copy and paste from google maps (https://maps.google.com/) What to Prepare 1) Kit for Each Group Prepare the following and make a kit for each group Must Haves Poster-sized papers Color pens and markers Scissors (to cut the photos) Glue and adhesive tapes (to stick pictures onto the map) Colored papers (to make pop-up comments on the map) Enlarged map of the neighborhood (students can choose to either paste the map onto the poster and decorate over it, or draw the map themselves) Camera Nice to Haves Stickers (for decoration and to emphasize the hazards on the map) Digital Camera, printer, pc and photo printing paper *It is nice to select directly from the PC, but you can substitute these by having the photos printed out at photo processing shops. 2) Handout for Students “Hazard Map Making Step-by-step Guide for Students” Download, add to the template the following and print copies for each student taking part in the workshop. 1. Your school name 2. Date of the workshop 3. A clear map of your school compound/ neighborhood *If you don’t have a clear map, you can hand-write or copy and paste from google maps (https://maps.google.com/) Download from HERE


