Configuring UMP to use SSL — Using an Authority
advertisement

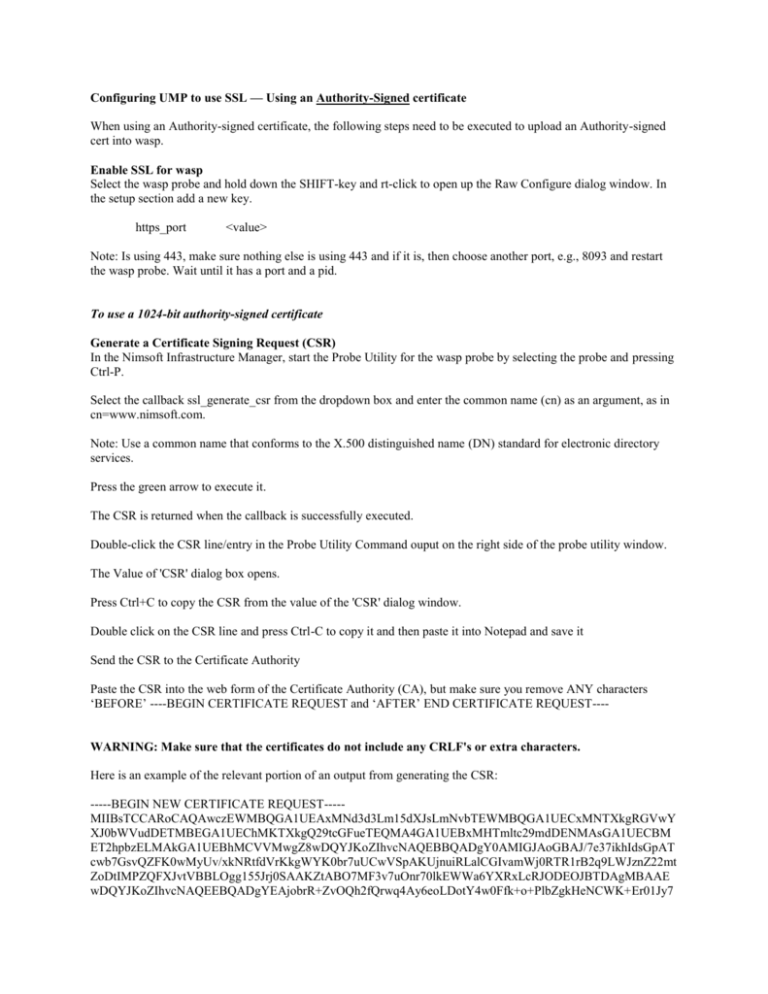
Configuring UMP to use SSL — Using an Authority-Signed certificate When using an Authority-signed certificate, the following steps need to be executed to upload an Authority-signed cert into wasp. Enable SSL for wasp Select the wasp probe and hold down the SHIFT-key and rt-click to open up the Raw Configure dialog window. In the setup section add a new key. https_port <value> Note: Is using 443, make sure nothing else is using 443 and if it is, then choose another port, e.g., 8093 and restart the wasp probe. Wait until it has a port and a pid. To use a 1024-bit authority-signed certificate Generate a Certificate Signing Request (CSR) In the Nimsoft Infrastructure Manager, start the Probe Utility for the wasp probe by selecting the probe and pressing Ctrl-P. Select the callback ssl_generate_csr from the dropdown box and enter the common name (cn) as an argument, as in cn=www.nimsoft.com. Note: Use a common name that conforms to the X.500 distinguished name (DN) standard for electronic directory services. Press the green arrow to execute it. The CSR is returned when the callback is successfully executed. Double-click the CSR line/entry in the Probe Utility Command ouput on the right side of the probe utility window. The Value of 'CSR' dialog box opens. Press Ctrl+C to copy the CSR from the value of the 'CSR' dialog window. Double click on the CSR line and press Ctrl-C to copy it and then paste it into Notepad and save it Send the CSR to the Certificate Authority Paste the CSR into the web form of the Certificate Authority (CA), but make sure you remove ANY characters ‘BEFORE’ ----BEGIN CERTIFICATE REQUEST and ‘AFTER’ END CERTIFICATE REQUEST---- WARNING: Make sure that the certificates do not include any CRLF's or extra characters. Here is an example of the relevant portion of an output from generating the CSR: -----BEGIN NEW CERTIFICATE REQUEST----MIIBsTCCARoCAQAwczEWMBQGA1UEAxMNd3d3Lm15dXJsLmNvbTEWMBQGA1UECxMNTXkgRGVwY XJ0bWVudDETMBEGA1UEChMKTXkgQ29tcGFueTEQMA4GA1UEBxMHTmltc29mdDENMAsGA1UECBM ET2hpbzELMAkGA1UEBhMCVVMwgZ8wDQYJKoZIhvcNAQEBBQADgY0AMIGJAoGBAJ/7e37ikhIdsGpAT cwb7GsvQZFK0wMyUv/xkNRtfdVrKkgWYK0br7uUCwVSpAKUjnuiRLalCGIvamWj0RTR1rB2q9LWJznZ22mt ZoDtIMPZQFXJvtVBBLOgg155Jrj0SAAKZtABO7MF3v7uOnr70lkEWWa6YXRxLcRJODEOJBTDAgMBAAE wDQYJKoZIhvcNAQEEBQADgYEAjobrR+ZvOQh2fQrwq4Ay6eoLDotY4w0Ffk+o+PlbZgkHeNCWK+Er01Jy7 NMA2eFdo98nsR1Qa6NrfW+YTmqy+t/6wVSV9Q0i/rMpwrzvsw/TfcMUgOjPQA9onChK34rHphqkwGcHsu2n3u 4L9j5Jruoh1zX1++uArHAy8W0zXbY= -----END NEW CERTIFICATE REQUEST----Make sure you clear your browser cache, history, form data, etc. Use the URL http://UMP_server/jsp/wasp_upload_certificate.jsp to upload the two certificates received from the CA. Paste the signed certificate received from the CA into the first frame and click Upload WASP certificate. Paste the root certificate received from the CA into the second frame and click Upload ROOT certificate. Restart wasp. The wasp should now be correctly configured to use SSL with a 1024-bit authority-signed certificate. To use a 2048-bit authority-signed certificate Note: The following procedure uses the keytool utility, which is located in the directory where JRE resides, typically Nimsoft\jre\jre_version\bin\keytool. Locate the file wasp.keystore in the following directory: initial_directory\Nimsoft\probes\service\wasp\conf\wasp.keystore. Verify the keystore can be read with the password by running the following command in the same directory as the wasp.keystore file: keytool -list -keystore wasp.keystore Delete the existing private key: keytool -delete -alias wasp -keystore wasp.keystore Verify the key was deleted: keytool -list -keystore wasp.keystore Generate the private/public key pair with a 2048-bit private key: keytool -genkeypair -alias wasp -keyalg RSA -keysize 2048 -keystore wasp.keystore Generate the CSR: keytool -certreq -alias wasp -keystore wasp.keystore -file wasp.csr Execute the callback ssl_reinitialize_keystore and enter a new password as an argument. Make sure you clear your browser cache, history, form data, etc. Use the URL http://UMP_server/jsp/wasp_upload_certificate.jsp to upload the two certificates received from the Certificate Authority (CA). Paste the signed certificate received from the CA into the first frame and click Upload WASP certificate. Paste the root certificate received from the CA into the second frame and click Upload ROOT certificate. Restart wasp. The wasp should now be correctly configured to use SSL with a 2048-bit authority-signed certificate. Set Automatic HTTPS Redirect After you configure UMP to use SSL communications, you can also configure UMP so that any attempt to log in via HTTP is automatically redirected to HTTPS. Follow these steps: 1. Locate the following directory: <installation_directory>\Nimsoft\probes\service\wasp\webapps\ROOT\WEB-INF\classes. 2. 3. 4. Open the file portal-ext.properties in a text editor. At the bottom of the portal-ext.properties file, add the line web.server.protocol=https. Save the portal-ext.properties file and restart the wasp probe. UMP is now configured to redirect an HTTP login attempt to HTTPS. Other Notes: Here is the command to delete the private key the wasp generates by default: ..\..\..\..\jre\jre1.6.0_17\bin\keytool -delete -alias wasp -keystore wasp.keystore And here is how you can view the contents of the keystore to determine if anything is in there: ..\..\..\..\jre\jre1.6.0_17\bin\keytool -list -keystore wasp.keystore wasp can handle a 2048-bit private key just fine but the callback the wasp makes available to generate the CSR uses a default key length of 1024-bits (which is the same as the default for the Java keytool command). You can generate a 2048-bit private key manually using the Java keytool command. You need the password for the keystore in order to use the keytool command on it. You can set the password on the keystore by using the ssl_reinitialize_keystore callback. Then you can go to the wasp/conf directory and run the following command: ..\..\..\..\jre\jre1.6.0_17\bin\keytool -genkeypair -alias wasp -keyalg RSA -keystore wasp.keystore -keysize 2048 If you have the newer JRE installed, you might need to use jre1.6.0_24 instead of jre1.6.0_17 in the path above. After the keystore contains a 2048-bit private key, you can generate a CSR using the following command: ..\..\..\..\jre\jre1.6.0_17\bin\keytool -certreq -keystore wasp.keystore -alias wasp -file certreq.csr Then you can import the signed certificate and root certificate as usual, which is covered above as well as in the UMP online Help documentation. Note SSL issues e.g., with UMP 2.0 have been resolved in the newer versions. You should upgrade to NMS 5.11/5.12 and UMP 2.12 or higher if you wish to use SSL.


