Hot Composting workshop
advertisement
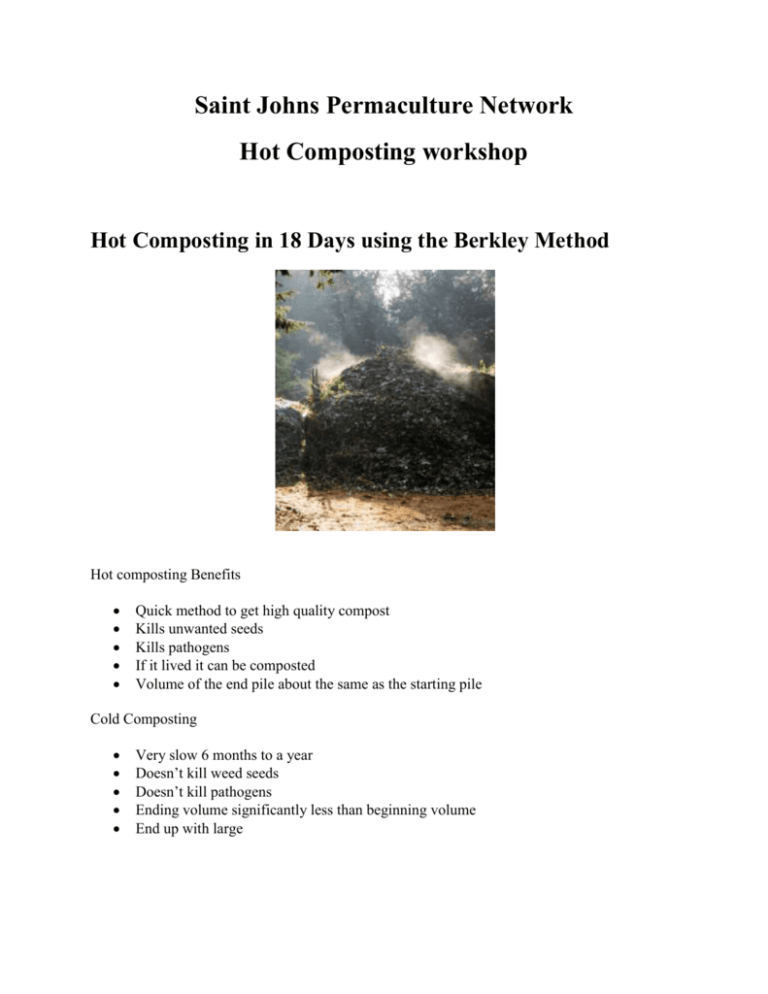
Saint Johns Permaculture Network Hot Composting workshop Hot Composting in 18 Days using the Berkley Method Hot composting Benefits Quick method to get high quality compost Kills unwanted seeds Kills pathogens If it lived it can be composted Volume of the end pile about the same as the starting pile Cold Composting Very slow 6 months to a year Doesn’t kill weed seeds Doesn’t kill pathogens Ending volume significantly less than beginning volume End up with large The requirements for hot composting using the Berkley method are as follows: 1. 2. 3. 4. Compost temperature is maintained between 130-150 degrees Fahrenheit The C:N (carbon:nitrogen) balance in the composting materials is approximately 25-30:1 The compost heap needs to be roughly from 4-5 ft high If composting material is high in carbon, such as tree branches, they need to be broken up, such as with a mulcher 5. Compost is turned outside to inside and vice versa to mix it thoroughly With the 18 day Berkley method, the procedure is quite straightforward: 1. Build compost heap 2. 4 days – no turning 3. Then turn every 2nd day for 14 days Composting Materials and the Carbon-Nitrogen Balance In the hot composting method, the ratio of carbon to nitrogen in the compost materials needs to be between 25 to 30 parts carbon to one-part nitrogen by weight. This is because the bacteria responsible for the composting process require these two elements, in these proportions, as nutrients to construct their bodies as they reproduce and multiply. Materials that are high in carbon are typically dry, “brown” materials, such as sawdust, cardboard, dried leaves, straw, branches and other woody or fibrous materials that rot down very slowly. Materials that are high in nitrogen are typically moist, “green” materials, such as lawn/grass clippings, fruit and vegetable scraps, animal manure and green leafy materials that rot down very quickly. If ratio of C:N is right in this technique of fast, aerobic (uses oxygen), hot composting, the compost will break down to the same volume. This is in contrast to slow, anaerobic (without oxygen) composting that happens in a compost bin, which drastically reduces in volume as it rots down. Many ingredients used for composting do not have the ideal ratio of 25-30:1. When using hot composting methods, you need to make an assessment of how quickly materials decompose, and then use a blend of things that rot quickly and things that rot slowly. Composting materials with a very low C:N ratio of 7:1 would rot very quickly, because they are high in nitrogen, eg. fish, this decomposes very quickly Composting materials with a very high C:N ratio of 500:1 would take a long time to decompose, because they are low in nitrogen, and need to be broken up, eg. tree branches For example, if the C:N ratio is too high, you can lower it by adding manure or grass clippings. If the C:N ratio is too low, you can raise it by adding cardboard, dry leaves, sawdust or wood chips. In trying to understand what C:N ratios are about, it may help to point out that all plants have more carbon than nitrogen (remember, they get their carbon from the carbon dioxide CO2 in the air) so that is why the C:N ratios are always greater than always above 1:0. Below are the average C:N ratios for some common organic materials used for composting. The materials containing high amounts of carbon, but low in nitrogen are considered “browns“ The materials containing higher amounts of nitrogen are considered “greens.” Browns = High Carbon C:N Greens = High Nitrogen C:N Wood chips Cardboard, shredded 400:1 Garden waste 30:1 350:1 Weeds 30:1 Sawdust Newspaper, shredded 325:1 Green Wood 25:1 175:1 Hay 25:1 Pine needles 80:1 Vegetable scraps 25:1 Corn stalks 75:1 Clover 23:1 Straw 75:1 Coffee grounds 20:1 Leaves 60:1 Food waste 20:1 Fruit waste 35:1 Grass clippings 20:1 Peanut shells 35:1 Seaweed 19:1 Ashes, wood 25:1 Horse Manure 18:1 Cow Manure 16:1 Alfalfa 12:1 Chicken Manure 12:1 Pigeon Manure 10:1 Fish 7:1 Urine 1:1 Hot Composting, Step By Step Day 1 Mix together ingredients by laying then in alternating thin layers of “greens” and “browns”. Wet the compost heap down very well so it is dripping water out of the bottom and is saturated. Can put activator in the middle of compost heap to start off composting process. Activators include comfrey, nettles, yarrow, animal, fish, urine, or old compost Day 4 Turn the compost heap over, outside turned to inside, inside turned to outside. To explain in more detail, when turning compost, move the outside of the pile to a spot next to it, and keep moving material from the outside to the new pile. When you’re done, all the material that was inside will be outside and vice versa. Ensure that moisture stays constant. Put gloves on and squeeze a handful of the compost materials, should only release one drop of water, or almost drips a drop. If it gets too wet, can spread it down, or open a hole about 3-4” wide with the handle of the pitchfork, or put sticks underneath for drainage. DAY 6 & DAY 8 The compost heap should reach its maximum temperature on these days. As an simple guideline. if you can put your arm into the compost up to the elbow, then it is not at 50 degrees Celsius, and is not hot enough. Best to use a compost thermometer or a cake thermometer. Need optimum temperature of 55-65 degrees Celsius. At temperatures over 65 degrees Celsius a white “mould” spreads through the compost, which is actually”fire blight”, an anaerobic bacteria. Temperature peaks at 6-8 days and gradually cools down by day 18. Turn the compost heap over every second day (on day 6 and again on day 8). If the compost pile starts coming down in size quickly, there is too much nitrogen in the compost. To heat up the compost faster, a handful of blood & bone fertiliser per pitchfork when turning speeds it up. If it gets too hot and smelly and goes down in size, it has too much nitrogen, need to slow it down, throw in a handful of sawdust per pitchfork when turning. Using the this system, the Berkley method, methane is released from the compost. DAY 10 to DAY 18 Continue to turn the compost every 2nd day Some important points to note: Locate your compost heap in an area protected from too much sun or heavy rain, to prevent the compost from drying out or becoming water-logged and slowing down the composting process. Space required for for your heap should be about 4’ x 4’, and enough space in front of it to stand when turning the compost. Water each layer until it is moist as you build the heap. After three or four days, give the compost air by mixing and turning it over, then turn every three days until the compost is ready, usually in 14-21 days. Remember, frequent turning and aeration is the secret of successful composting. Turn the compost using a garden fork, or even better, a long-handled pitchfork. In cold or wet weather, you can cover the compost heap with a tarp or plastic sheet, to prevent the rain cooling it down, since the water will penetrate into the core of the compost pile. Even though cold outside air will cool the surface, but not the core of the compost heap, by covering it, this prevents some heat loss from the surface to cooler outside air, and retains the heat within the compost heap better. The above information is from www.deepgreenpermaculture.com Thanks for coming. We hope you found the information useful and the session fun. Ed Boardman (ed@naturescircles.com )& Elizabeth Potter (epotzsurfer@gmail.com ) Upcoming activities Thurs. Feb. 27 6:00-7:00 PM What is permaculture o An overview of the Permaculture including its ethics and principles – For our first timers Thurs. Feb. 27 7:00-9:00 PM Monthly meeting o Organizational meeting – we will be discussing how we want to organize and structure our organization as well as what projects, classes and workshops we want to hold. Sat. March 8 11:00AM- 3:00 PM Building an herb spiral o We will create an herb spiral that will illustrate how to create an entire herb garden in only 5-6 square feet of space (Donation) 4:00PM-7:00 PM – Community Gathering Drum Circle (donation) Community organic Pot Luck Dinner Permaculture Movie (free) 10:00 AM– 4:00PM Designing your property the Permaculture way o We will provide an overview of Permaculture design principles and design techniques that will allow you to look at your property differently and to how you can transform it. Great for those just getting interested in Permaculture ($35) Sat. March 29 12:00PM- 1:00PM Vermi-composting o A great overview of how to transform your kitchen scraps into a valuable fertilizer. Started sets will be available to participants (donation) - Starter kits including Worms ($10) Sat. March 15 o 4:00-5:00 o 5:15 -6:15 o 6:15- 7:00 Sat. March 22 Join our meetup www.meetup.com/Saint-Johns-Permaculture-network Let us help you Design your property. We are both Certified Permaculture Designers and are available for permaculture Design consultations for your property. Ed Boardman (ed@naturescircles.com )& Elizabeth Potter (epotzsurfer@gmail.com )
