Day 3 Fine Arts
advertisement
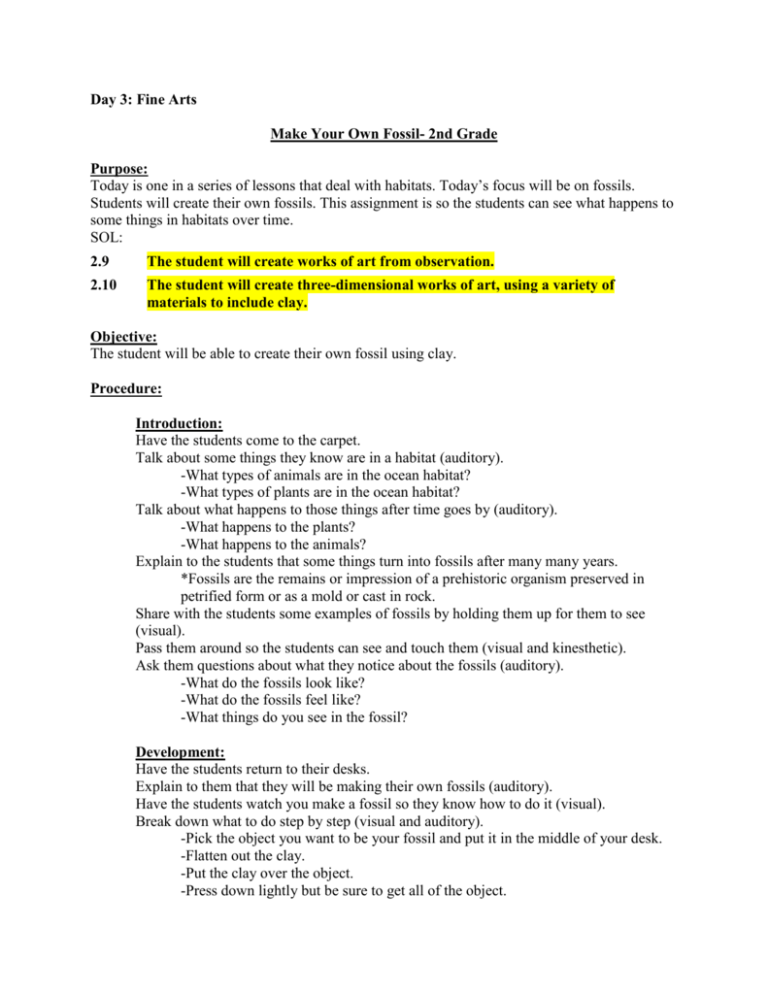
Day 3: Fine Arts Make Your Own Fossil- 2nd Grade Purpose: Today is one in a series of lessons that deal with habitats. Today’s focus will be on fossils. Students will create their own fossils. This assignment is so the students can see what happens to some things in habitats over time. SOL: 2.9 The student will create works of art from observation. 2.10 The student will create three-dimensional works of art, using a variety of materials to include clay. Objective: The student will be able to create their own fossil using clay. Procedure: Introduction: Have the students come to the carpet. Talk about some things they know are in a habitat (auditory). -What types of animals are in the ocean habitat? -What types of plants are in the ocean habitat? Talk about what happens to those things after time goes by (auditory). -What happens to the plants? -What happens to the animals? Explain to the students that some things turn into fossils after many many years. *Fossils are the remains or impression of a prehistoric organism preserved in petrified form or as a mold or cast in rock. Share with the students some examples of fossils by holding them up for them to see (visual). Pass them around so the students can see and touch them (visual and kinesthetic). Ask them questions about what they notice about the fossils (auditory). -What do the fossils look like? -What do the fossils feel like? -What things do you see in the fossil? Development: Have the students return to their desks. Explain to them that they will be making their own fossils (auditory). Have the students watch you make a fossil so they know how to do it (visual). Break down what to do step by step (visual and auditory). -Pick the object you want to be your fossil and put it in the middle of your desk. -Flatten out the clay. -Put the clay over the object. -Press down lightly but be sure to get all of the object. -Pull the clay off slowly. -Flip the clay over to see your freshly made fossil. -Bring fossils to teacher once completed so they can be put in the windowsill to dry out and harden and become real fossils. Pass out different objects that they can turn into fossils. -Leaves -Shells -Small toy animals (butterflies, fish, starfish,etc) Pass out the clay. Give the students 10-15 minutes to create their very own fossil. For struggling students, have them work with you, the teacher, to make the fossils. For advanced students, have them write a sentence explaining what happened to their object and why it became a fossil. Summary: Once all fossils are in the windowsill, make a list as a class of objects that can become fossils. Make a separate list, as a class, about what fossils look like and how they felt. Have the students create a fossil definition, as a class, in their own words and write it on the board. Materials: -Objects for the fossils -Leaves -Shells -Small toy animals (butterflies, fish, starfish, etc) -Clay Evaluation Part A: Were the students able to participate in the discussion before we made our own fossils? Were the students able to add their own ideas to our lists that we made as a class? Evaluation Part B: -Did the students meet my objective? -Does my lesson accommodate the needs of all my learners? -What were the strengths of my lesson? -What were the weaknesses of my lesson? -What would I change if I taught this lesson again?
