The Chemical Reaction Powered Car
advertisement
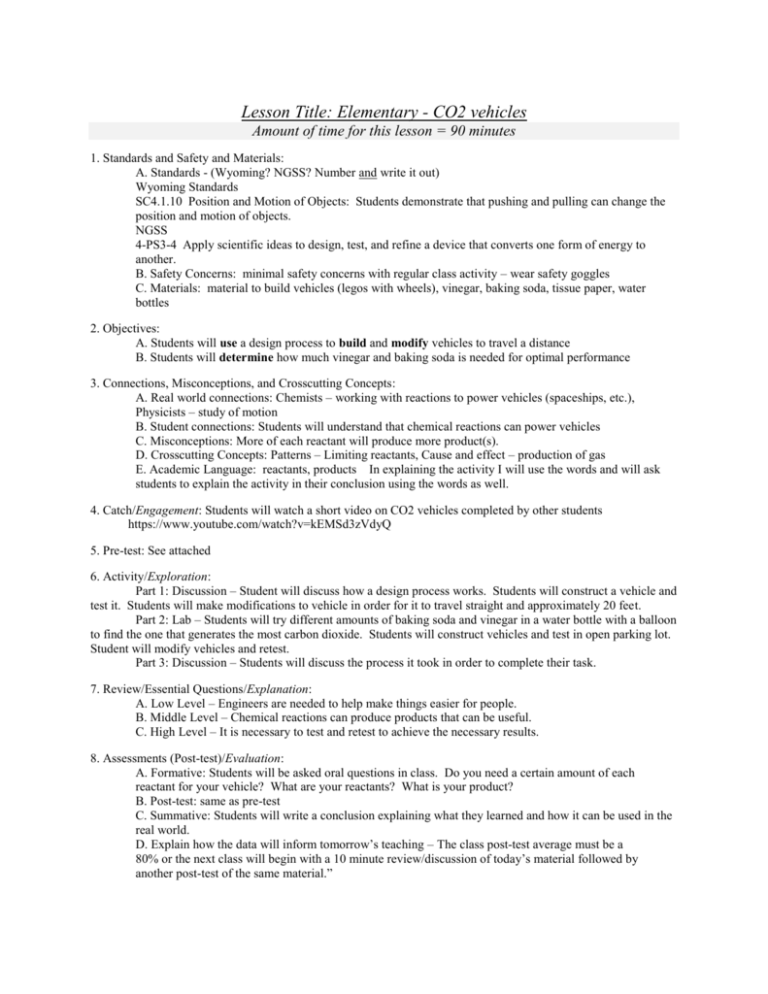
Lesson Title: Elementary - CO2 vehicles Amount of time for this lesson = 90 minutes 1. Standards and Safety and Materials: A. Standards - (Wyoming? NGSS? Number and write it out) Wyoming Standards SC4.1.10 Position and Motion of Objects: Students demonstrate that pushing and pulling can change the position and motion of objects. NGSS 4-PS3-4 Apply scientific ideas to design, test, and refine a device that converts one form of energy to another. B. Safety Concerns: minimal safety concerns with regular class activity – wear safety goggles C. Materials: material to build vehicles (legos with wheels), vinegar, baking soda, tissue paper, water bottles 2. Objectives: A. Students will use a design process to build and modify vehicles to travel a distance B. Students will determine how much vinegar and baking soda is needed for optimal performance 3. Connections, Misconceptions, and Crosscutting Concepts: A. Real world connections: Chemists – working with reactions to power vehicles (spaceships, etc.), Physicists – study of motion B. Student connections: Students will understand that chemical reactions can power vehicles C. Misconceptions: More of each reactant will produce more product(s). D. Crosscutting Concepts: Patterns – Limiting reactants, Cause and effect – production of gas E. Academic Language: reactants, products In explaining the activity I will use the words and will ask students to explain the activity in their conclusion using the words as well. 4. Catch/Engagement: Students will watch a short video on CO2 vehicles completed by other students https://www.youtube.com/watch?v=kEMSd3zVdyQ 5. Pre-test: See attached 6. Activity/Exploration: Part 1: Discussion – Student will discuss how a design process works. Students will construct a vehicle and test it. Students will make modifications to vehicle in order for it to travel straight and approximately 20 feet. Part 2: Lab – Students will try different amounts of baking soda and vinegar in a water bottle with a balloon to find the one that generates the most carbon dioxide. Students will construct vehicles and test in open parking lot. Student will modify vehicles and retest. Part 3: Discussion – Students will discuss the process it took in order to complete their task. 7. Review/Essential Questions/Explanation: A. Low Level – Engineers are needed to help make things easier for people. B. Middle Level – Chemical reactions can produce products that can be useful. C. High Level – It is necessary to test and retest to achieve the necessary results. 8. Assessments (Post-test)/Evaluation: A. Formative: Students will be asked oral questions in class. Do you need a certain amount of each reactant for your vehicle? What are your reactants? What is your product? B. Post-test: same as pre-test C. Summative: Students will write a conclusion explaining what they learned and how it can be used in the real world. D. Explain how the data will inform tomorrow’s teaching – The class post-test average must be a 80% or the next class will begin with a 10 minute review/discussion of today’s material followed by another post-test of the same material.” 9. Timeline: A. Catch B. Pre-test C. Activity – 3 parts D. Review and Post-test 4 min 3 min 75 min 8 min 10. Enrichment/Elaboration: Design a vehicle that will travel only five feet. 11. IEP Accommodations/Differentiation/Diversity: Struggling students will be given preferential seating, staff support, clarification of directions and extended time to complete assignment. CO2 Vehicles Pretest/Postest 1. Is there a need to design and test objects? A. Yes B. no 2. Name an object that was built by an engineer. 3. True or False – Can chemical reactions power a vehicle? The Chemical Reaction Powered Car The concepts involved are: kitchen chemistry (baking soda and vinegar) for the chemical reaction; chemical reactions producing phase changes (gases, liquids, and solids); propulsion; and most importantly engineering design and redesign. Project Students will design a car that is powered solely by a Objective: chemical reaction and can travel 25 feet. Car Design: K'NEX™ or LEGO™ kits and medium size (approx. 750ml) plastic water bottles. Example car Chemical The cars are powered by Kitchen Chemistry: Reaction: The above equations are all representations of the same reaction. It is important to note that for a complete reaction the molar ratio of acetic acid to sodium bicarbonate must be kept constant. Explanation The third equation above shows the balanced form : of the reaction. As noted, the reaction requires one mole of acetic acid and one mole of baking soda to produce one mole of carbon dioxide gas. A mole is a unit like a dozen, a dozen is 12 things and a mole is 602,200,000,000,000,000,000,000 things. For comparison a mole of donut holes would cover the earth and be 5 miles deep. However, a mole of molecules can be a reasonable amount. One mole of water is only 18 ml. Moles are used in chemistry because it allows comparisons to be made Ingredients: Kitchen Chemistry at its Best! regardless of phase or measurement units. Our goal in this experiment will be to always use excess vinegar to help make sure all the baking soda is dissolved and reacted. Once we understand the chemistry, we will attempt different chemical ratios to produce enough gas to drive our cars approximately 25 feet. Procedure: While the exact details of this experiment are quite open, a general procedure is outlined below. Prior to building the cars, it is a good idea to develop an understanding for how much gas will be produced. Thus the procedure is broken into three sections: gas production, car construction, and car operation (distance traveled). The GO Factor: The Gas Production (plastic bottle chemistry) A. In a plastic bottle (any approx. 750 ml Reason testing should be done OUTSIDE! water bottle with a small mouth will work for this) add ~100 ml 5% acetic acid Vinegar. (Vinegar is sold in 4% and 5%. B. Wrap ~6 gm Baking Soda in a single-ply Kleenex and add to the vinegar. C. Immediately cover the bottle opening with a balloon and hold it on to prevent leaks. (It is good to practice this without the reactants once or twice.) D. Gently shake to bottle to encourage mixing. The reaction produces gas and will blow up the balloon. Measure the balloon diameter with a piece of string or a measuring tape. E. Repeat a few times with a few different reactant ratios. (The original ratios were The CRASH Factor: Make sure your car goes straight. chosen as they are a 1-1 molar ratio.) Car Construction A. Discuss the important features of the car design (wheels that spin, a way to secure the reaction chamber (plastic bottles), the direction of the jet and the way the car then moves). NOTE: Cars can be constructed out of almost anything that allows you to put wheels and axles on a platform. We use either K'NEX™ or LEGO™ kits for simplicity, but wood or a plastic model kit would also work. B. Allow students to build car. C. After a test run, checking for wheels that work, bottle secured, and structural stability, reconstruct if necessary. NOTE: The concept we are trying to teach here is engineering problem solving - design and re-design. D. Make sure the plastic bottle used as a reaction vessel can hold a good seal and still be easily opened. Car Operation A. Add 100 ml vinegar to bottle attached to car. Add 50 ml water as well; this adds mass to increase the thrust. B. Measure 6.4 gm baking soda onto a singleply Kleenex. C. Add baking soda bundle to bottle taking care to prevent mixing until the bottle is closed and sealed against leaks. D. Shake the bottle until a large froth forms. Set the car down, open the valve or bottle top, and watch the car drive. E. Measure the distance traveled. TEAMWORK is IMPORTANT! F. Repeat experiment a few times for statistics. Change the amounts of vinegar, baking soda, and water to tune the car to the desired distance. Conclusion - Write what you learned from this activity. How can you use this activity in the real world?
