Instruction Set

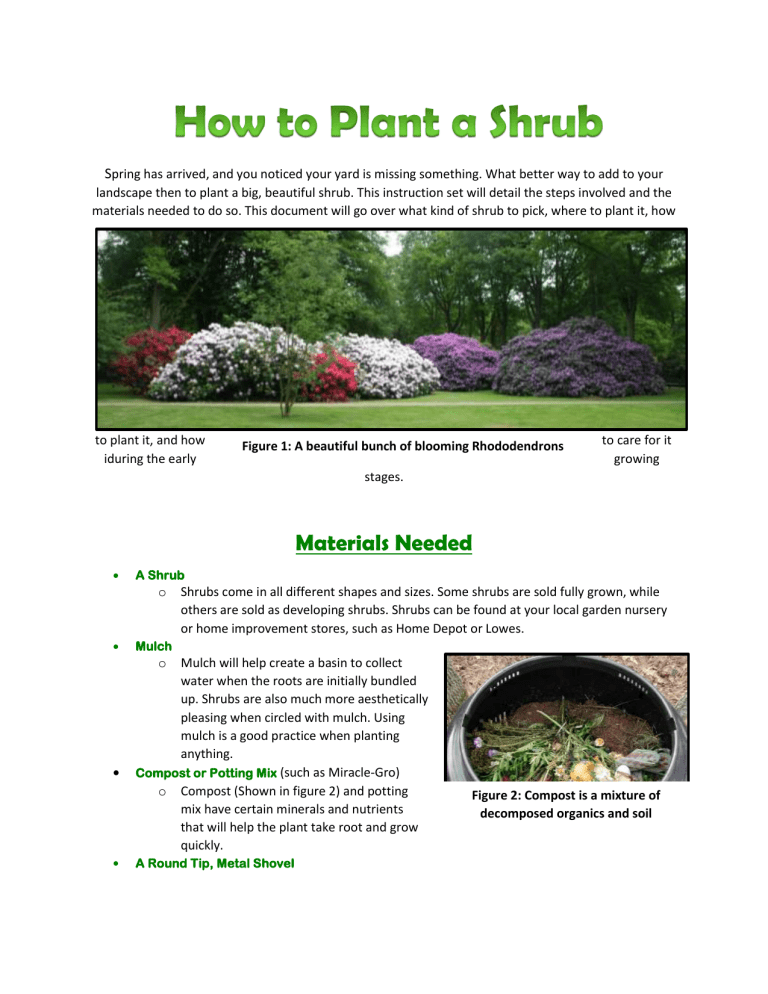
S pring has arrived, and you noticed your yard is missing something. What better way to add to your landscape then to plant a big, beautiful shrub. This instruction set will detail the steps involved and the materials needed to do so. This document will go over what kind of shrub to pick, where to plant it, how to plant it, and how iduring the early
Figure 1: A beautiful bunch of blooming Rhododendrons to care for it growing stages.
Materials Needed
A Shrub o Shrubs come in all different shapes and sizes. Some shrubs are sold fully grown, while others are sold as developing shrubs. Shrubs can be found at your local garden nursery or home improvement stores, such as Home Depot or Lowes.
Mulch o Mulch will help create a basin to collect water when the roots are initially bundled up. Shrubs are also much more aesthetically pleasing when circled with mulch. Using mulch is a good practice when planting anything.
Compost or Potting Mix (such as Miracle-Gro) o Compost (Shown in figure 2) and potting mix have certain minerals and nutrients that will help the plant take root and grow quickly.
A Round Tip, Metal Shovel
Figure 2: Compost is a mixture of decomposed organics and soil
o The dirt farther below the surface is rather hard to dig up. So a sturdy shovel is necessary. A round tip makes it easier to dig a round hole.
A Wheel Barrow o This is useful for transporting the shrub and storing dirt.
Work Gloves (shown to the right) o Digging a large hole is a lot of work and tough on the hands. Unless you have already developed hand calluses, you will most likely blister, which is
Figure 3 never fun. Garden gloves usually work well, as shown in figure 3
Work boots o Some shovels have sharp tips, and bushes can be very heavy. Steel tips are not necessary, but it is always good to have protection and support for your feet, especially when they may be inside a hole.
A Hat o If you are planting in the summer, this will help keep the sun off your face and the sweat out of your eyes.
Water hose or bucket o After planting the shrub it will need a lot of water, and when it is not raining, you will have to provide it.
Picking a Shrub and Spot
1.
Determine the Best Shrub for Your Landscape: Take a look at your landscape and determine what kind of shrub will look the most aesthetically pleasing in certain areas of your yard. Some things to consider are: a.
The overall color scheme of your house and landscape. b.
Size of the fully grown shrub.
Note:
Certain shrubs need a more shade than others, such as
Hydrangeas and Rhododendrons. Shrubs like these should be planted under tree shade or close to the house.
Figure 4: Invasive shrubs can cause damage to windows, gutters, and siding
2.
Research how large your plant will grow: Read online to find both the height and width, or consult with an expert. (If rectangular, measure width and depth. If circular measure diameter.)
3.
Measure the Shrubs Expected Space: Pick a spot in your yard, and measure distances to objects nearby to make sure the shrub will not grow into them, such as your house, as shown in figure 4
Helpful Hint:
It sometimes helps to step back and envision your shrub when picking a spot or drawing a picture of what your new landscape will look like.
Digging the Hole
Creating the Perimeter
The perimeter of the hole should be a circle, twice the diameter of the shrub’s root ball. This doesn’t have to be too precise so you can just eyeball it.
Root ball:
The clump of dirt below the stem, which contains all the roots
1.
Grip the Shovel: Using both hands, as shown in figure 5 below to the left, to grip the shovel.
Figure 5 Figure 6
2.
Driving the Shovel in to the Ground: Stick the shovel into the ground, and place one foot on the back of the shovel’s blade, as shown in figure 6. Step up onto the back of the blade, and drive the shovel into the ground.
3.
Remove the Dirt: Use the shovel as a lever to pop the dirt out of the ground, and place the dirt into the wheel barrow.
4.
Repeat step 3 to create a circular pattern.
Helpful Hint:
You can save the grass dug up to plant in other areas of your yard.
Digging for Depth
The depth of the hole should be about a foot deeper than the height of the root ball.
1.
Position Feet: Place feet shoulder width apart and Grip the shovel as shown in figure 7.
2.
Scoop the Dirt: Starting at the outside of the perimeter, dig the dirt up using a scooping method, as shown to the right. Continue to do so until the hole has an even depth.
3.
Dig Deeper: Drive the shovel into the ground as described above to dig a deeper perimeter.
4.
Remove the Dirt: Use the scooping method to dig the dirt out so the whole is again at an even depth.
5.
Repeat the steps 3 and 4 until the hole is the required depth
Placing the Shrub in the Hole
Figure 7
1.
Add dirt and compost mixture: Shovel loose dirt back into the hole and pour your compost with it until the depth of the hole is the same as the height of the root ball. You can use your shovel to gauge the depth. (The loose dirt and compost below
Figure 8 the root ball will give the roots more space to expand.)
Helpful Hint:
It is best to have a 50/50 mix of dirt and compost.
Warning!
DO NOT LIFT
WITH YOUR BACK, lift with your legs. See figure 8
below.
2.
Place the Shrub in the Hole: Pick the shrub up by the root ball, and place it in the hole. Shovel dirt underneath where appropriate to level the shrub out. Make sure the top of the root ball ground level.
Helpful Hint:
If the root ball is too heavy or awkward to lift with two people. Prop a sheet or tarp underneath the root ball. Lift the sheet by the corners and drop into hole.
3.
Fill in the Rest of the Hole: Fill in the sides of the whole with a dirt and compost mixture similar to the mixture at the bottom of the whole until the mixture is even with ground level.
Creating a Water Basin with Mulch
1.
Measure the Perimeter: Decide how long you want the perimeter of the mulch enclosure to be. (The perimeter of the hole usually works well)
2.
Edge the Area: Similar to technique 1, drive your shovel into the ground with your foot, BUT ONLY AN
INCH AND A HALF DEEP. This is to create a clean edge between the mulch and surrounding grass. This is called edging.
3.
Fill in the Mulch: Fill the area from the edge of the perimeter to the stem of the bush with mulch, about two inches thick.
4.
Create a Water Basin: Using your hands, create a basin of about 2 feet in diameter out of the mulch, as shown in figure 9.
Watering the Shrub
Figure 9
1.
Water the Shrub: Using a hose or watering bucket, being to water the plant at the stem, as shown in figure 9. Continue watering until the ground is fully saturated and the basin is full.
Note:
You do not need to water the leaves, as plants absorb water through their roots and transport the water up to the leaves.
2.
Repeat Step 1 every day for the next week unless it rains.
3.
Keep on Watering: For the next several weeks continue to water the shrub twice a week.
After a few months, you should have a beautiful shrub like this Hydrangea!
Figure 9


