Exp procedures for Mole Lab
advertisement
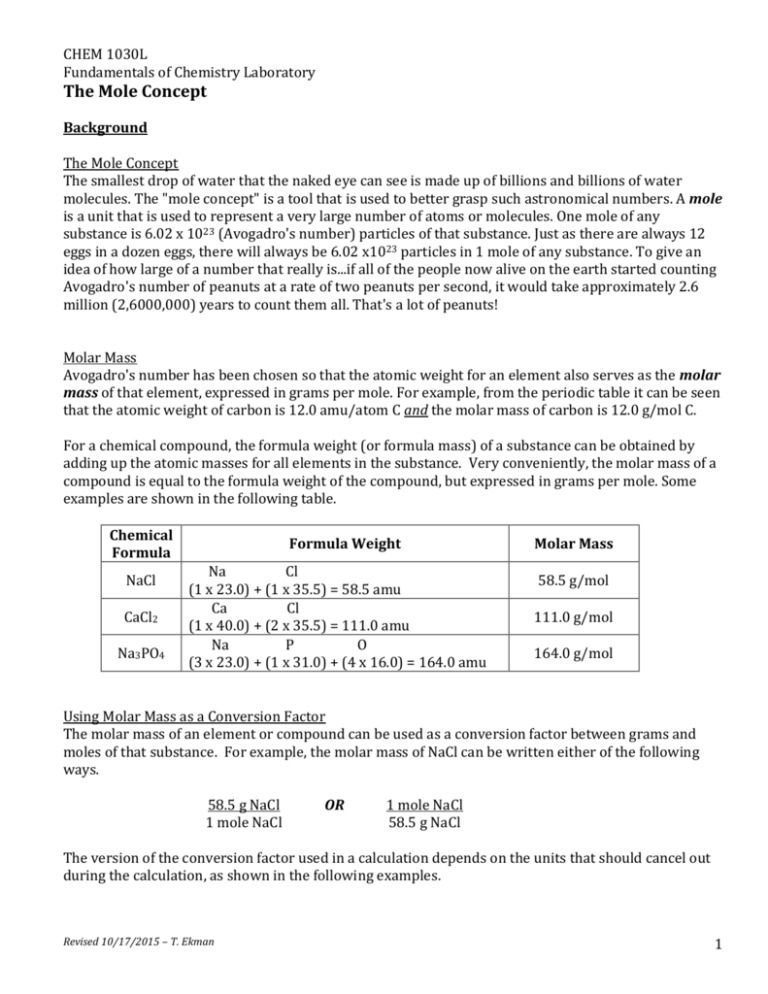
CHEM 1030L Fundamentals of Chemistry Laboratory The Mole Concept Background The Mole Concept The smallest drop of water that the naked eye can see is made up of billions and billions of water molecules. The "mole concept" is a tool that is used to better grasp such astronomical numbers. A mole is a unit that is used to represent a very large number of atoms or molecules. One mole of any substance is 6.02 x 10²³ (Avogadro's number) particles of that substance. Just as there are always 12 eggs in a dozen eggs, there will always be 6.02 x10²³ particles in 1 mole of any substance. To give an idea of how large of a number that really is...if all of the people now alive on the earth started counting Avogadro's number of peanuts at a rate of two peanuts per second, it would take approximately 2.6 million (2,6000,000) years to count them all. That's a lot of peanuts! Molar Mass Avogadro's number has been chosen so that the atomic weight for an element also serves as the molar mass of that element, expressed in grams per mole. For example, from the periodic table it can be seen that the atomic weight of carbon is 12.0 amu/atom C and the molar mass of carbon is 12.0 g/mol C. For a chemical compound, the formula weight (or formula mass) of a substance can be obtained by adding up the atomic masses for all elements in the substance. Very conveniently, the molar mass of a compound is equal to the formula weight of the compound, but expressed in grams per mole. Some examples are shown in the following table. Chemical Formula NaCl CaCl2 Na3PO4 Formula Weight Na Cl (1 x 23.0) + (1 x 35.5) = 58.5 amu Ca Cl (1 x 40.0) + (2 x 35.5) = 111.0 amu Na P O (3 x 23.0) + (1 x 31.0) + (4 x 16.0) = 164.0 amu Molar Mass 58.5 g/mol 111.0 g/mol 164.0 g/mol Using Molar Mass as a Conversion Factor The molar mass of an element or compound can be used as a conversion factor between grams and moles of that substance. For example, the molar mass of NaCl can be written either of the following ways. 58.5 g NaCl 1 mole NaCl OR 1 mole NaCl 58.5 g NaCl The version of the conversion factor used in a calculation depends on the units that should cancel out during the calculation, as shown in the following examples. Revised 10/17/2015 – T. Ekman 1 Example Problem 1, convert 1.453 g NaCl to moles NaCl. 1.453 g NaCl x 1 mole NaCl 58.5 g NaCl = 0.0248 mol NaCl In answering Problem 1, notice that g NaCl needed to cancel out. Therefore, the conversion factor needed to have g NaCl on the bottom. The units that did not cancel out were mol NaCl, which were the units required to answer the question. Example Problem 2, convert 1.45 moles of NaCl to grams. 1.45 mol NaCl x 58.5 g NaCl 1 mol NaCl = 84.8 g NaCl In answering Problem 2, the units of mol NaCl needed to cancel out. Therefore, the conversion factor needed to have mol NaCl on the bottom. The units that did not cancel out were g NaCl, which were the units required to answer the question. Hint: When working a mole conversion problem, do not start with a conversion factor. The chances are 50/50 that the conversion factor will be upside down. Instead, start working the problem with a measured quantity, such as grams or moles. Today’s Experiment In this experiment, students will work in pairs to react hydrochloric acid (HCl aq) with one of two compounds - either sodium carbonate (Na2CO3) or sodium hydrogen carbonate (also known as sodium bicarbonate - NaHCO3) to produce sodium chloride, water and carbon dioxide. Na2CO3 (s) + 2 HCl (aq) —> 2 NaCl (aq) + CO2 (g) + H2O (l) OR NaHCO3 (s) + HCl (aq) —> NaCl (aq) + CO2 (g) + H2O (l) To begin the experiment, each student will obtain the mass of the sodium carbonate or sodium bicarbonate. The conversion factors discussed above will be used to convert that mass of each reactant (Na2CO3 and NaHCO3) to the mass of NaCl that theoretically should be produced by the reaction. This is called the theoretical yield. After the reaction is complete, the mass of NaCl actually produced by the reaction will be determined by weighing the product. This is called the actual yield. According to the law of conservation of mass, the actual yield should be equal to the theoretical yield. However, due to human and experimental errors, it very seldom does. Percent yield is a measure of how close the actual yield is to the theoretical yield and is calculated using the following equation. Percent yield = Revised 10/17/2015 – T. Ekman ___actual yield___ x theoretical yield 100 2 Procedure Set up apparatus as described below to match the example apparatus on the instructor's bench. 1. Look at the underside of the student lab bench to find the rectangular metal bin that holds the ring stand pole. Slide the pole out of the opening at the end of the bin. 2. Insert the beveled end of the pole into the metal socket on the lab bench top. 3. Remove the following equipment from the drawer. Bunsen burner with rubber hose striker two-jaw clamp IMPORTANT: Use a clamp that does not have a plastic coating on the jaws. The plastic will melt and stick to the test tube. large Pyrex test tube 250-mL beaker 4. Attach the free end of the rubber hose to the gas tap and place the Bunsen burner in front of the ring stand pole. 5. Place the clamp on the ring stand pole. Clamp the test tube at the open end and tilt it at a 45° angle. Rotate the test tube that the open end is not pointed at yourself or the lab partner. 6. Use a ruler to adjust the height of the clamp so that the bottom of the test tube is 8-10 cm above the top of the Bunsen burner. 7. Thoroughly clean the test tube with soap and water and rinse with tap water and then distilled water. Fold a paper towel into a long thin strip and use this to remove as much of the water as possible. Finally, use a Bunsen burner to 'flame dry' the test tube to ensure the removal of all moisture. CAUTION: The glassware will be very HOT – do not attempt to remove it from the clamp until it is cool enough to handle. 8. Allow the test tube to cool to room temperature. Remove it from the clamp and rest it in the 250-mL beaker. 9. Add a single boiling chip to the test tube. Weigh the test tube and boiling chip to the nearest 0.001 g. Remember that the easiest way to weigh a test tube is to first zero the beaker on the balance and then place the test tube in the beaker. The test tube cannot touch the inside of the balance compartment. 10. As directed by the instructor, use a scoopula to add approximately 1.5 g of either Na2CO3 or NaHCO3 to the test tube. Zero the beaker and read the mass of the test tube, boiling chip, and reactant powder to the nearest 0.001 g. Note: Do not try to measure exactly 1.500 g. The mass does not have to be exactly 1.500 g, but it is important to know exactly what the mass actually is. For example, 1.442 g or 1.587 g are acceptable masses – as long as they are accurately recorded. 11. Use a 10-mL graduated cylinder to obtain about 8 mL of 6M hydrochloric acid. CAUTION: HCl causes acid burns - avoid skin contact. 12. Place the beaker and test tube on the bench and lower the snorkel hood over them. Use a disposable pipette to slowly add the acid to the Na2CO3. Feel the end of the test tube to observe whether the reaction is exothermic or endothermic. Also observe the temperature of the lab partner's test tube. Addition of the HCl will cause the evolution of gas (bubbles). Continue to add the acid slowly until the reaction is complete (bubbling has stopped). Do not add more acid than is needed. A white solid may form as the reaction nears completion. Revised 10/17/2015 – T. Ekman 3 13. Swirl the contents of the test tube to make sure the HCl has reacted with all of the solid. New bubbles will indicate that unreacted solid is present. If new bubbles are observed, add a few more drops of HCl to complete the reaction. 14. Clamp the test tube near the opening and at a 45° angle. Gently heat the liquid over the Bunsen burner until it boils. Initially, use a small flame approximately 2-3 inches high. Take care to avoid loss of liquid from boiling over. If the liquid begins to splatter, remove the heat immediately. Lower the flame and then continue to heat. Continue to dry the solid slowly until all moisture appears to have evaporated. 15. Allow the test tube to cool to room temperature and measure its mass to the nearest 0.001 g. 16. Reheat the sample strongly for 2-3 minutes, but do not allow the Bunsen burner to heat one part of the test tube for very long, which can cause melting or shattering. If demonstrated by the lab instructor, use the "flame brushing" technique. 17. Allow the test tube to cool to room temperature and re-weigh it. 18. If the second mass does not agree to within 0.01 g with the first mass, reheat and remeasure the mass until two consecutive masses are within 0.01 g of each other. This is known as heating to constant mass and "proves" that all of the water has been evaporated. 19. Before leaving lab, obtain data from the lab partner for the other solid that was reacted. Revised 10/17/2015 – T. Ekman 4
