Router PPT
advertisement
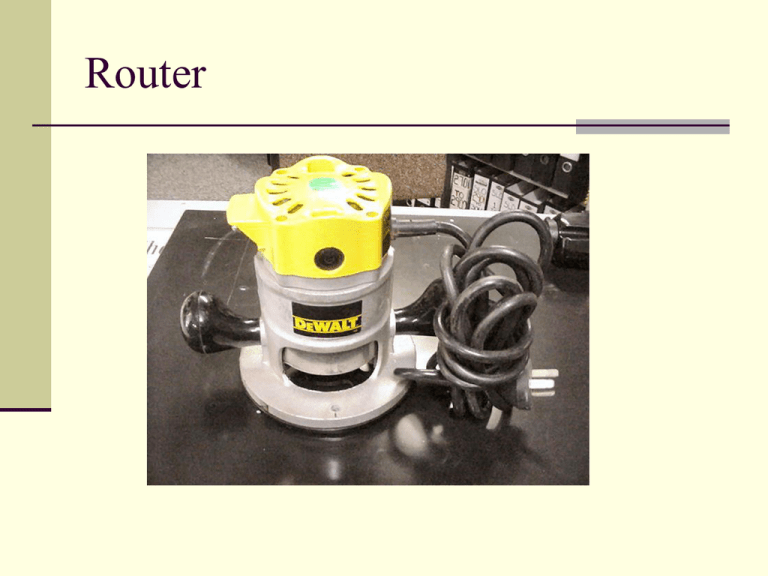
Router General Safety Wear your safety glasses at all times Take off all jewelry Do not wear loose clothing Make sure you give yourself a comfortable working space when using the router. General Safety continued Stay on the perimeter of the tables when working with the routers Make all changes and adjustments to the router when it is not plugged in Never let the router bit, that is in the router, touch the table whether the machine is on or off. Never forcefully stop the router bit once the machine is turned off………. especially with your fingers!!!! Components of the Router Wrenches Base Depth Dial Thumbscrew Router bits Roman Ogee/ Ogee Classical Round over Beading Cove Cove with bead Chamfer Laminate trimmer/Flush Router bits Rabbetting Straight Router Set-up Loosening the bit, make sure the motor is to your Left When When putting a bit in the router, make sure the shaft of the bit is all the way in. Tightening the bit make sure the router motor is to your Right. When Adjust the depth of cut by turning the dial to raise or lower the base. Router Set-up Tighten the thumbscrew! Clamp the project to the table with wood screw clamps. Plug the router in….. Turn the machine on Make multiple passes! This means a lot of passes! Do not take the full cut off in one pass! The bearing on the router bit will eventually touch your project and follow the edge. Router Set-up When creating an external cut, move the router COUNTERCLOCKWISE When creating an internal cut, move the router CLOCKWISE. Wrenches Base Depth Dial Thumbscrew Roman Ogee/Ogee Classical Roundover Beading Cove Cove with Bead Chamfer Laminate trimmer / Flush bit Rabbetting Straight Loosen …… Left Bit all the way in Tight…….Right Adjust depth of cut BAD GOOD Tighten the Thumbscrew Clamp the project Plug in – Turn on External cut COUNTERCLOCKWISE Internal cut - CLOCKWISE

