ppt - K.f.u.p.m. OCW
advertisement
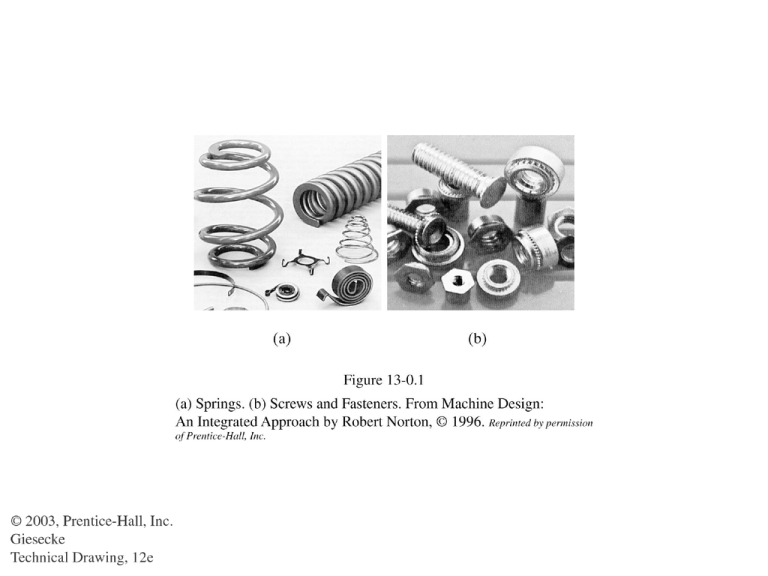
Major Diameter: The largest diameter of the thread Minor Diameter: The smallest diameter of the thread Pitch: Distance between two threads (mm) or no of threads per inch. • Pitch Diameter The diameter of an imaginary cylinder passing through the threads to make equal the widths of the threads and the widths of the spaces cut by the cylinder. • Lead The distance a screw thread advances axially in one turn. • Angle of thread The angle included between the sides of the thread measured in a plane through the axis of the screw Crest: The top surface joining the two sides of the threads. Root: The bottom surface joining the sides of two adjacent threads. Side: The surface of the thread that connects the crest with the root. • Axis of screw: The longitudinal center line through the screw. • Depth of thread: The distance between the crest and the root of the thread measured normal to the axis. • Form of thread: The cross section of thread cut by a plane containing the axis. 13.3 SCREW THREADS FORM • Sharp V threads called United States Standard threads. Used on brass pipe works. • American National Threads replaces the Sharp V for general use. • Unified thread is the standard agreed upon by the USA, Canada, Britain in 1948 and has replaced American National form. • Square Thread are to transmission of power. 13.3 SCREW THREADS FORM (Continue) • ACME Thread replaces the Square threads since it is difficult to manufacture. • Whitworth thread (British standard) has been replaced by the Unified thread. • Knuckle thread is used in electrical bulb and other electrical applications. • Buttress Thread is designed to transmit power in one direction. 13.4 THREAD PITCH Thread Symbol • Three method of representing thread on drawing. • Schematic, use for smaller diameter, about 25mm (1 inch) • Detailed, for diameter more than 25 mm (1 inch) • Simplified, commonly used. 13.20 Metric and Unified Threads fit • Metric threads fit • Two class of fit, one for general purpose, 6H for internal threads and 6g for external threads, therefore default class of fit is 6H/6g if not specified. • Second class for closer fit, 6H for internal threads and 5g6g for external threads. Unified threads fit • A represents for external threads and B represents for internal threads. • Number 1, 2 and 3 represents the class of fit. • 2A/2B is general class and equivalent to 6H/6g • 3A/3B for close fit. • 1A/1B for Rapid assembly. Bolt: Through bolt, head on one end and passes through clearance holes and nut on other side. Cap Screw: Similar to a bolt, has greater length, use without a nut. Other member has thread and acts as a nut. Stud: A steel rod threaded on both ends. Screwed in one member and nut on other member. • MACHINE SCREW: is similar to the slotted head cap screws but in general is smaller. Can be used with or without nut. • SET SCREW: is a screw with or without a head that is screwed through one member and whose special point is forced against another member to prevent relative motion between the two parts. • Clearance hole: A simple hole without thread used to insert a bolt. • Tapped hole: A hole with internal thread. Read 13.24 page # 379 for more detail. • There is clearance between clearance hole and the bolt or screw. For standard, see page # 379. • • • • .75-10 UNC-2A x 2.50 HEXAGON CAP SCREW M8 X 1.25-40 HEX CAP SCR 5/8-11 UNC-2B SQURE NUT M8 X 1.25 HEX NUT Key A key seat in a shaft and a key way in the hub or surrounding part. • • • • ¼ x 1 ½ SQ KEY No. 204 WOODRUFF KEY ¼ x 1/16 x 1 ½ FLAT KEY No. 10 P & W KEY Rivets
