BalloonSat Construction part 2
advertisement
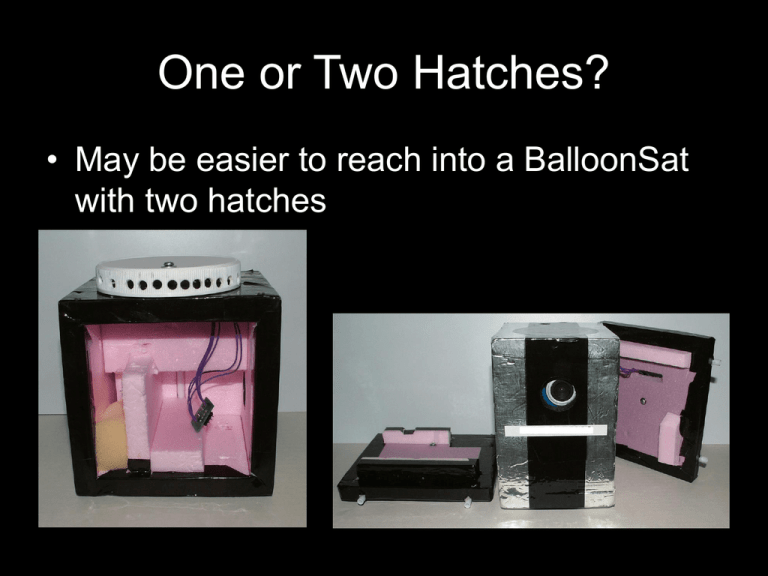
One or Two Hatches? • May be easier to reach into a BalloonSat with two hatches Hatch Closure • Stretch rubber band over hatch and wrap around tube(s) extending from airframe Hatch Closures • Wrap a rubber band around tubes glued into hatch Permanent Airframe Holes • Passes bolts and rubber bands through wall • Insert and glue a plastic tube Alignment Blocks on Hatches • Positive lock • Prevents hatch from sliding around Wrap Airframe in Tape • Compression helps hold airframe together • Adds color to BalloonSat Colored Mailing Tape • Lighter than aluminum duct tape • Multiple colors Plastic Lids can Shield Sensors from Direct Sunlight • Bolt to airframe • Add air openings Cut Open Tubing • Cutting away the tape covering tubes makes it easier to pass the tether though the tube Hand Warmer as a Heat Source • Design a space inside the BalloonSat for a hand warmer Camera Brace • Glue a Styrofoam strip to the airframe and against the edge of the camera for bracing Camera Lens Opening • Make holes larger than lens to accommodate the camera’s angle of view • Make opening for light meter (if necessary) Darken Camera Openings • May reduce glare Testing • • • • • Weight Test Shake Test Drop Test Cold Test Function Test Tethering BalloonSats • Use wire hook to pull tether through tube Tethering BalloonSats • Use split rings to prevent tether from pulling out Tethered BalloonSats The Mission Begins Recovery • The mission’s not over yet Data Analysis
