RCI-10-LEXUS-GX-460-TRANSMISSION-SKID-PLATE-INSTALLATION-GUIDE
advertisement
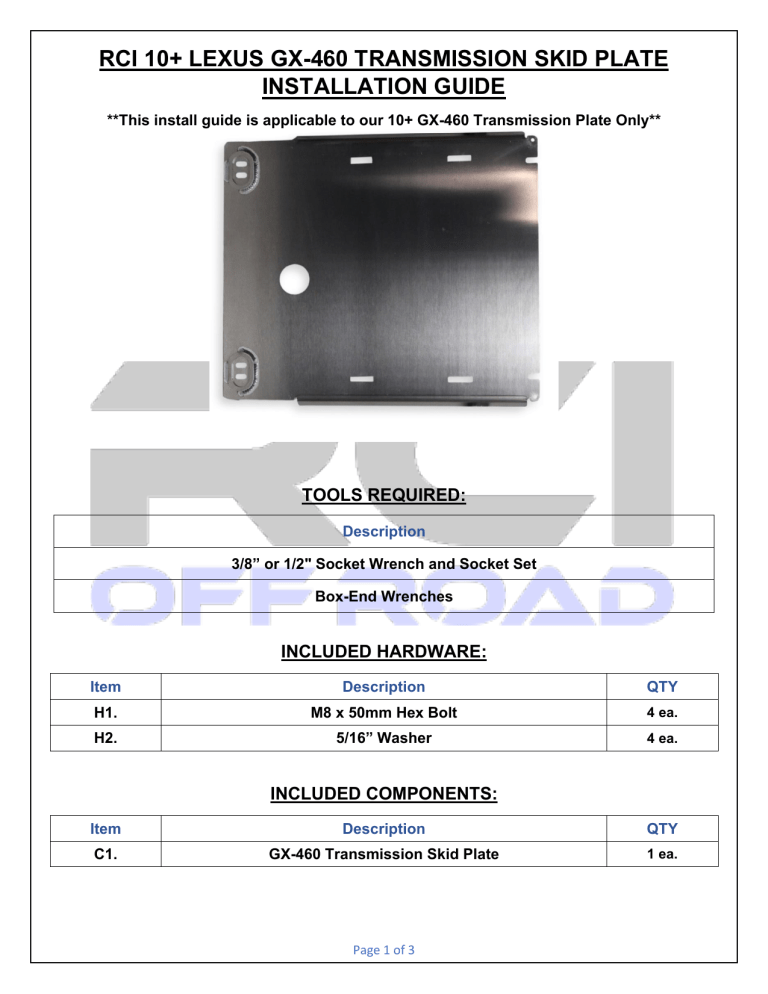
RCI 10+ LEXUS GX-460 TRANSMISSION SKID PLATE INSTALLATION GUIDE **This install guide is applicable to our 10+ GX-460 Transmission Plate Only** TOOLS REQUIRED: Description 3/8” or 1/2" Socket Wrench and Socket Set Box-End Wrenches INCLUDED HARDWARE: Item Description QTY H1. M8 x 50mm Hex Bolt 4 ea. H2. 5/16” Washer 4 ea. INCLUDED COMPONENTS: Item Description QTY C1. GX-460 Transmission Skid Plate 1 ea. Page 1 of 3 INSTALLATION STEPS: 1) Begin by unpacking and removing all components and hardware. Please verify that all hardware, components, and mounting components are present. Please reference your original order invoice and verify all items are accounted for. a. PLEASE NOTE: The 10+ GX-460 shares compatibility with the 03+ 4Runner. If you receive an RCI Transmission Skid Plate in a box marked “4Runner”, this should still be the correct plate. 2) If you are installing this in conjunction with the RCI GX-460 Engine Skid Plate, loosen the two M8 bolts at the rear of the engine skid plate. Only loosen these by about 1/2". 3) Align the two slotted mounting points on the GX-460 Transmission Skid Plate(C1) with the two M8 bolts loosened in step 2. Adjust the nylon spacer on the M8 bolt so that it sits between the vehicle frame and the GX-460 Transmission Skid Plate(C1). The mounting order should be as follows: Ground>Engine Skid Plate>Transmission Skid Plate>3/8” Nylon Spacer>Vehicle frame. 4) Pivot the rear portion of the GX-460 Transmission Skid Plate(C1) upwards until the four “pill-shape” mounting holes are in line with the rear crossmember for the vehicle transmission. Insert one M8 Hex Bolt(H1) and 5/16” Washer(C2) through each of the rear mounting points of the transmission skid plate. Do NOT tighten. 5) With the GX-460 Transmission Skid Plate(C1) mounted by all six M8 bolts, slide the GX460 Transmission Skid Plate(C1) as far forward as you can. Once in place, tighten the front two M8 Bolts to 30ft/lbs. a. PLEASE NOTE: If you are installing the RCI Transfer Case Skid Plate simultaneously, the mounting order should be as follows: Ground>Transmission Skid Plate>Transfer Case Skid Plate>Vehicle frame. b. If step 6a is applicable to your current installation, be sure to have the RCI Transfer Case Skid Plate fully installed and tightened before tightening the rearmost mounting locations of the RCI GX-460 Transmission Skid Plate(C1). c. If step 6a is NOT applicable to your current installation, disregard steps 6a & 6b and proceed to step 7. 6) With the two front M8 bolts tightened, tighten the rear mounting M8 bolts to 30ft/lbs. Do NOT over-torque. 7) Installation of your new RCI 10+ GX-460 Transmission Skid Plate is now complete! Page 2 of 3 Share your new install with us on social media! We love seeing our products out in the wild! www.rcimetalworks.com sales@rcioffroad.com 970-797-3089 REV: 1 | 01/26/2022 Created: AWM Page 3 of 3
