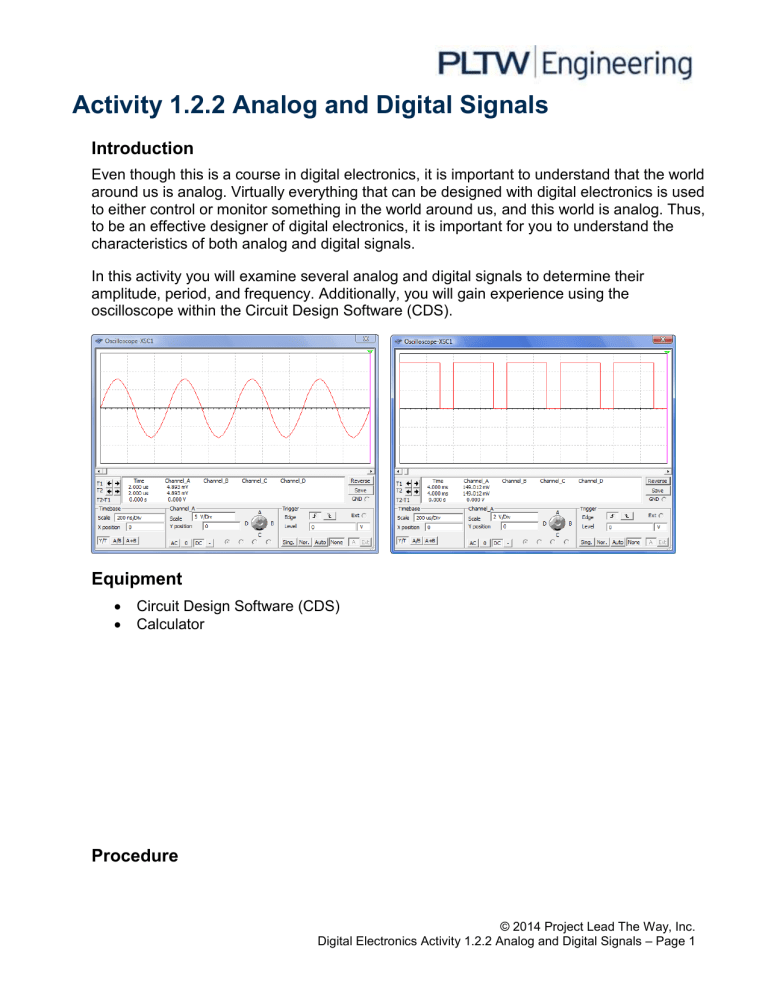
Activity 1.2.2 Analog and Digital Signals Introduction Even though this is a course in digital electronics, it is important to understand that the world around us is analog. Virtually everything that can be designed with digital electronics is used to either control or monitor something in the world around us, and this world is analog. Thus, to be an effective designer of digital electronics, it is important for you to understand the characteristics of both analog and digital signals. In this activity you will examine several analog and digital signals to determine their amplitude, period, and frequency. Additionally, you will gain experience using the oscilloscope within the Circuit Design Software (CDS). Equipment Circuit Design Software (CDS) Calculator Procedure © 2014 Project Lead The Way, Inc. Digital Electronics Activity 1.2.2 Analog and Digital Signals – Page 1 1. For each of the two analog signals shown below, determine their amplitude (peak), amplitude (peak-peak), period (T), and frequency (f). Be sure to put your answer in proper engineering notation and use the correct units. Amp(peak):7.5v Amp (peak-peak):15v Period: 500ns Frequency: 2MHz Amp(peak): 2v Amp (peak-peak): 4v Period: 1ms Frequency:1kHz Note: Why isn’t the above signal considered a digital signal? © 2014 Project Lead The Way, Inc. Digital Electronics Activity 1.2.2 Analog and Digital Signals – Page 2 2. For each of the two digital signals shown below, determine the amplitude, period (T), frequency (f), time high (tH), time low (tL), and duty cycle (DC). Be sure to put your answer in proper engineering notation and use the correct units. Amplitude: 5v Period: 400µs Frequency: 2.5kHz Time High: 300µs Time Low: 100µs Duty Cycle: 75% Amplitude: 5v Period: 1.65ms Frequency: 606.06Hz Time High: 150µs Time Low: 1.5ms Duty Cycle: %10 © 2014 Project Lead The Way, Inc. Digital Electronics Activity 1.2.2 Analog and Digital Signals – Page 3 3. Using the Circuit Design Software (CDS), enter the test circuit shown below. This circuit consists of a CLOCK_VOLTAGE, a DC_POWER (battery) and two 5v LAMPS. This circuit doesn’t really do much of anything useful other than make the two lamps flash, but we will be using it to gain experience using the oscilloscope to measure signals. a) Open the CLOCK_VOLTAGE component by double clicking on it and set the frequency, duty cycle, and voltage to 20 Hz, 10%, and 5 volts. b) Likewise, open the DC_POWER and set the voltage to 5 volts. c) Finally, connect the OSCILLOSCOPE to the positive side of the CLOCK_VOLTAGE component. © 2014 Project Lead The Way, Inc. Digital Electronics Activity 1.2.2 Analog and Digital Signals – Page 4 d) Start the simulation. Are the lamps flashing? Does the flashing rate make sense for the frequency and duty cycle of the CLOCK_VOLTAGE? If not, review your setup and make any necessary corrections. e) Now that the circuit is working, use the oscilloscope to measure the signal being generated by the CLOCK_VOLTAGE. Use the markers to measure the period, time high, and time low. Use this data to calculate the frequency and duty cycle of the signal. f) Do the measured (and calculated) values match those set up in the CLOCK_VOLTAGE device? If not, review your measurements and make any necessary corrections. Marker 1 is showing the Time High which is about 5ms and then Marker 2 is showing the period to be 50ms. So then you would divide the two making it (5ms/50ms) x100 which would equal .1 but that turns into 10% that’s the duty cycle then to find the frequency you turn the ms to actual seconds making the problem look like (1/.5 s) which equals 20 Hz Conclusion 1. List the characteristic that makes a digital signal different from an analog signal. Analog signal can from a low to a high or an infinite range of values Digital signal can only have two values; a 0 and Higher value. 2. In the diagram shown below, label the parts of the analog signal. A – Amplitude (Peak to Peak) B – Amplitude (Peak) C – Period © 2014 Project Lead The Way, Inc. Digital Electronics Activity 1.2.2 Analog and Digital Signals – Page 5 3. In the diagram shown below, label the parts of the digital signal. A – Amplitude B – Time High (tH) C – Period (T) D – Time Low (tL) E – Rising Edge F – Falling Edge 4. What are the two standard voltage levels that are acceptable for a digital signal? 0v and 5v © 2014 Project Lead The Way, Inc. Digital Electronics Activity 1.2.2 Analog and Digital Signals – Page 6
