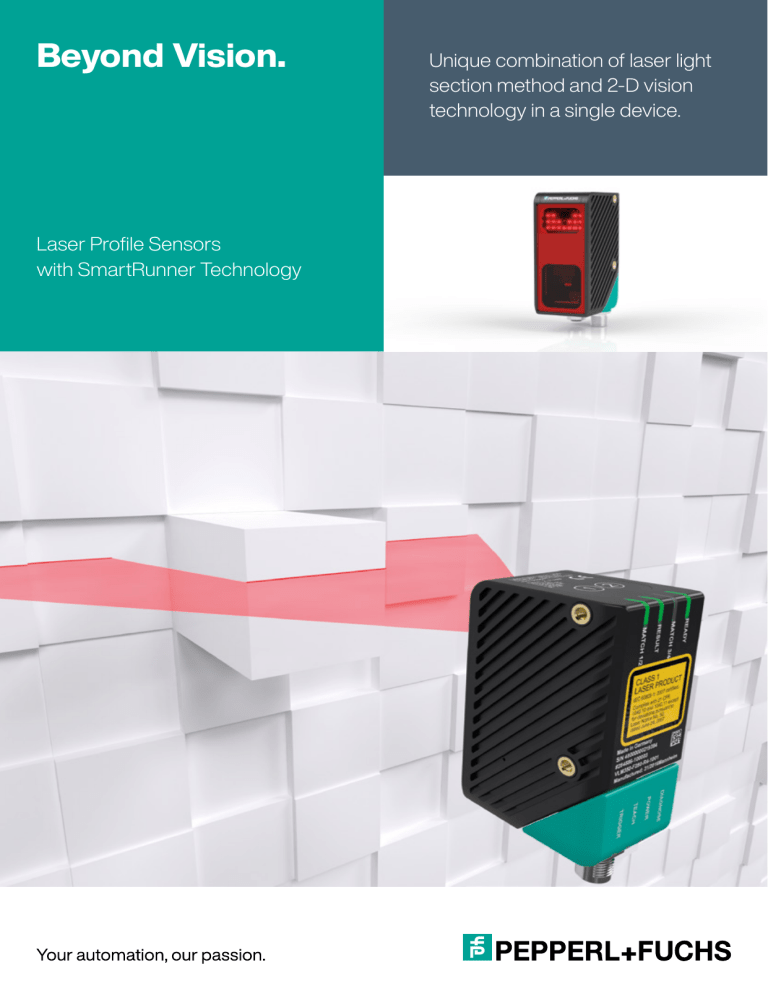
Beyond Vision. Laser Profile Sensors with SmartRunner Technology Unique combination of laser light section method and 2-D vision technology in a single device. SmartRunner Unique Laser Profile Sensors for Any Application Exceptional features due to unique technology: application-specific laser profile sensors or raw data device for maximum flexibility. SmartRunner Explorer: The Specialist for Height Profile Output SmartRunner Explorer captures precise height profiles and makes these available as raw data for further external processing. In addition, 2-D surface images can be output and used for diagnosis or documentation purposes. More information on the SmartRunner Explorer can be found on page 8. SmartRunner Matcher: The Specialist for Profile Comparison The SmartRunner Matcher uses the laser light section technology to detect height profiles and compare them with a taught-in reference profile. With up to 32 profiles saved in the sensor, it is perfect for positioning, presence detection, and completeness checks of components on a conveyor. More information on the SmartRunner Matcher can be found on page 12. SmartRunner Detector: The Specialist for Precise Monitoring The SmartRunner Detector precisely monitors sensitive machine parts. Using laser light section technology, even the smallest faults are reliably detected and reported. More information on the SmartRunner Detector can be found on page 18. 3 SmartRunner Technology Innovation in Combination High-precision height profiles and true 2-D surface images for diagnosis and documentation. The unique SmartRunner technology combines both in one compact device. Laser Light Section Technology: Precise and Reliable Regardless of color and surface condition, the established laser light section technology is characterized by maximum precision and reliability. camera. Due to the downward offset position of the camera, the exact height profile can then be calculated using the triangulation principle and output in world coordinates. It is based on a projected laser line that is recorded with a camera that only detects the wavelength of the laser. Therefore, the height profile of the object is imaged in the As an integral part of the SmartRunner technology, this method is ideal for detecting, monitoring, and measuring even the smallest objects. Integrated 2-D Vision Sensor The integrated camera also makes it possible to record images in order to document the complete process and assure top quality control. The recorded error images can be uploaded remotely, preventing trips to the factory floor and allowing easy monitoring of difficult-to-access machine areas. The high-performance LEDs supply consistent, well-lit images. 5 Compact Design with Maximum Performance The small housing of 55 × 38 × 85 mm (L × W × H) enables easy mechanical integration, even in confined installation conditions. By using a deflection mirror, it has been possible to realize a virtual base length extension, which additionally makes the laser profile sensor very compact with impressive performance. In addition, the swiveling connection simplifies installation. 6 Profile Detection Even on Metal Especially in difficult environmental conditions, the advantages of the laser light section technology compared to typical vision sensors become clear. Therefore, even with low-contrast objects, such as metal on metal or single-color plastics, no external light sources are required. Even different surfaces, colors, and ambient light do not have any influence on the measurement result. Insensitive to ambient light Insensitive to contrast 7 Insensitive to color and surface SmartRunner Explorer The Specialist for Height Profile Output Maximum Flexibility Using Raw Data Typical Applications The SmartRunner Explorer offers the unique combination of height profile and 2-D image output in one compact sensor. It can be easily integrated into PC programs via Ethernet TCP/IP and the supplied DLL. This enables the individual implementation of applications such as the measurement or quality control of components. ■ ■ ■ Measurement and volume detection Quality control Individual applications by using raw data Highlights ■ ■ ■ Raw data output Eye-safe with Class 1 laser 8 Unique combination of height profile and 2-D image output in one sensor Raw data output for flexible application implementation Easy integration via Ethernet TCP/IP and included DLL Technical Data VLE350-F280-B12-1100 VLE700-F280-B12-1200 Detection range X: 40 … 160 mm Z: 60 … 350 mm X: 60 … 345 mm Z: 100 … 700 mm Line data 960 value pairs (world coordinates in 0.01 mm steps) Image data 1280 × 960 px 1280 × 960 px Maximum scan rate 30 Hz 30 Hz X min X max Z min Z max Detection range of SmartRunner Explorer 9 SmartRunner Explorer in Application Flexible Use with Raw Data Output Volume detection, measurement, or quality control—the profile output of the SmartRunner Explorer enables the individual solution of your application. Furthermore, the additional output of 2-D images can be used to automate documentation tasks. Quality Control of Bent Metal Sheets When automating metal bending processes, it is necessary to ensure that the metal has been formed correctly. For this purpose, the sheets are individually removed from the press by a robot and transported to an inspection station. The SmartRunner Explorer performs the inspection at one or several positions. The height profile of the sheet metal is recorded with high precision and transmitted in world coordinates via Ethernet TCP/IP to an industrial PC. There, the shape is then checked for correctness or any deviations. 10 Package Measurement with Automatic Documentation The SmartRunner Explorer can also be used to determine the volume of packages in logistics processes. The measurement process is initiated by a trigger sensor on a conveyor belt. The laser profile sensor transmits the height profile data to a downstream PC in a fixed cycle. There, the dimensions or volume can be easily determined with the help of the height profiles and path data of the conveyor belt. If the analysis program detects a deviation in the shape, a 2-D image can be captured and documented for later verification. For the implementation of such applications, the commands for line and image data are available simply in the form of a DLL. The graphical user interface of the own parameterization and visualization software, a programming example, and the comprehensive manual simplify the implementation. 11 SmartRunner Matcher The Specialist for Profile Comparisons Profile Comparison via Switching Signal Typical Applications The SmartRunner Matcher’s integrated evaluation unit is preconfigured to report deviations from a taught-in contour. The sensor uses profile comparison to verify the recorded contour of an object, its correct location, and spacing. ■ ■ ■ Detection of small parts like screws, clamps, and studs Completeness checks for pens, pills, etc. Position testing and output for boxes, pallets, and other objects To do this, a specific height profile is programmed and a trigger executes a comparison between the reference and recorded contours. If they are identical, a “good” signal is issued. If the profiles differ, a “bad” signal is generated. Highlights ■ ■ ■ Profile comparison Eye-safe with Class 1 laser Easy parameterization via Data Matrix code 12 Rugged and cost-effective presence, completeness, and position detection of components Precise profile comparison, even with differing surface textures, ambient light, and varying operating distances Independently adjustable object and offset tolerances and separate data output Stores Up to 32 Profiles The SmartRunner Matcher Extended stands out with a few additional features: multiprofile and output of X and Z offset data. Up to 32 profiles can be stored directly in the sensor and activated as necessary via the multiprofile function. This simplifies recipe and production changes and eliminates the need for manual reconfiguration. Profiles are selected via an RS-485 interface or fieldbus using a gateway or Data Matrix codes. Precise X and Z Position Data Z offset The X and Z offset data in millimeters is available to SmartRunner Matcher Extended users. Delivered separately, they indicate machine tolerances and enable precise positioning relative to the target. Current object position Taught-in object position Technical Data VLM350F280-2E2-1000 VLM350F280-R4-1001 VLM350F280-R4-1002 VLM350F280-R4-1101 VLM700F280-R4-1102 Features Standard Extended Extended Extended Extended Detection range X: 40 … 160 mm Z: 60 … 350 mm X: 40 … 160 mm Z: 60 … 350 mm X: 40 … 160 mm Z: 60 … 350 mm X: 40 … 160 mm Z: 60 … 350 mm X: 60 … 300 mm Z: 100 … 700 mm Resolution* X: 0.44 mm Z: 0.4 mm X: 0.44 mm Z: 0.4 mm X: 0.44 mm Z: 0.4 mm X: 0.25 mm Z: 0.2 mm X: 0.44 mm Z: 0.4 mm Maximum scan rate 10 Hz 10 Hz 30 Hz 30 Hz 15 Hz X offset * at minimum distance X min X max Z min Z max Detection range of SmartRunner Matcher 13 SmartRunner Matcher in Detail Easy Configuration for the Perfect Solution Adjustable detection sensitivity and step-by-step configuration. The SmartRunner Matcher can be optimized for every application via software wizard. Easy Commissioning with Teach-in and Data Matrix Control Codes More Flexibility with Separate Object and Offset Tolerances If several SmartRunner Matchers are used in a plant, the parameterization can be duplicated quickly and easily via Data Matrix control code. Simply placed in front of the vision camera, it is immediately captured and then decoded. The sensor automatically activates the parameters it contains. The Data Matrix control codes can be easily generated using the Vision Configurator parameterization interface provided. This allows a wide range of sensors to be put into operation quickly and easily. Not all objects are the same. That is why an appropriate tolerance range must be identified. This starts with the definition of a curve around a taught-in profile. Depending on this, quality values are automatically determined. These can be used to define thresholds for differentiating good and bad parts. This allows the user to define the detection sensitivity of the sensor. In addition to object tolerance, however, industrial manufacturing processes can also result in displacement tolerances, which are usually caused by trigger tolerances. With the SmartRunner Matcher, these can be set separately in millimeters in the X and Z directions and have no influence on the measurement result. 14 Easy Commissioning with Software Wizard There are several ways to commission the SmartRunner Matcher: via Vision Configurator—the uniform user interface for all vision sensors from Pepperl+Fuchs, via Data Matrix control code, or via guided operation and parameter setting with the software wizard. The software wizard enables step-by-step configuration even without a manual. This makes it easy to define the sensing range. With the combination of the height profile and a 2-D image of the object in one display, the relevant areas can be quickly identified and the sensing range defined. Detection sensitivity can be adjusted by setting the curve width and quality thresholds. Slight rotations or offsets within the curve are recognized as “good.” Offsets in the X and Z directions do not influence profile comparison. The object is reliably detected and the displacement is output in millimeters. Any profiles that deviate are reliably detected as “bad.” Reliable detection of object profile, positioning, and distance 15 X offset Z offset SmartRunner Matcher in Application One Sensor for a Wide Range of Applications Optimized for profile comparison, the SmartRunner Matcher is incredibly versatile, mastering positioning, presence, and completeness detection of guided components. Precise Presence Detection The SmartRunner Matcher uses laser light section technology to quickly and easily verify that a component has been installed correctly. Even small parts, such as plugs, can be reliably detected as part of quality assurance. For this purpose, the recorded height profile is compared with the previously taught-in profile. If the plug is missing, the height profile deviates and a “bad” signal is sent. ■ ■ ■ Presence detection of plugs, screws, and clips in automobile production Detection of metal parts and sheet metal, even on metal Quality assurance in production 16 Exact Positioning The exact positioning of workpieces or workpiece carriers is essential in automated processes. In these applications, the profile of all or part of the object is used to teach a distinct profile in the desired end position, triggering subsequent processes. The output of the X and Z offsets also enables precise positioning. ■ ■ ■ Reliable Completeness Checks Completeness checks are part of quality assurance in both production and packaging processes. In production, a height profile can be checked right before a process step, for example, to ensure all required components are in place. When packaging products, on the other hand, the sensor makes sure the correct products are packaged. This cuts unnecessary costs. ■ ■ Completeness check of workpieces Check for completeness of battery cells, pens, and other products 17 Precise positioning of pallets in intralogistics Positioning of skid bolts in automobile production Torsion testing of plastic trays in food production SmartRunner Detector The Specialist for High-Precision Monitoring Easy Commissioning via Plug-and-Play Typical Applications Factory optimization of the SmartRunner Detector makes commissioning extremely easy: the user projects the laser line onto a fixed background and teaches it in. If there is no fixed background, the Teach-in can also be performed in an empty room. No PC is required and exposure times do not have to be adjusted manually. If an object enters the monitoring field, the sensor sends a digital signal and a stop is triggered, protecting sensitive machine parts. ■ ■ ■ Area monitoring for the protection of sensitive machine parts Inspection of overlapping components for quality control Access monitoring Highlights ■ ■ ■ Monitoring Eye-safe with Class 1 laser Easy parameterization via Data Matrix code 18 Easy parameterization using Data Matrix control codes or via parameterization software Background Teach-in possible via sensor buttons or interface Object sizes and regions of interest (ROI) can be customized Adjustable Detection Area for Maximum Flexibility Background object, e. g., wall If only specific application-related areas need to be monitored, the SmartRunner Detector offers the ability to freely define a region of interest (ROI). Objects that enter the detection zone outside of the ROI are detected, but they do not trigger a digital signal. The definition of minimum or maximum object sizes also prevents false alarms caused by targets outside the taught-in tolerance. Technical Data VLD700-F280-2E2-1000 Detection range X: 40 … 310 mm Z: 60 … 700 mm Object size* ≥ 0.25 mm Maximum scan rate 30 Hz ROI Defined area for object detection * at minimum distance Dead band Objects ≥ 0.25 mm 40 mm 60 mm Objects ≥ 0.5 mm Objects ≥ 1 mm 85 mm 170 mm 175 mm 370 mm Detection range of SmartRunner Detector 19 310 mm 700 mm SmartRunner Detector in Detail Reliable Protection with Simultaneous Evaluation No matter if a surface is highly reflective, transparent, or absorbent: with additional background evaluation, the SmartRunner Detector detects every object with absolute reliability. Seamless Detection The sensor also detects objects that are not visible to the camera—for instance, the surface of an object could be reflecting away the light such that the camera cannot see the object. Because the SmartRunner Detector evaluates both the laser line on the object as well as on the background, the sensor results are always reliable. Either a broken background line or an object in the detection zone will cause the target to be detected. e tiv ec ce efl fa R ur s DIAGNOSE BACK­ GROUND POWER OBJECT 20 DIAGNOSE BACK­ GROUND POWER OBJECT DIAGNOSE BACK­ GROUND POWER OBJECT Simultaneous evaluation of the laser line: object and background SmartRunner Detector in Application Machine Monitoring with Laser Light Section Technology When it comes to protecting sensitive machine parts such as expensive optics or precision tools, the SmartRunner Detector is the product of choice. Optimized for high-precision monitoring, it detects even the smallest fault. Reliable Laser Cell Monitoring The SmartRunner Detector monitors sensitive machine areas by detecting product overhang and shutting down the machine if necessary. It increases machine uptime and helps avoid expensive repairs and replacement parts. With high-precision laser light section technology, the sensor detects any deviation from the previously taught-in background. In a trapezoidal detection range with a width of 310 mm and a depth of 700 mm, the sensor detects objects as small as 1 mm. A “bad” signal on the digital output clearly indicates a bad part or obstruction. 21 Accessories The Perfect Supplement Perfectly coordinated connection and mounting technology ensures optimal integration of the sensor. Pepperl+Fuchs’ comprehensive range of accessories provides all necessary components for a ready-to-install solution that meets your specific requirements. Easily Connects to the Fieldbus The SmartRunner Matcher and Detector use an RS485 interface for data transmission. If the sensor should be connected to a fieldbus, this is done quickly and easily via a gateway. These are available in the common fieldbus protocols and can be conveniently mounted on a DIN rail. Up to four SmartRunners can be connected with just one gateway. Order Code VLX-F231-B6 VLX-F231-B17 VLX-F231-B21 VLX-F231-B25 Interface PROFIBUS PROFINET EtherCAT EtherNet/IP Power/State S4 S5 High ID Low PLC Gateway 22 Easy to Integrate with Custom Accessories In addition to the interface modules for electrical integration, suitable accessories for mechanical integration are also available. Various brackets, interface converters, and the right connection technology are available from a single source. Order Code VLX-F280-C VLX-F280-CGLASS VLX-MB1 VLX-MB2 V19-* V1SD-* PCV-USB-RS485Converter Set Accessory Protective enclosure Replacement glass Mounting aid Mounting aid Power supply cable Ethernet cable Interface converter Description Weld slag cover model Replacement glass for SmartRunner protective housing Mounting bracket Mounting bracket Available in different lengths and versions Available in different lengths and versions Converter USB to RS485 To find the right accessories, visit pepperl-fuchs.com/pf-sr-accessories 23 www.pepperl-fuchs.com Pepperl+Fuchs Quality Download our latest policy here: Subject to modifications · © Pepperl+Fuchs Printed in Germany · Part. No. 300121 03/22 03 · public www.pepperl-fuchs.com/quality


