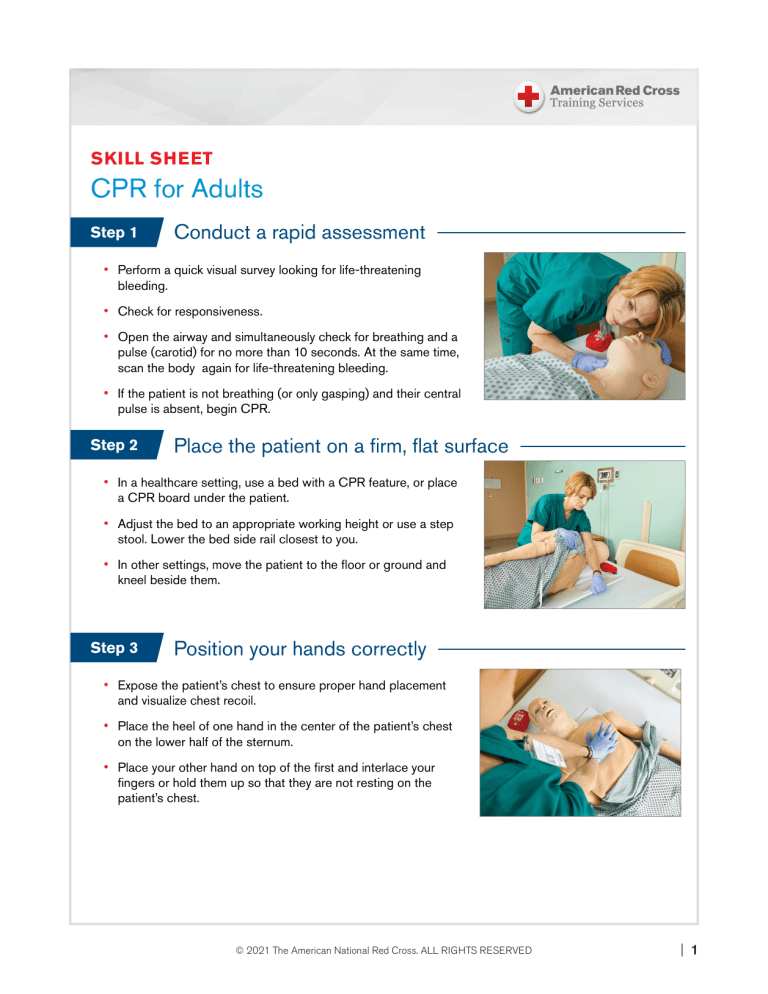
SKILL SHEET CPR for Adults Step 1 Conduct a rapid assessment • Perform a quick visual survey looking for life-threatening bleeding. • Check for responsiveness. • Open the airway and simultaneously check for breathing and a pulse (carotid) for no more than 10 seconds. At the same time, scan the body again for life-threatening bleeding. • If the patient is not breathing (or only gasping) and their central pulse is absent, begin CPR. Step 2 Place the patient on a firm, flat surface • In a healthcare setting, use a bed with a CPR feature, or place a CPR board under the patient. • Adjust the bed to an appropriate working height or use a step stool. Lower the bed side rail closest to you. • In other settings, move the patient to the floor or ground and kneel beside them. Step 3 Position your hands correctly • Expose the patient’s chest to ensure proper hand placement and visualize chest recoil. • Place the heel of one hand in the center of the patient’s chest on the lower half of the sternum. • Place your other hand on top of the first and interlace your fingers or hold them up so that they are not resting on the patient’s chest. © 2021 The American National Red Cross. ALL RIGHTS RESERVED | 1 SKILL SHEET CPR for Adults (continued) Step 4 Position your body effectively • Position yourself so your shoulders are directly over your hands. This position lets you compress the chest using a straight upand-down motion. • To help keep your arms straight, lock your elbows. Practice Note If drowning is the suspected cause of cardiac arrest, deliver 2 initial ventilations before starting CPR. Step 5 Perform 30 chest compressions • For an adult, compress the chest to a depth of at least 2 inches (5 cm). If you are using a feedback device, make sure the compressions are no more than 2.4 inches (6 cm) deep. • Provide smooth compressions at a rate of 100 to 120 per minute. • Allow the chest to fully recoil after each compression. Avoid leaning on the patient’s chest at the top of the compression. Compression and recoil times should be approximately equal as this improves the circulation generated by CPR. Practice Note Consider the use of mechanical CPR (mCPR) devices for an adult patient in cardiac arrest, if the BLS response team is practiced and adept at rapid application with less than a 10-second interruption in chest compressions. © 2021 The American National Red Cross. ALL RIGHTS RESERVED | 2 SKILL SHEET CPR for Adults (continued) Step 6 Seal the mask and open the airway • Use an adult pocket mask for single-provider CPR or a BVM for multiple-provider CPR. Remember, a two-person technique for BVM ventilation is the preferred methodology. • Seal the mask and simultaneously open the airway to a past-neutral position using the head-tilt/chin-lift technique. • Or, use the modified jaw-thrust maneuver if you suspect a head, neck or spinal injury. Practice Note Attach supplemental oxygen to the BVM resuscitator as soon as appropriate and when enough resources are available. Step 7 Provide 2 ventilations • While maintaining the mask seal and open airway, provide smooth, effortless ventilations. Each ventilation should last about 1 second and make the chest begin to rise; allow the air to exit before delivering next ventilation. Avoid excessive ventilation. • If you do not have a pocket mask or BVM, provide mouth-tomouth or mouth-to-nose ventilations. © 2021 The American National Red Cross. ALL RIGHTS RESERVED | 3 SKILL SHEET CPR for Adults (continued) Practice Note If an advanced airway is in place, one provider delivers 1 ventilation every 6 seconds. If an advanced airway is in place, the 30:2 ratio does not apply. In this case, one provider delivers 1 ventilation every 6 seconds, while the other provider delivers continuous chest compressions without pausing for ventilations. Step 8 Switch positions every 2 minutes • When providing CPR with multiple providers, smoothly switch positions about every 2 minutes. This should take less than 10 seconds. • The compressor calls for a position change by saying “switch” in place of the number 1 in the compression cycle. Step 9 Continue CPR Continue providing CPR until: • The team leader tells you to stop • Other trained providers arrive to relieve you • You see signs of ROSC • You are presented with a valid DNR order • You are too exhausted to continue • The situation becomes unsafe Practice Note Upon achieving ROSC, supplemental oxygen should be used based on your facility’s protocols to maintain a normal oxygen saturation level while avoiding hyperoxygenation. Providers should use a pulse oximeter to monitor oxygen saturation. © 2021 The American National Red Cross. ALL RIGHTS RESERVED | 4
