Make a Star Wheel: Planisphere Guide
advertisement

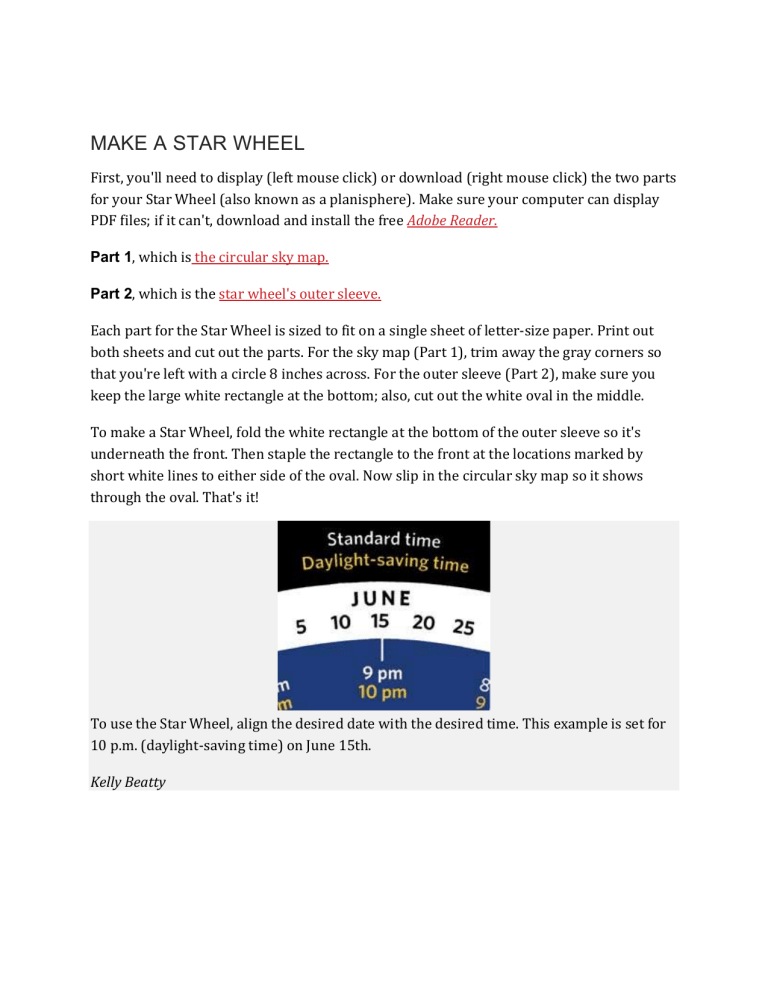
MAKE A STAR WHEEL First, you'll need to display (left mouse click) or download (right mouse click) the two parts for your Star Wheel (also known as a planisphere). Make sure your computer can display PDF files; if it can't, download and install the free Adobe Reader. Part 1, which is the circular sky map. Part 2, which is the star wheel's outer sleeve. Each part for the Star Wheel is sized to fit on a single sheet of letter-size paper. Print out both sheets and cut out the parts. For the sky map (Part 1), trim away the gray corners so that you're left with a circle 8 inches across. For the outer sleeve (Part 2), make sure you keep the large white rectangle at the bottom; also, cut out the white oval in the middle. To make a Star Wheel, fold the white rectangle at the bottom of the outer sleeve so it's underneath the front. Then staple the rectangle to the front at the locations marked by short white lines to either side of the oval. Now slip in the circular sky map so it shows through the oval. That's it! To use the Star Wheel, align the desired date with the desired time. This example is set for 10 p.m. (daylight-saving time) on June 15th. Kelly Beatty USING THE STAR WHEEL Pick the date and hour you want to observe, and set the Star Wheel so this date (on the rim of the circular disk) matches the time indicated along the edge of the outer sleeve. Use white hours when standard time is in effect and orange hours when clocks are set for daylight-saving (summer) time. The Star Wheel's large oval shows the whole sky, and the oval's curved edge represents the horizon you're facing. Once outside, hold the Star Wheel out in front of you and look at the yellow "Facing" labels around the oval. Turn the entire wheel so that the yellow label for the direction you're facing is on the bottom, with the lettering right-side up. If you're unsure of your directions, just remember where the Sun sets; that's west. Once you've set the date and time, turn the Star Wheel so the 'Facing' label at the bottom of the oval matches the direction in the sky you're looking. Kelly Beatty Now the stars above the map's horizon should match the real stars in front of you. Remember that star patterns will look much larger in the sky than they do on the map. The farther up from the edge of the oval the stars appear, the higher up they'll be shining in your sky. Stars in the center of the oval will appear directly overhead.


