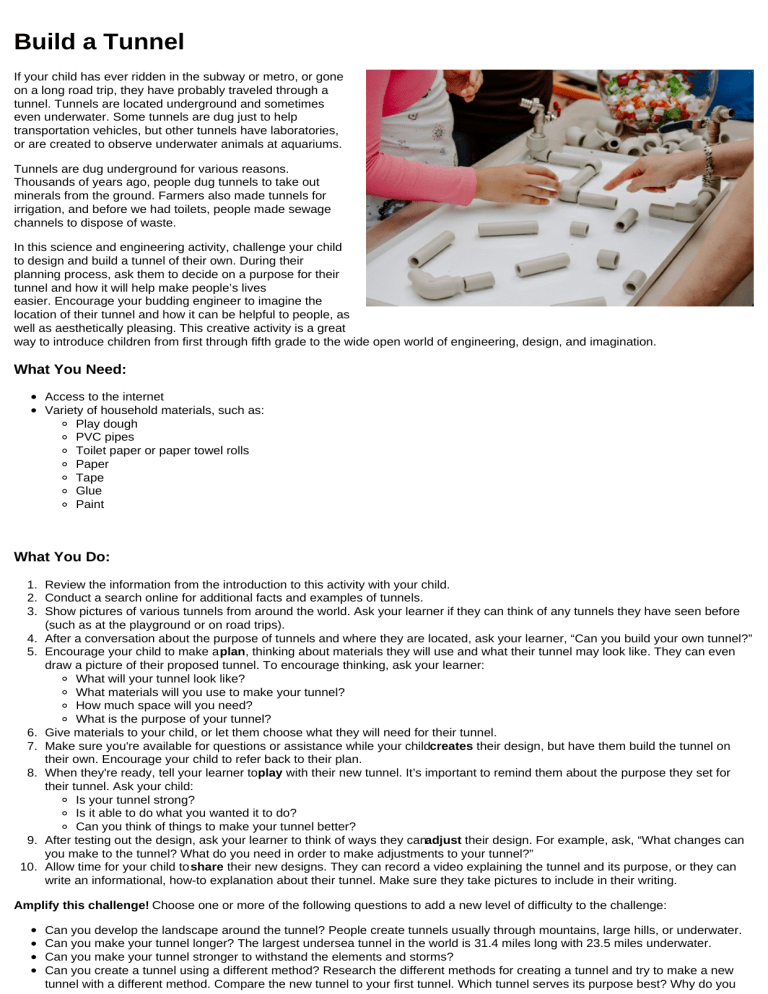
Build a Tunnel If your child has ever ridden in the subway or metro, or gone on a long road trip, they have probably traveled through a tunnel. Tunnels are located underground and sometimes even underwater. Some tunnels are dug just to help transportation vehicles, but other tunnels have laboratories, or are created to observe underwater animals at aquariums. Tunnels are dug underground for various reasons. Thousands of years ago, people dug tunnels to take out minerals from the ground. Farmers also made tunnels for irrigation, and before we had toilets, people made sewage channels to dispose of waste. In this science and engineering activity, challenge your child to design and build a tunnel of their own. During their planning process, ask them to decide on a purpose for their tunnel and how it will help make people’s lives easier. Encourage your budding engineer to imagine the location of their tunnel and how it can be helpful to people, as well as aesthetically pleasing. This creative activity is a great way to introduce children from first through fifth grade to the wide open world of engineering, design, and imagination. What You Need: Access to the internet Variety of household materials, such as: Play dough PVC pipes Toilet paper or paper towel rolls Paper Tape Glue Paint What You Do: 1. Review the information from the introduction to this activity with your child. 2. Conduct a search online for additional facts and examples of tunnels. 3. Show pictures of various tunnels from around the world. Ask your learner if they can think of any tunnels they have seen before (such as at the playground or on road trips). 4. After a conversation about the purpose of tunnels and where they are located, ask your learner, “Can you build your own tunnel?” 5. Encourage your child to make a plan, thinking about materials they will use and what their tunnel may look like. They can even draw a picture of their proposed tunnel. To encourage thinking, ask your learner: What will your tunnel look like? What materials will you use to make your tunnel? How much space will you need? What is the purpose of your tunnel? 6. Give materials to your child, or let them choose what they will need for their tunnel. 7. Make sure you're available for questions or assistance while your childcreates their design, but have them build the tunnel on their own. Encourage your child to refer back to their plan. 8. When they're ready, tell your learner toplay with their new tunnel. It’s important to remind them about the purpose they set for their tunnel. Ask your child: Is your tunnel strong? Is it able to do what you wanted it to do? Can you think of things to make your tunnel better? 9. After testing out the design, ask your learner to think of ways they canadjust their design. For example, ask, “What changes can you make to the tunnel? What do you need in order to make adjustments to your tunnel?” 10. Allow time for your child to share their new designs. They can record a video explaining the tunnel and its purpose, or they can write an informational, how-to explanation about their tunnel. Make sure they take pictures to include in their writing. Amplify this challenge! Choose one or more of the following questions to add a new level of difficulty to the challenge: Can you develop the landscape around the tunnel? People create tunnels usually through mountains, large hills, or underwater. Can you make your tunnel longer? The largest undersea tunnel in the world is 31.4 miles long with 23.5 miles underwater. Can you make your tunnel stronger to withstand the elements and storms? Can you create a tunnel using a different method? Research the different methods for creating a tunnel and try to make a new tunnel with a different method. Compare the new tunnel to your first tunnel. Which tunnel serves its purpose best? Why do you think that is? Author: Jennifer Sobalvarro Copyright © 2020 Education.com LLC All Rights Reserved


